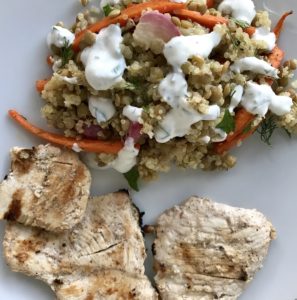
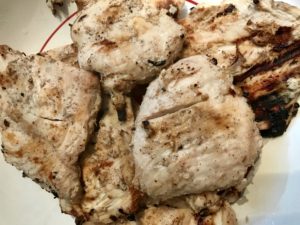
This chicken is so good that Brendan took one bite (eyes closed, of course, which is his “tell” that something is seriously delicious) and said something so filthy it’s unprintable on this blog. The Greek yogurt and lemon marinade tenderizes the chicken over the course of a couple hours, and the mix of spices sinks all into it and combines to make some of the tastiest chicken I’ve ever had. This is a great make-ahead meal if you meal-prep, and it’ll keep for a full work week. I strongly recommend grilling this, as that just takes it to a whole other level.
Heavenly Chicken (serves 4)
- 1.5 lbs chicken breasts. I used thinly-sliced, but you could do regular size too.
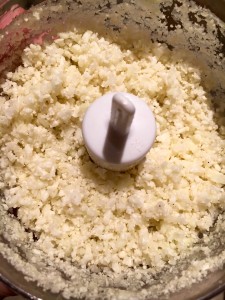
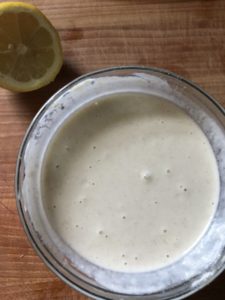
- 1 6-oz (approx) container of plain greek yogurt – not fat-free. This is key.
- Juice of one large lemon
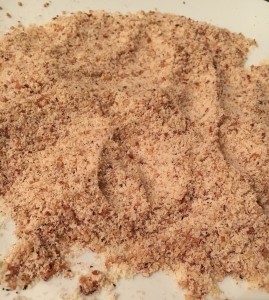
- 1 tbsp. Garam Masala
- 1 tbsp. ground Ginger
- 1 tsp. Kosher salt
- 1 tsp. Paprika
- 1 tsp. Fresh Pepper
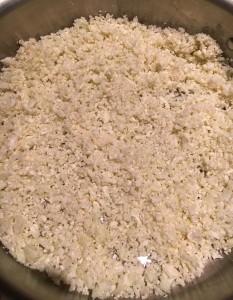
- Combine the spices.
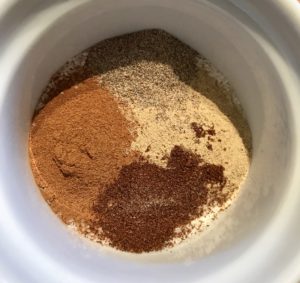
2. In a dish large enough to hold all the chicken, combine the greek yogurt and lemon. Combine until mixed well, then fold in all the spices.

3. Add chicken to the spiced greek yogurt mixture, then coat evenly, making sure all chicken surfaces are covered.

4. Marinate for at least four hours and up to ten.
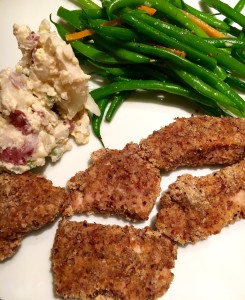
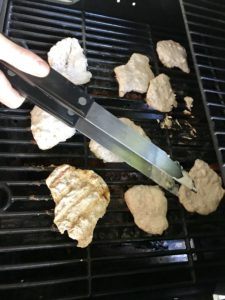
5. Grill the chicken until it’s done, flipping once or twice and getting those nice grill marks (thanks Bren).
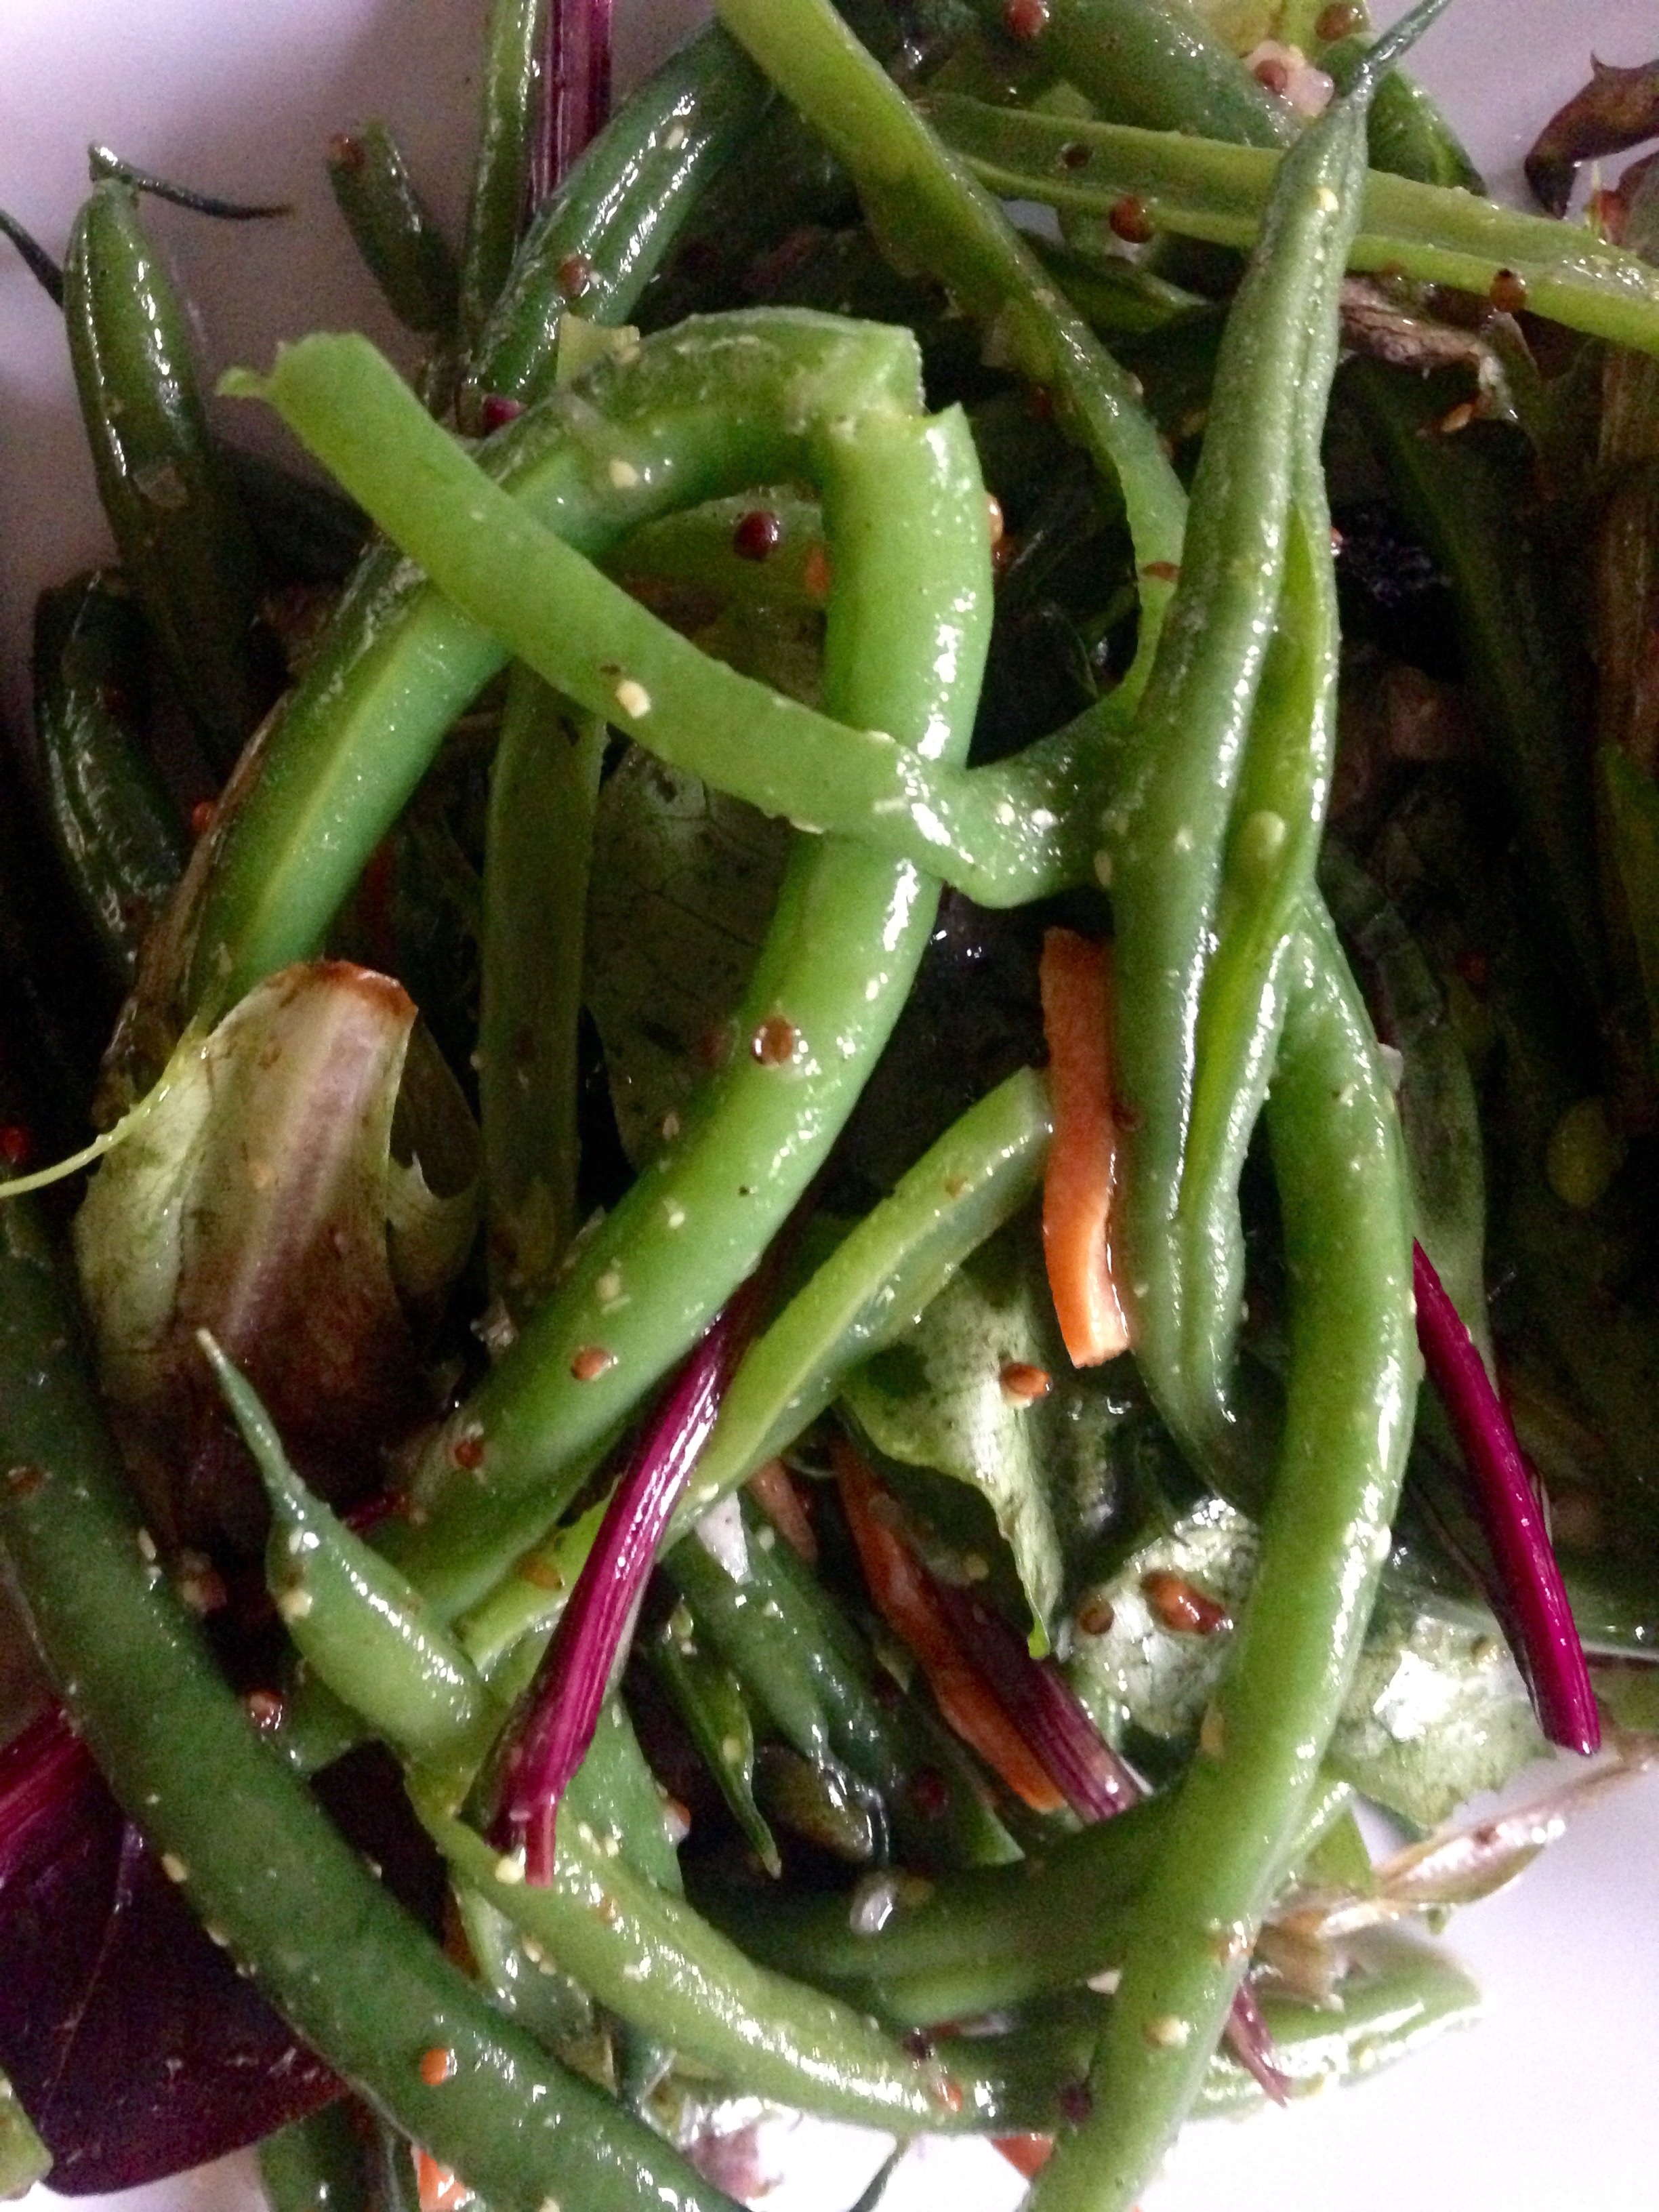
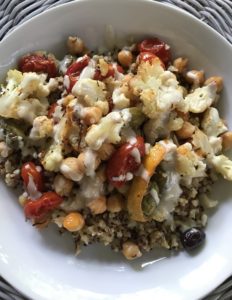
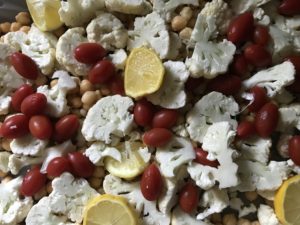
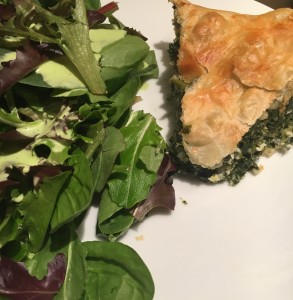
6. When chicken is fully cooked, serve with a nice root vegetable salad or save for a week’s worth of meal-prep deliciousness.


%20Breakfast%20Bowl%20-%20a%20simple%2C%20delicious%2C%20super-healthy%20way%20to%20start%20your%20day)