Salmon Appetizers with Cucumber, Dill, Red Onion and Creme Fraiche

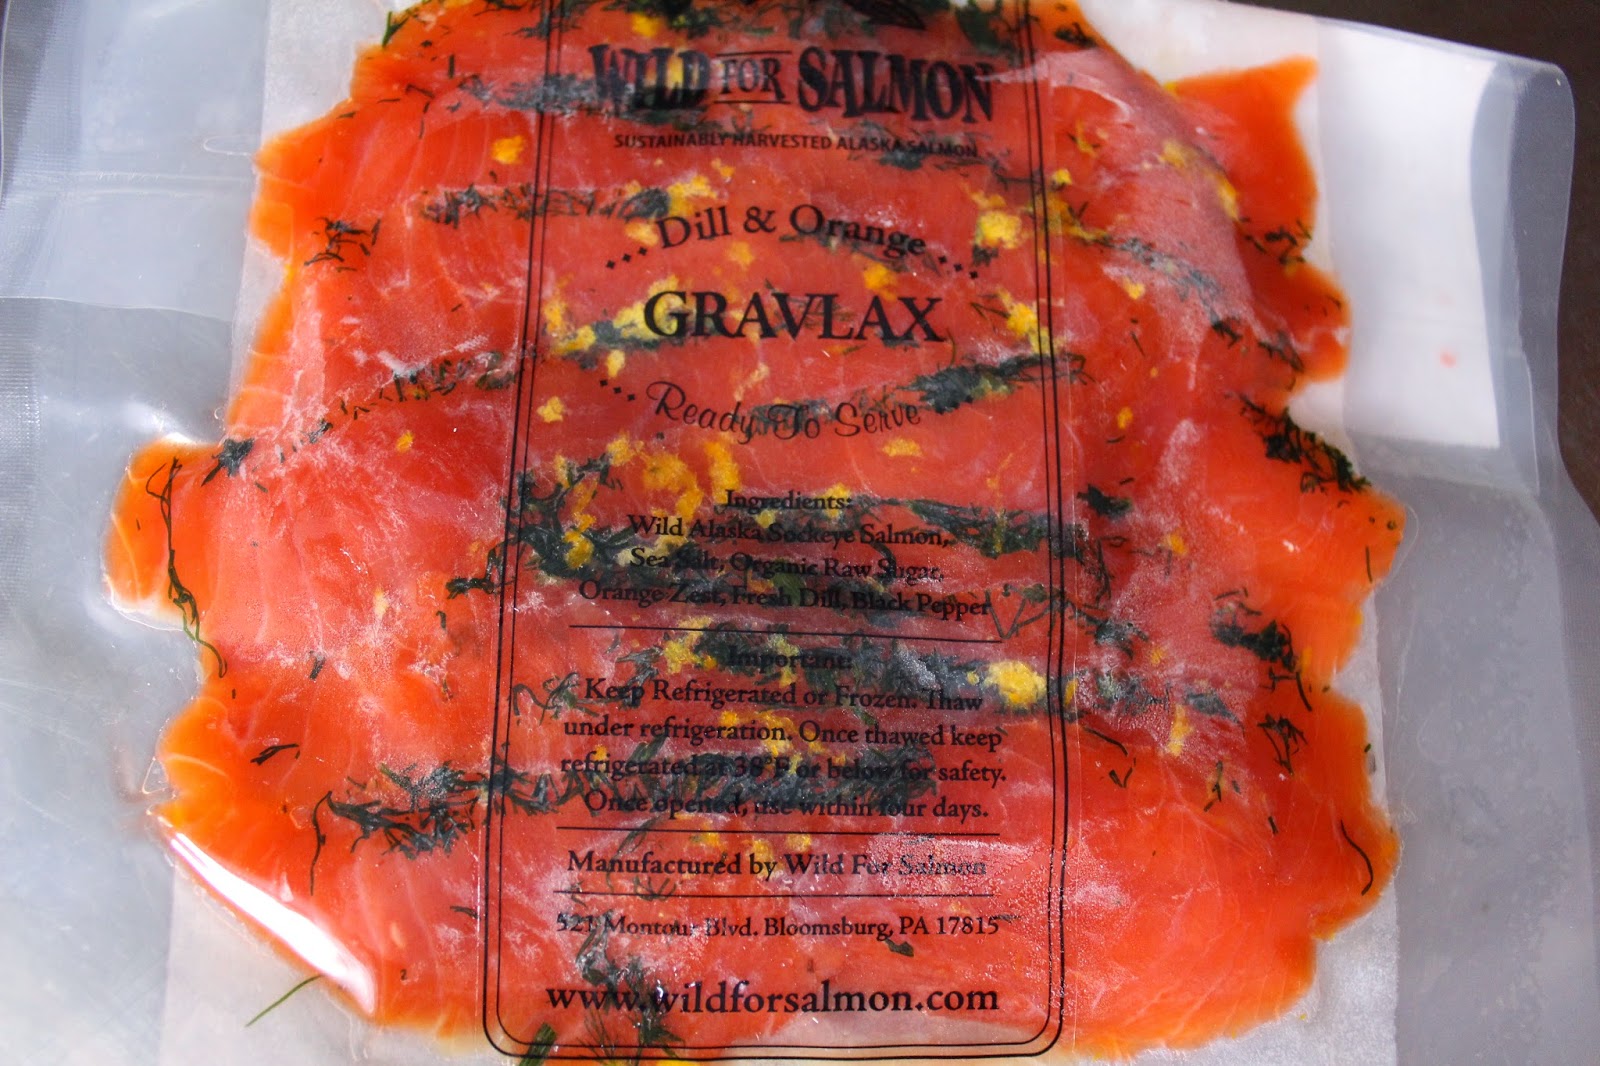
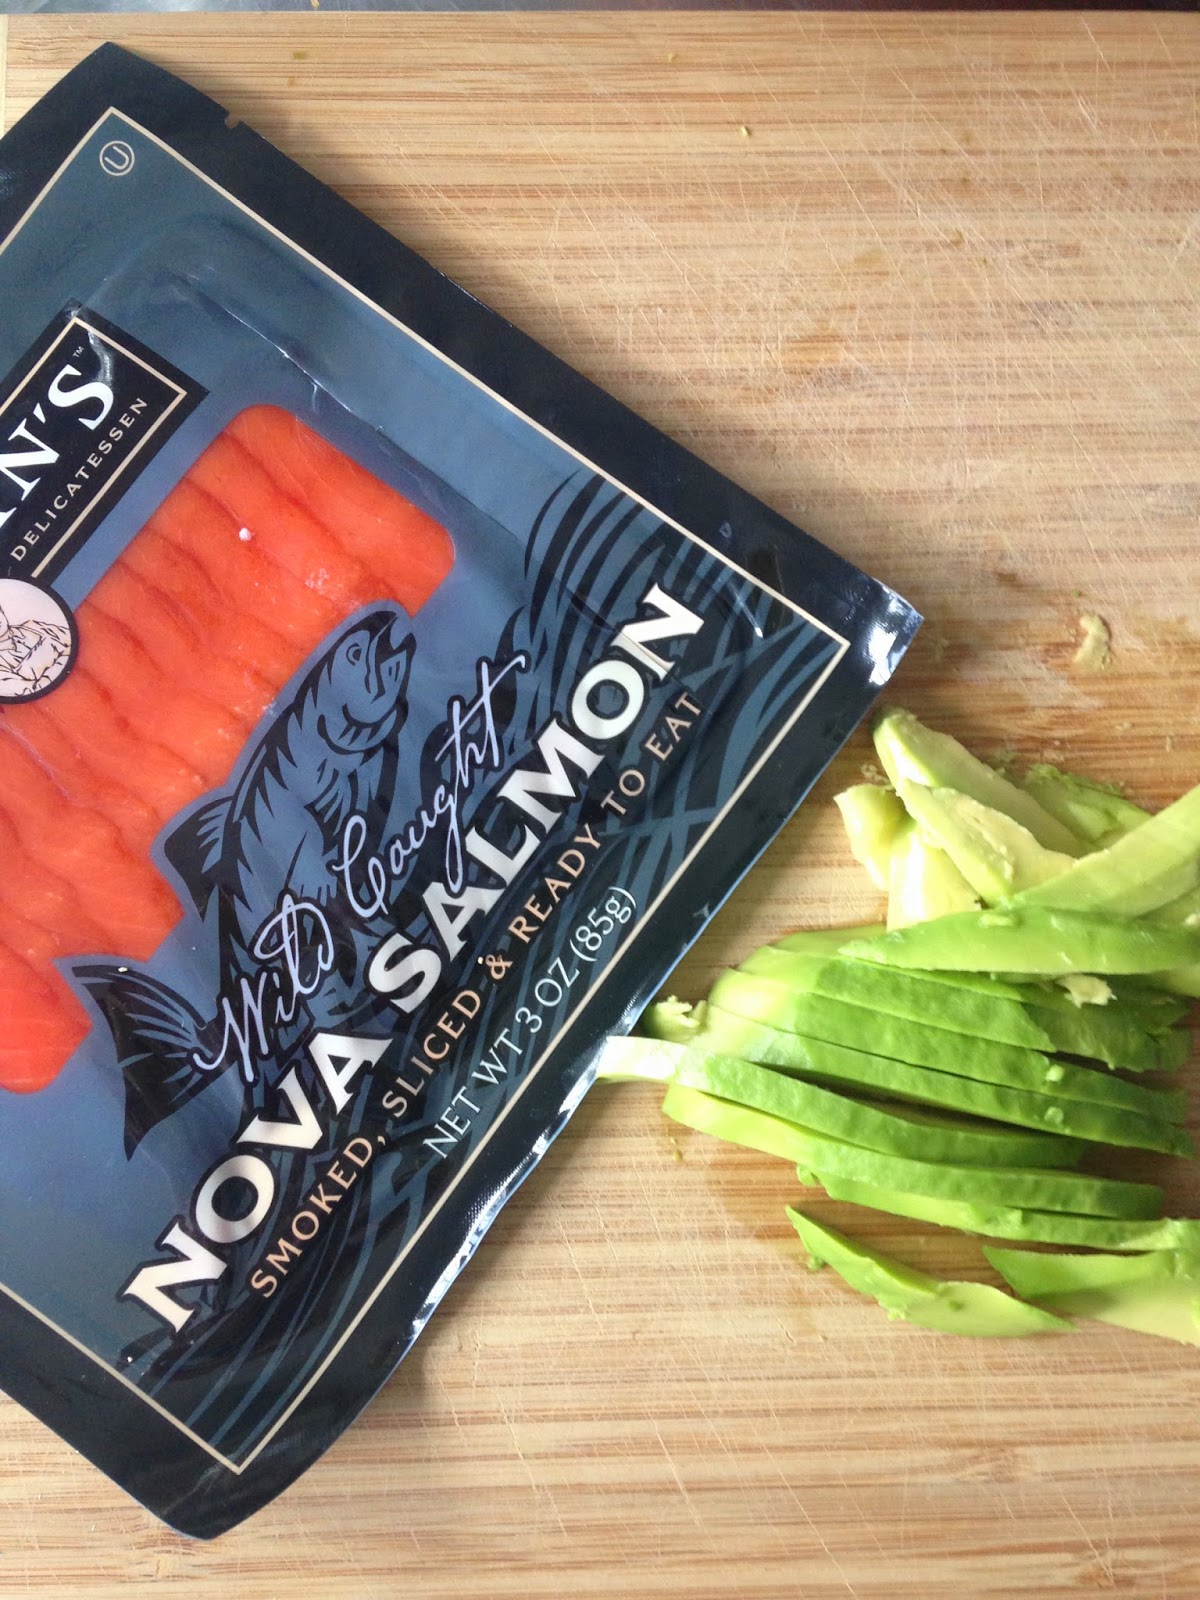
These little guys are our go-to appetizers for almost every gathering, and they’re also the first things that disappear. They’re fantastic. For these appetizers, I’m psyched to be working with Wild for Salmon, a Pennsylvania company run by Steve, a thirty-something who went from Penn State to Idaho to Alaska, where he (luckily for us) learned how to catch this amazing wild salmon, and then decided to bring that skill, and those products, back to his home state. I’ve been a fan of Wild for Salmon for a couple years now, always buying it at Hillside Farms, but getting to see the business itself was awesome – it’s a family-run operation (I met Steve, his mom, his wife Jenn and their adorable daughter Ava Jane while I was there) and they really care about what they produce, and where it comes from. Steve and Jenn either go on regular fishing trips to Alaska for Wild for Salmon’s products, or they personally know the fisherman who catch it for them, which is really impressive. I used their Dill & Orange Gravlax for this recipe, which was perfect – there is no mistaking the difference between this and the usual farm-raised salmon that you buy at the grocery store. Get in touch with Wild for Salmon and treat yourself to the real deal. 

Thanksgiving is this week – bring these apps to wherever you’re going and watch them disappear in no time flat.

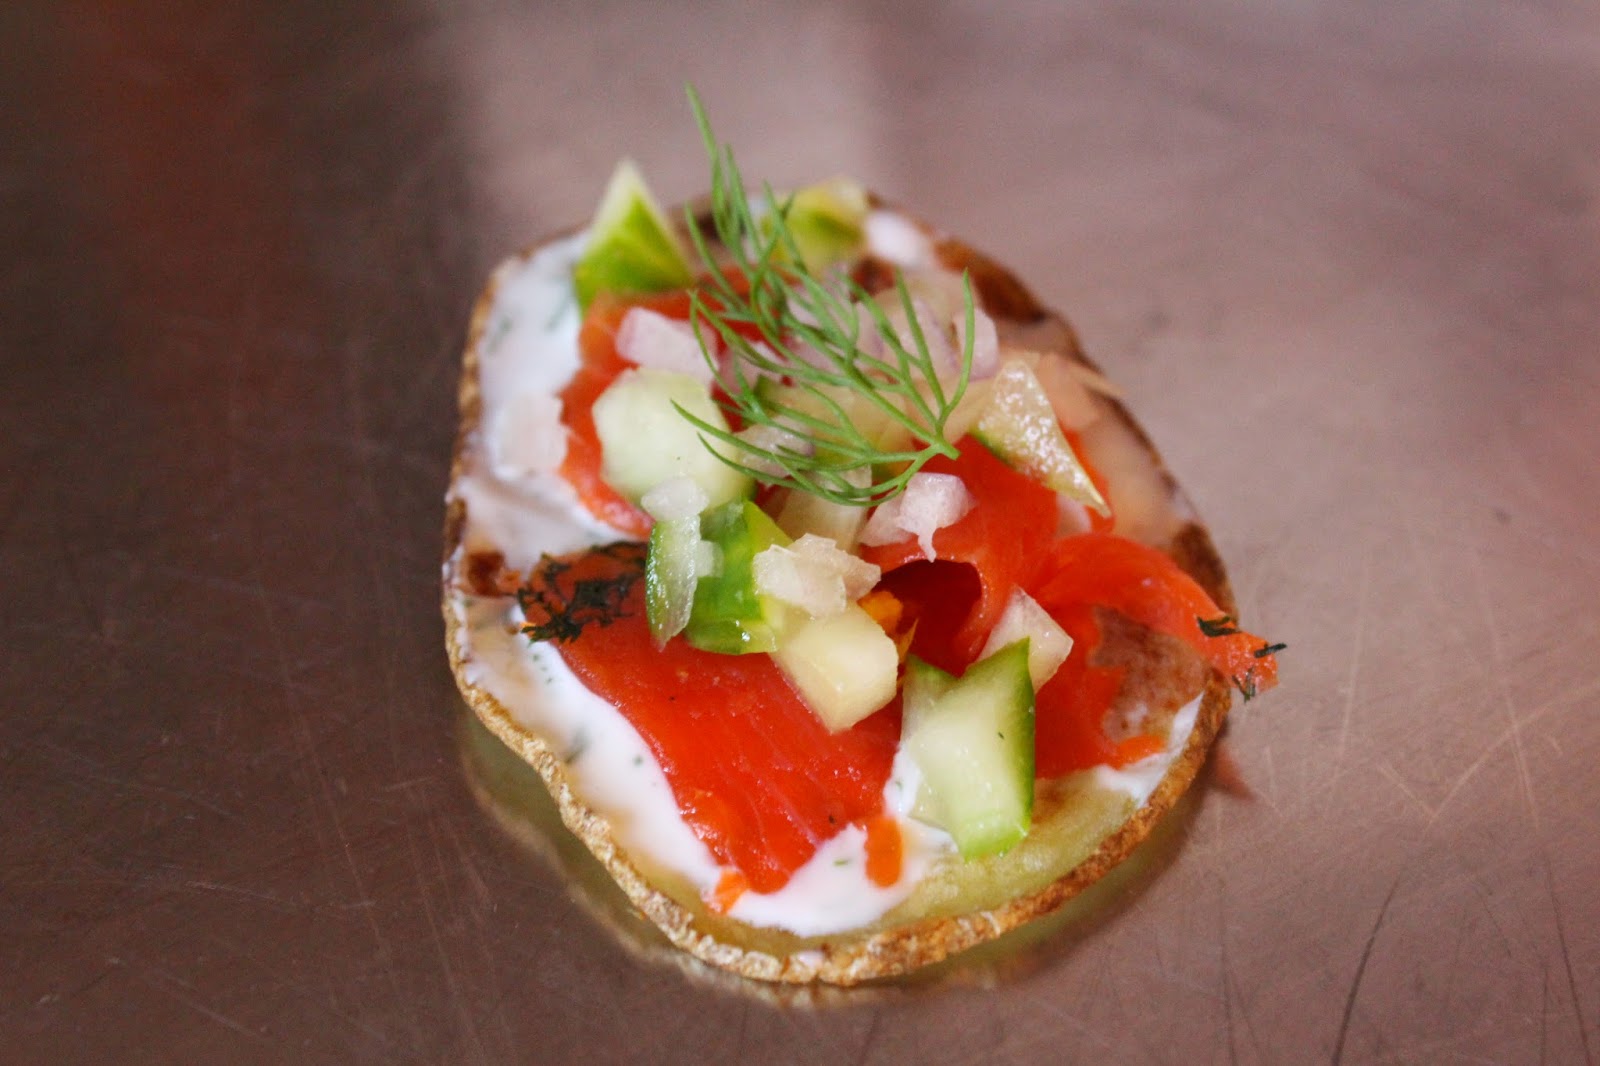
SALMON APPETIZERS WITH CUCUMBER, DILL, RED ONION AND CREME FRAICHE (makes about 40)
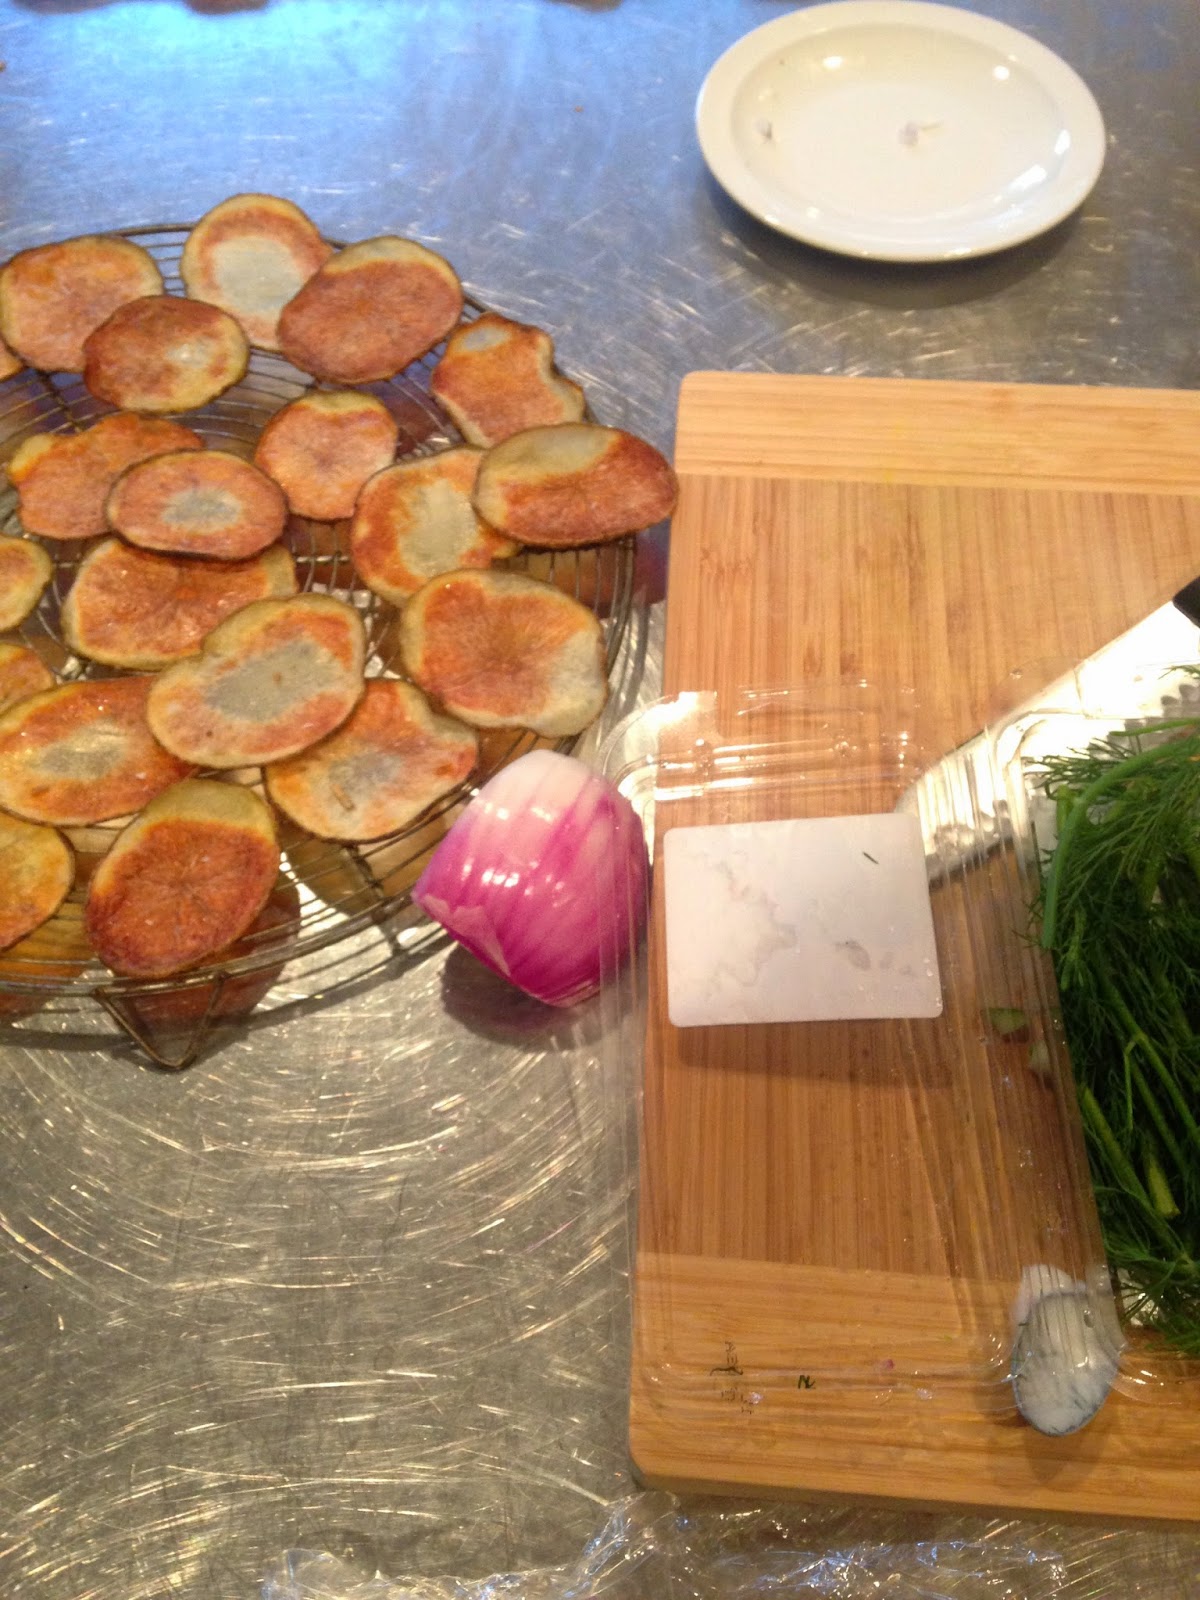
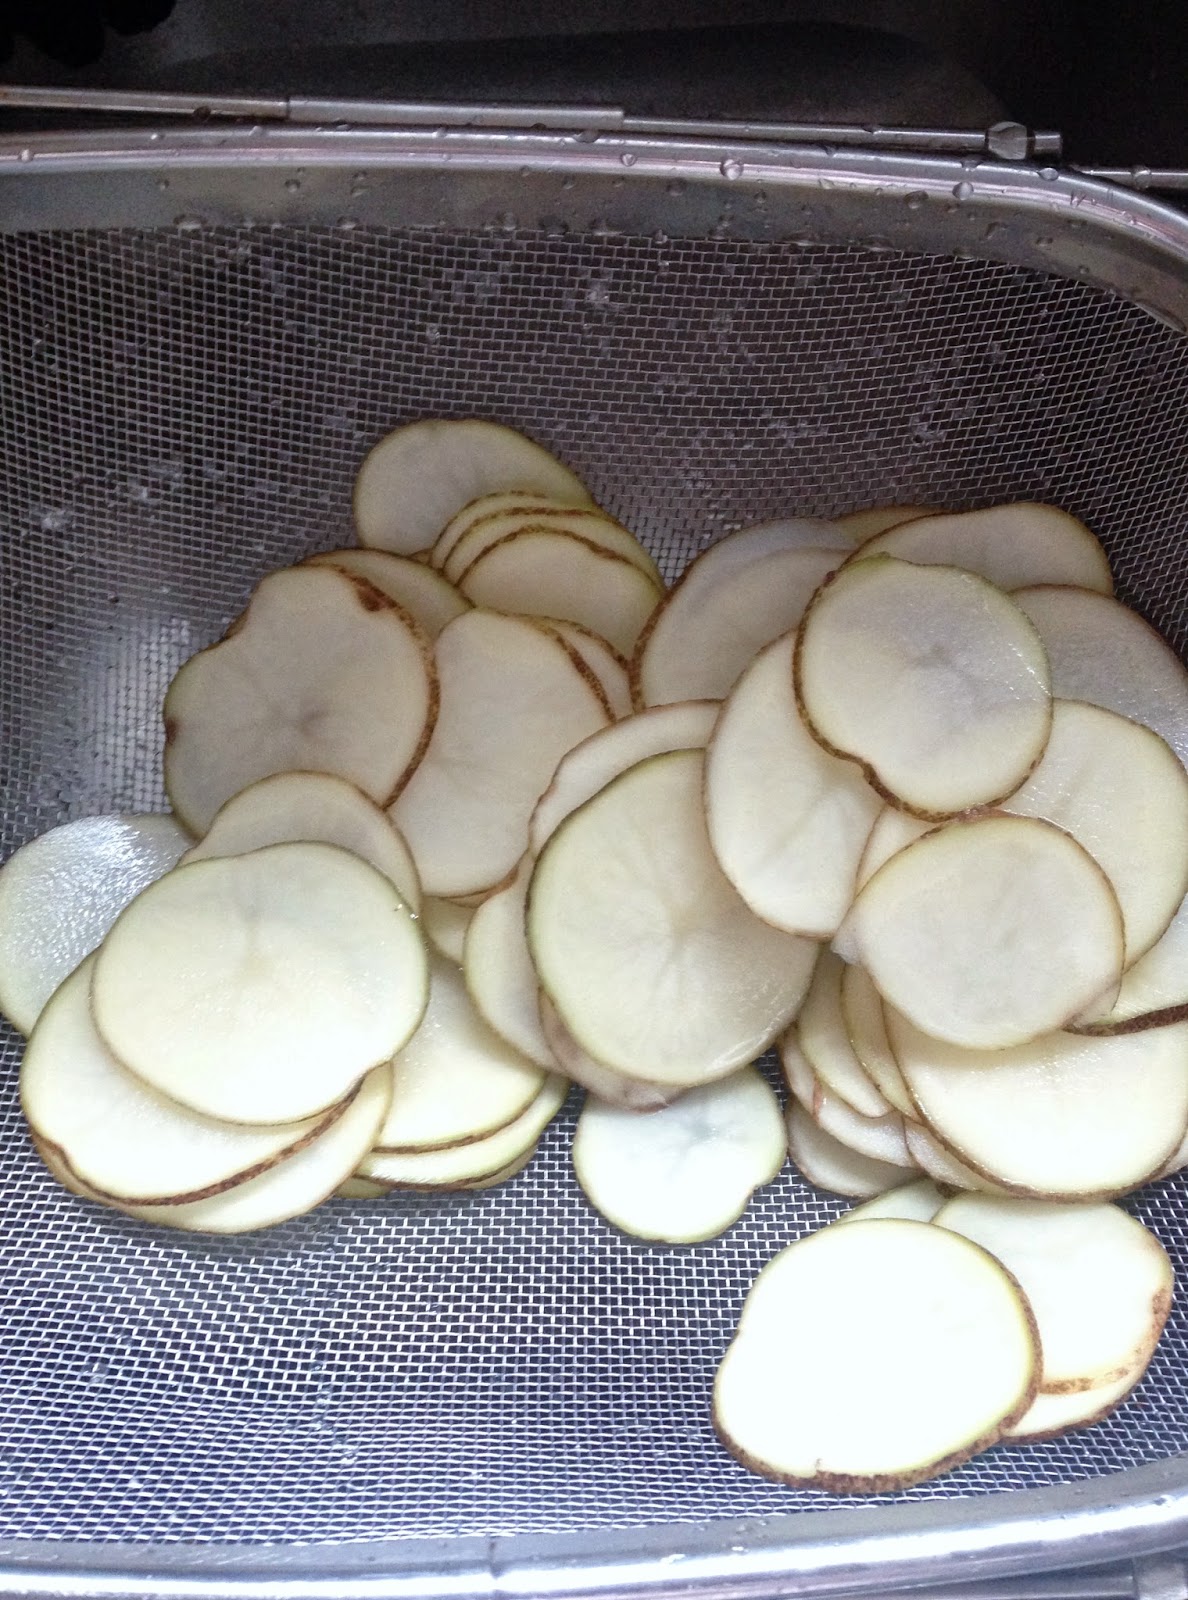
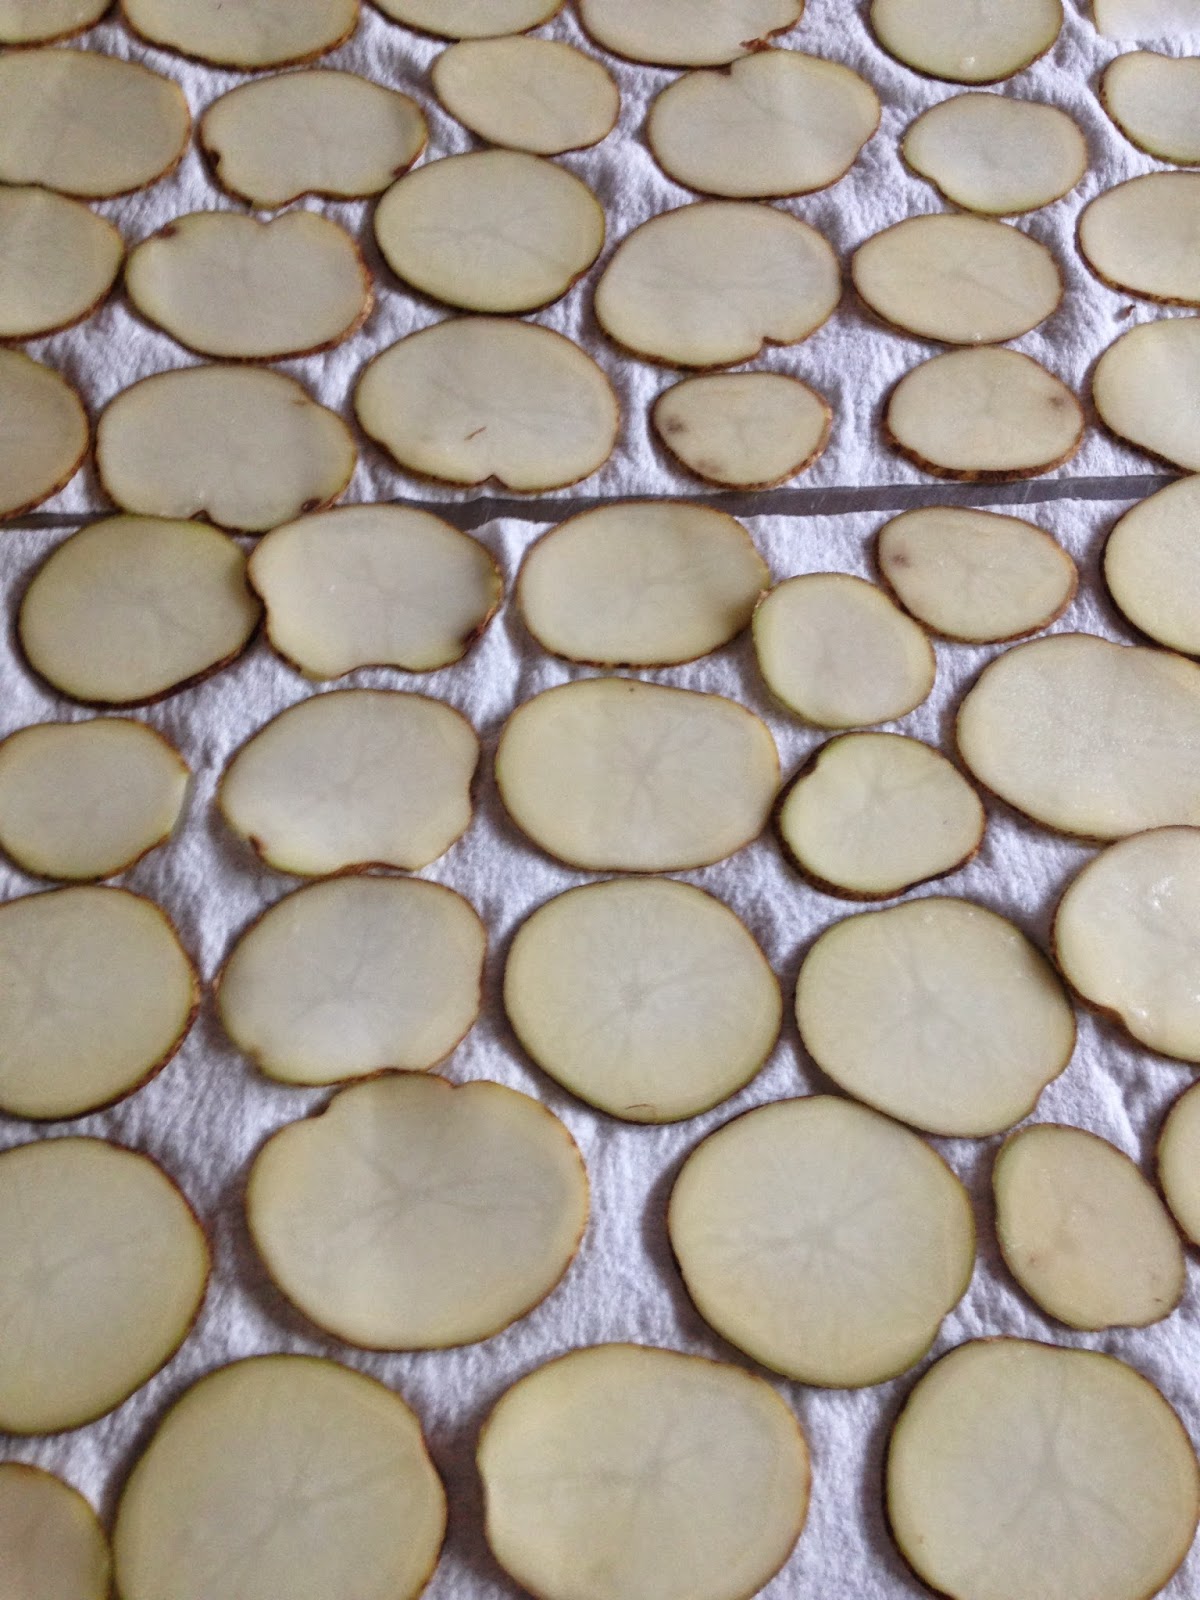
– Sturdy Potato Chips (Kettle is good, but you can always make these yourself – & please do, because they’re awesome, simple & way healthier for you than the ones you buy at a store)
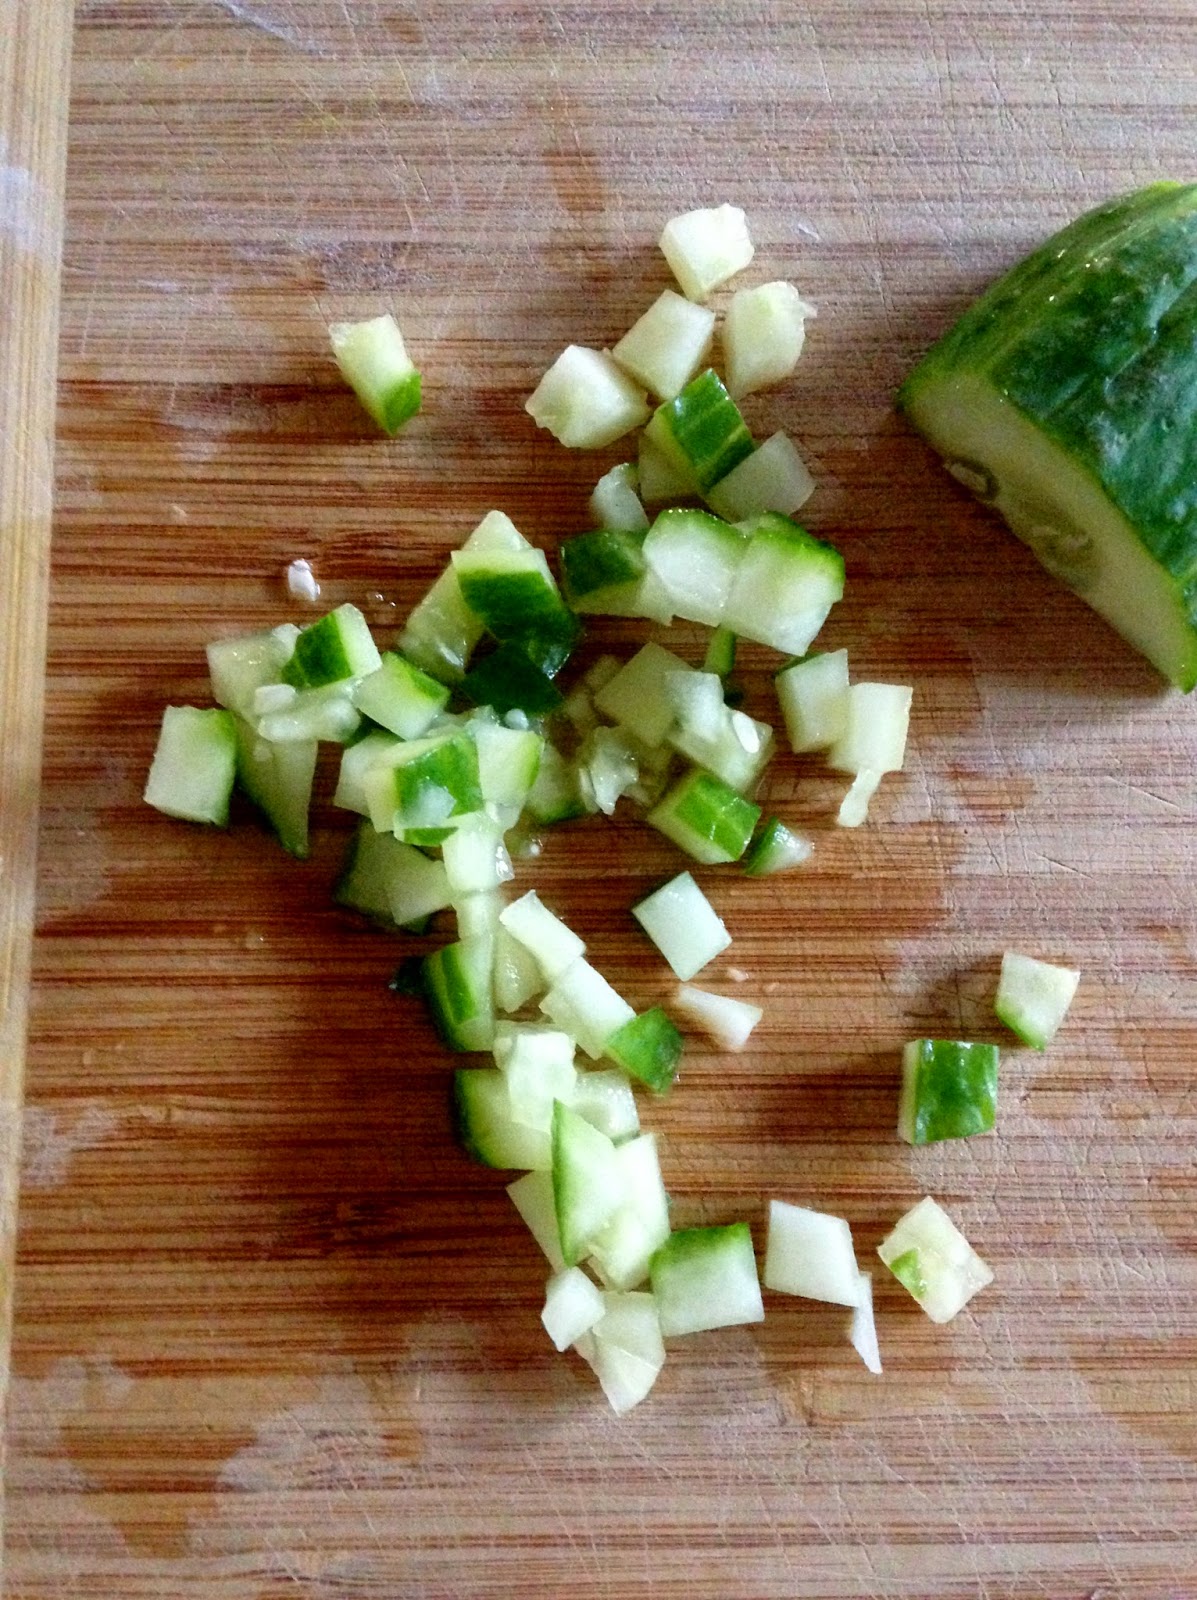
– 1/2 English Cucumber, chopped 
– 1/2 Red Onion, minced
– Fresh Dill
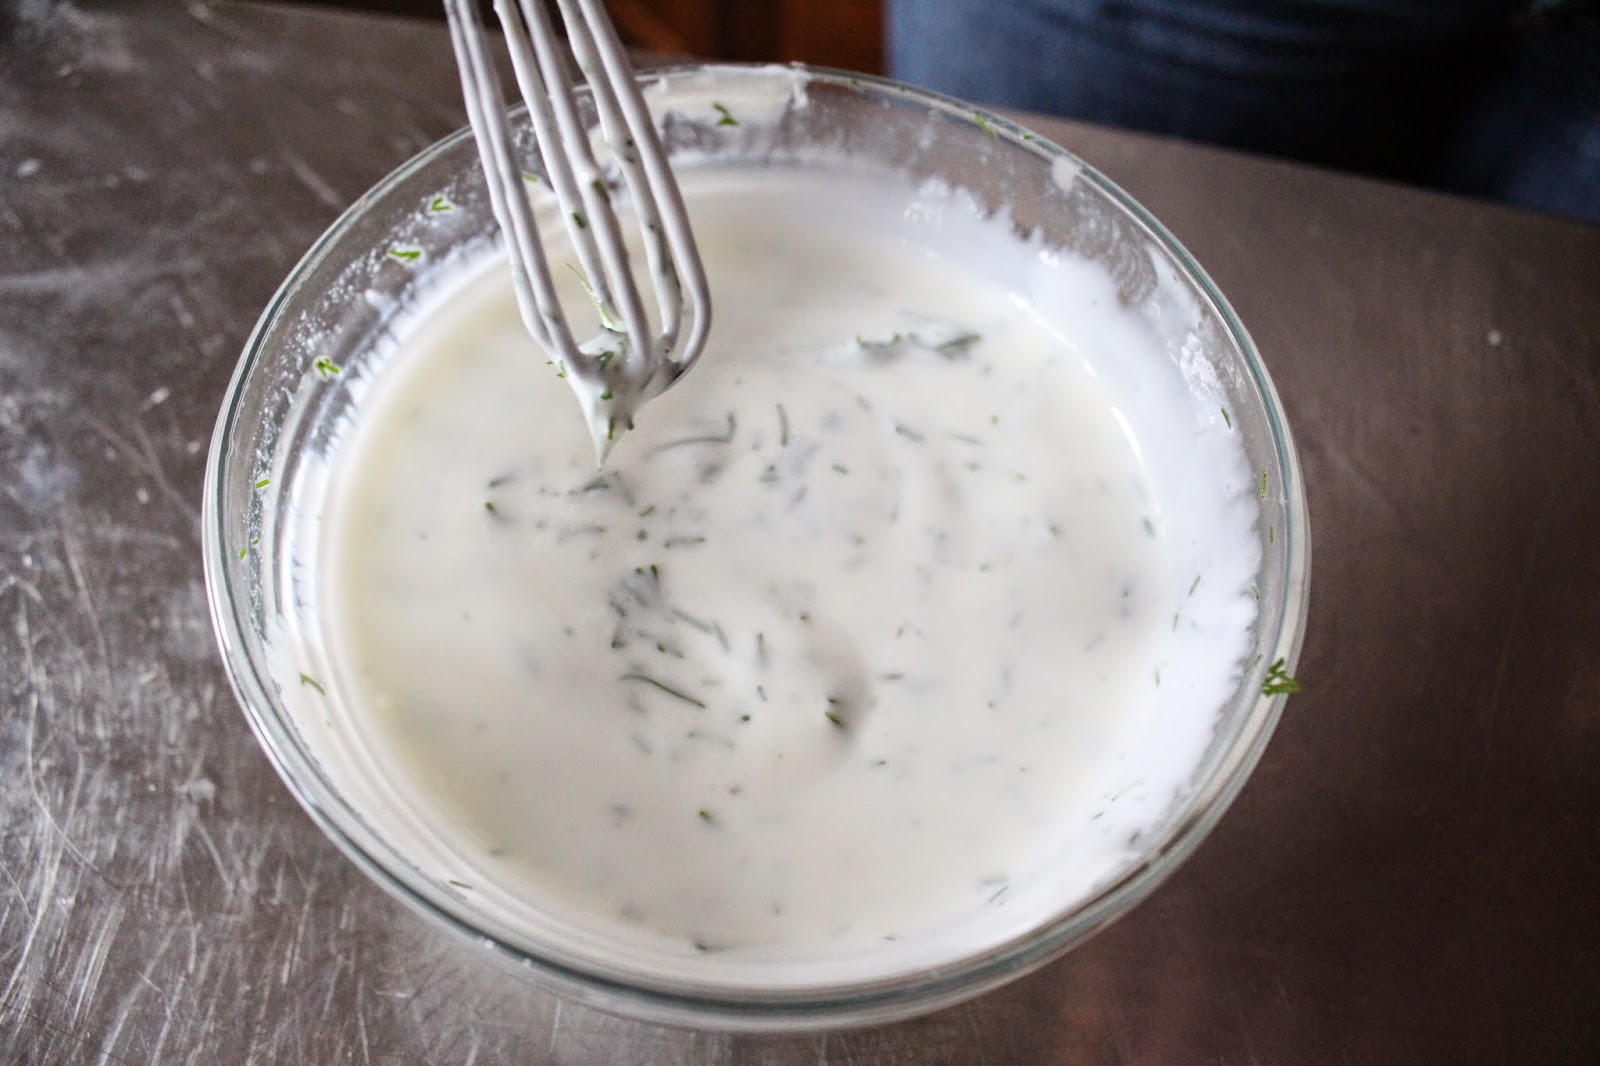
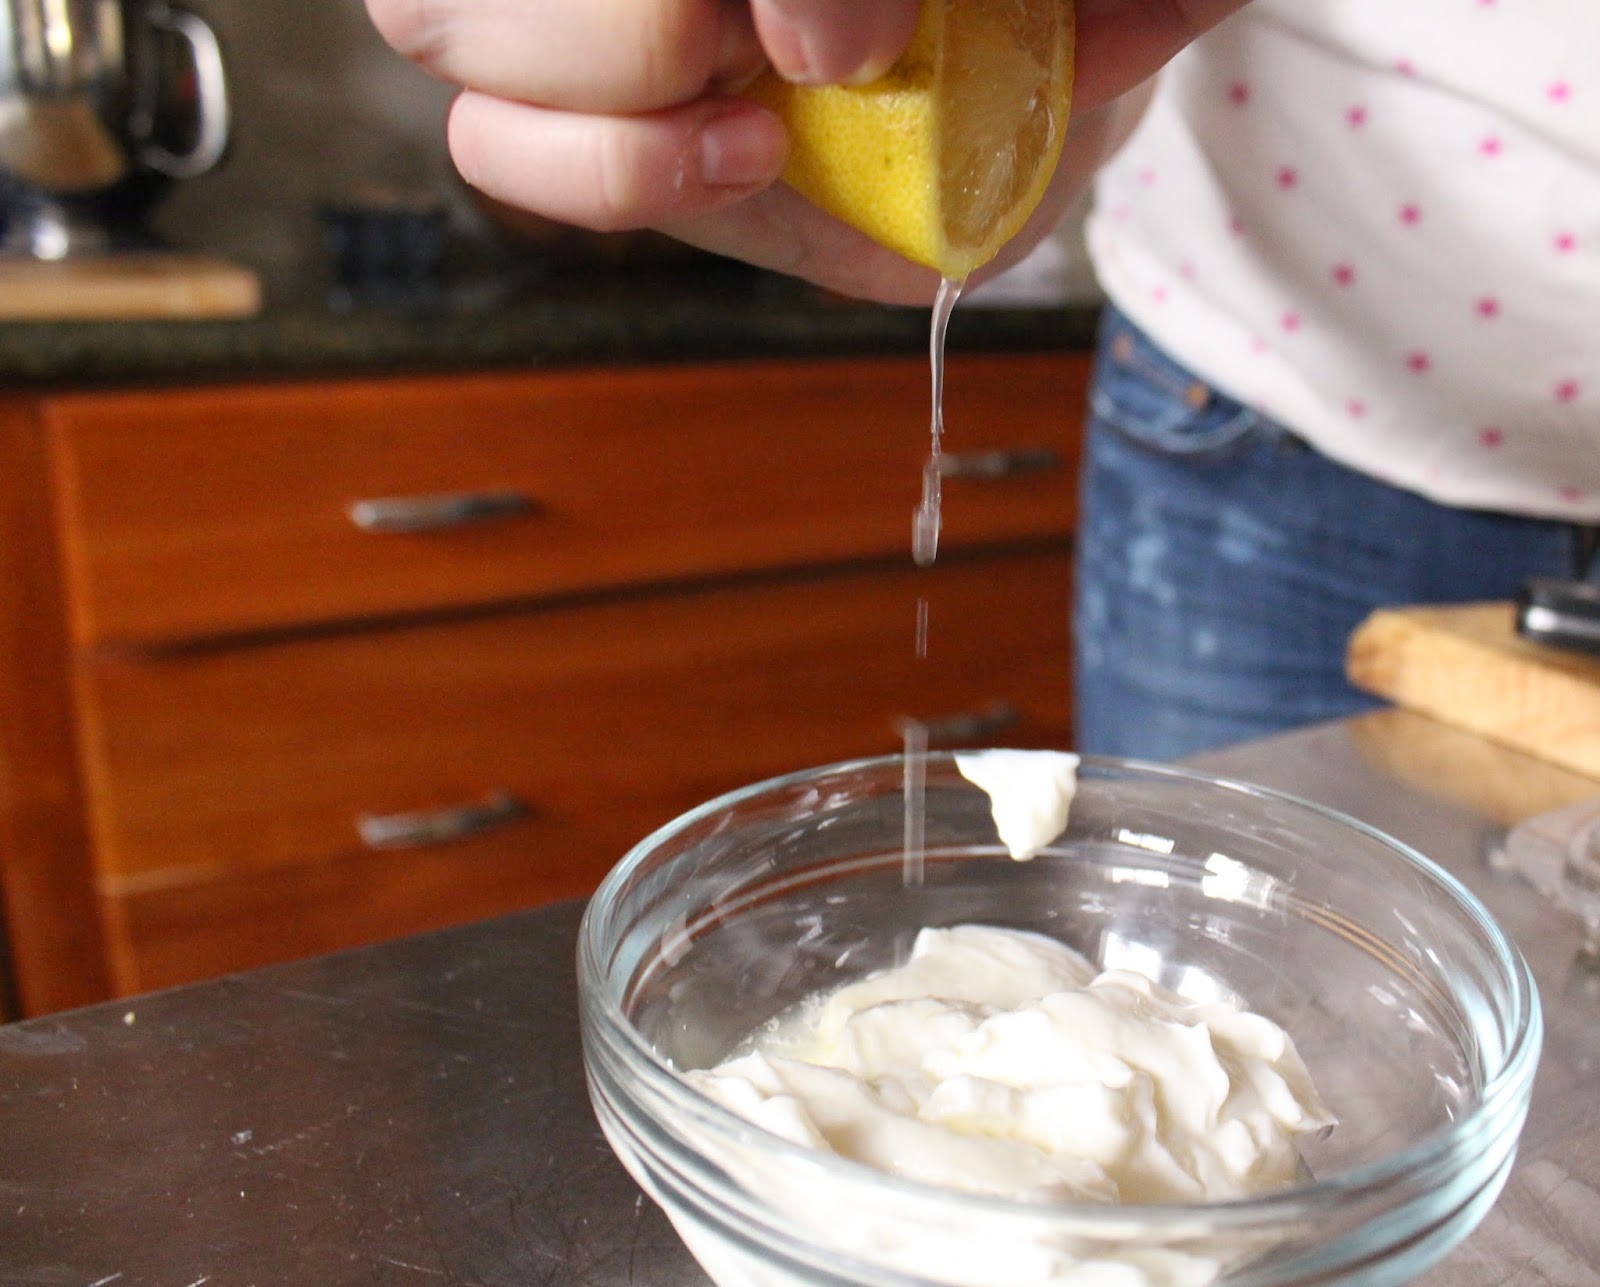
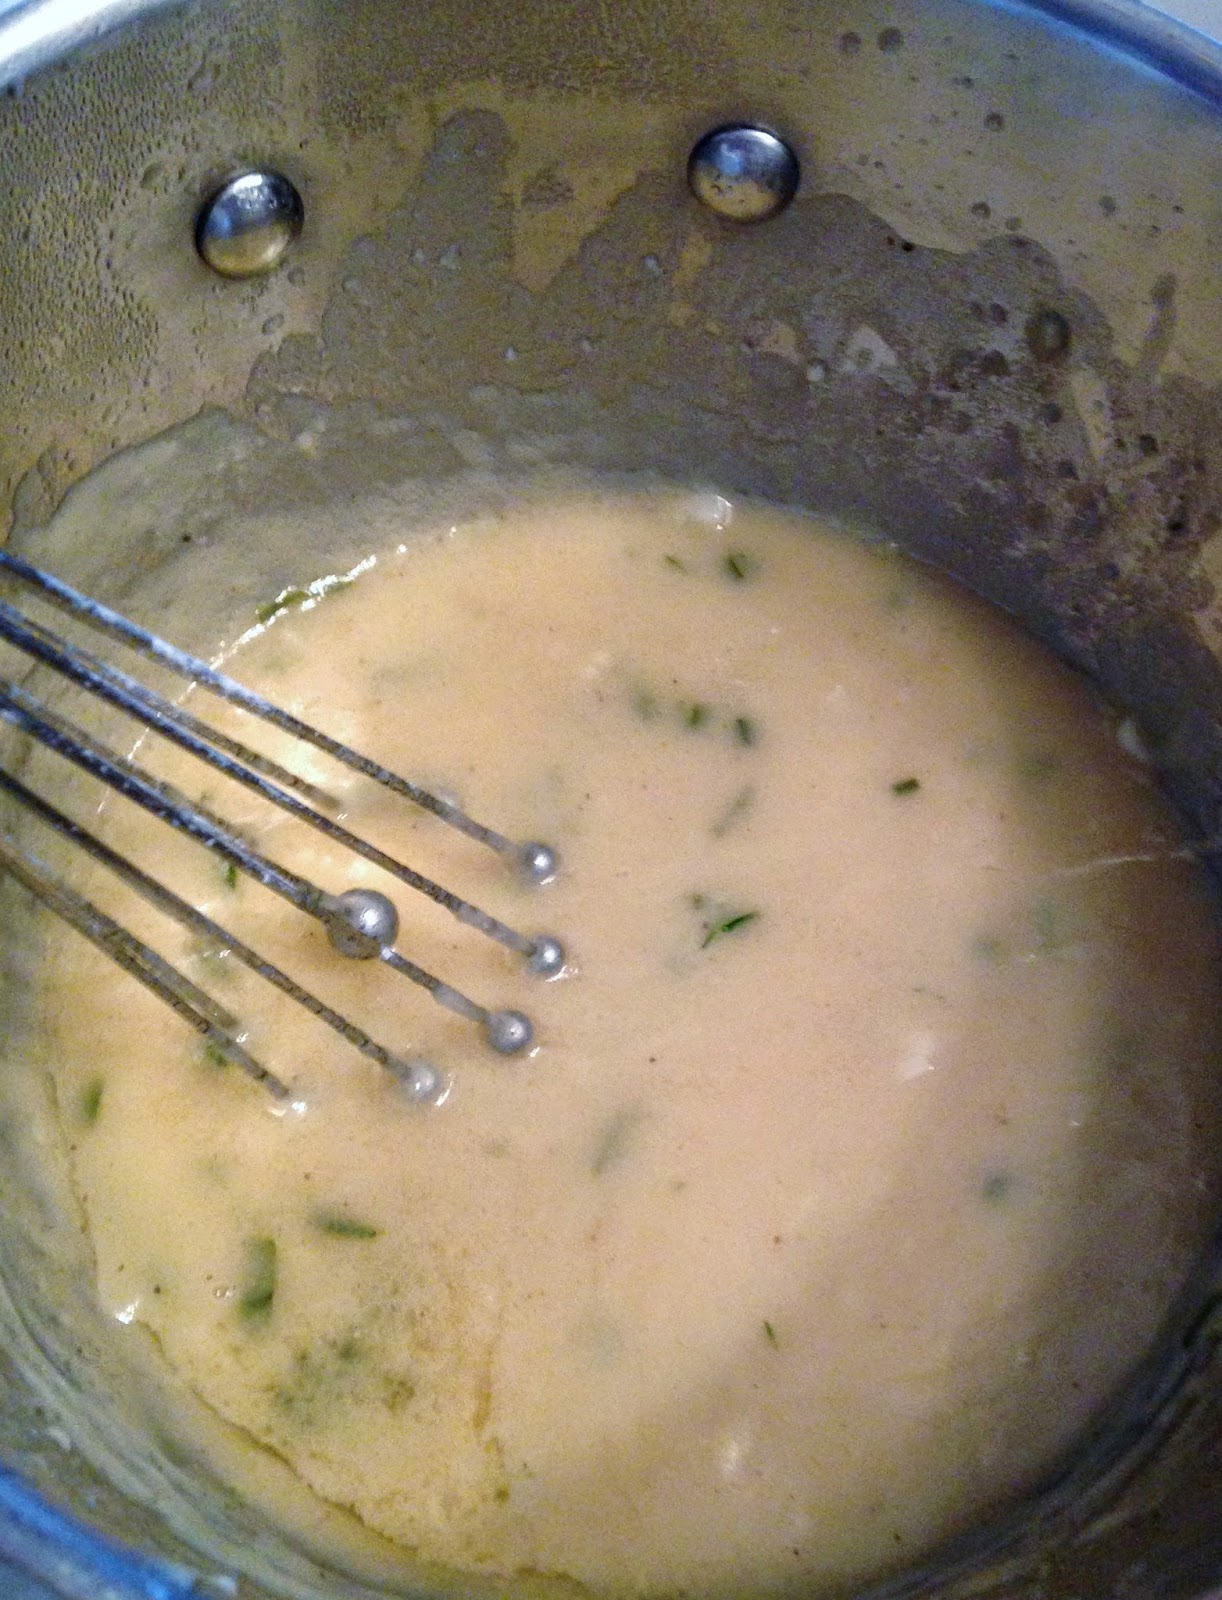
– Creme Fraiche – we used this Lemon-Dill sauce and that was terrific, or you could always just use cream cheese

1. Get everything grouped into little stations for quick assembling.

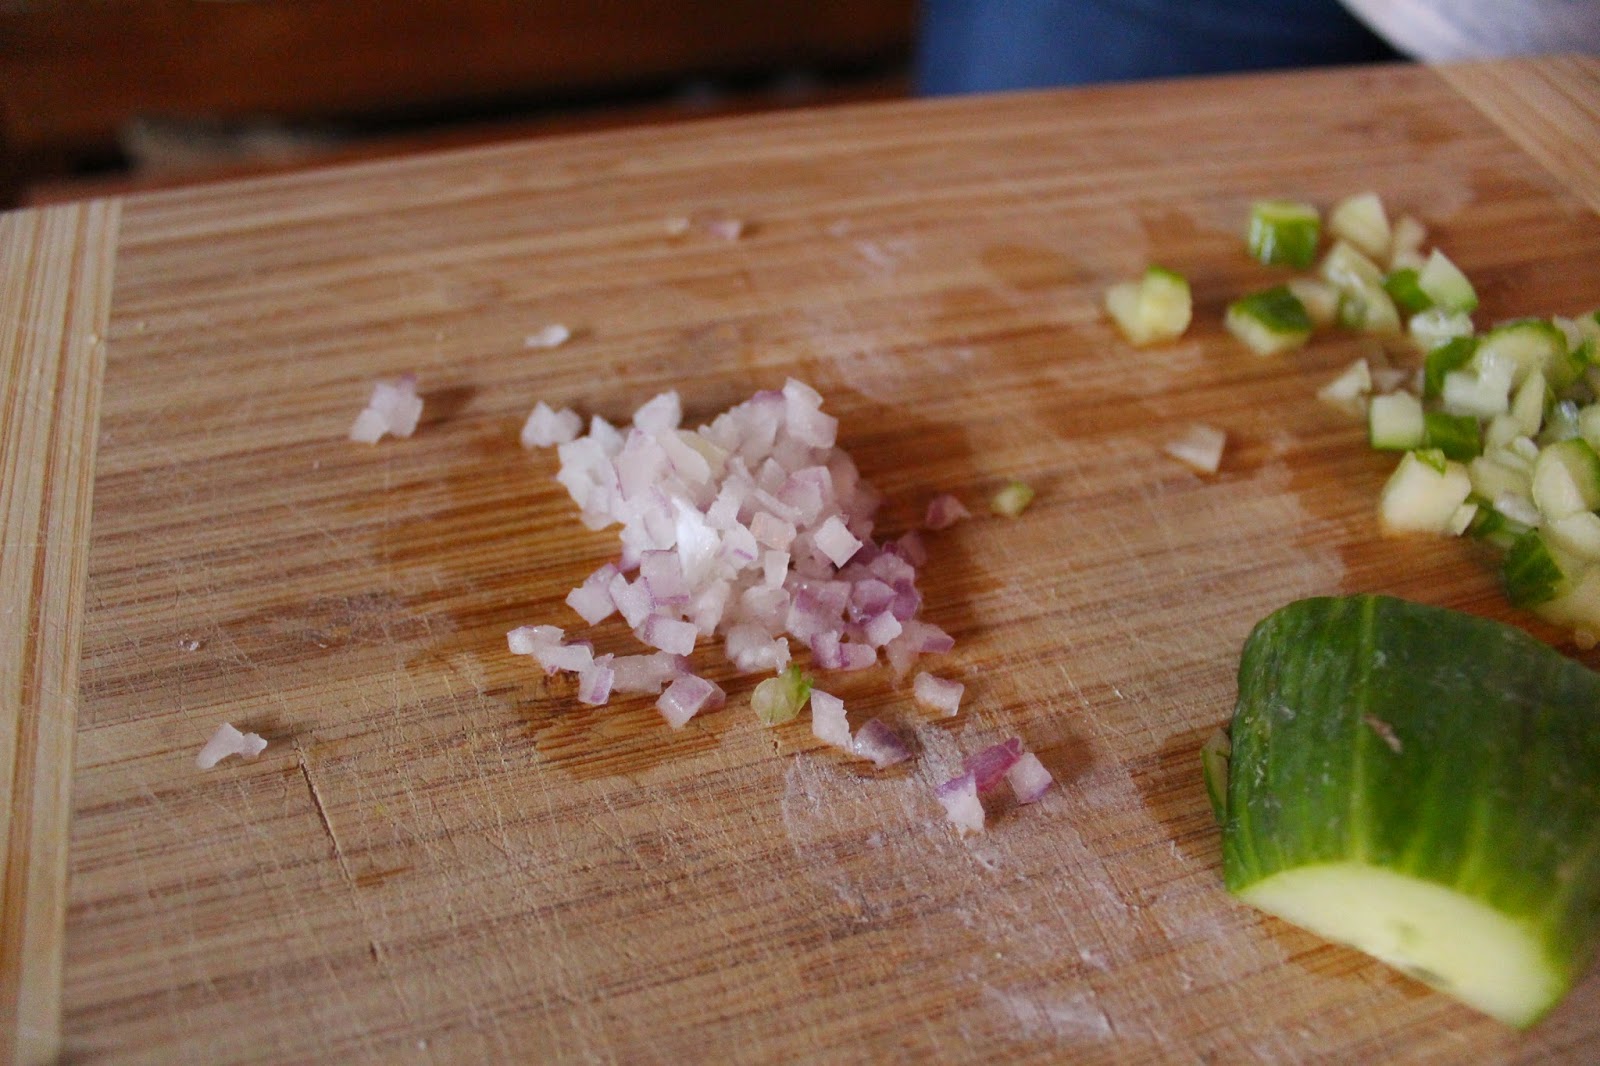
2. Chop the cucumber and mince the red onion.


3. Get out Wild for Salmon’s gorgeous Dill & Orange Gravlax. 

Continue reading “Salmon Appetizers with Cucumber, Dill, Red Onion and Creme Fraiche”

Lemon-Dill Sauce

This goes with just about any kind of fish, combines some of my favorite things (lemon, dill & greek yogurt) and is super, super simple to make. It’s tangy and bright and we just love it. This becomes a kind of creme fraiche, which is terrific since I can rarely find that around here!
 
LEMON-DILL SAUCE (makes a little more than a cup)
– 7.2 oz. plain greek yogurt (usually the amount in 1 container) 

– juice of 1 lemon
– fresh chopped dill, about 1 tsp.
– pinch of kosher salt

1. In a small bowl, combine the greek yogurt and the lemon. 


Continue reading “Lemon-Dill Sauce”

Homemade Baked Potato Chips

Someone in my family loves potato chips so much that they’ve been known to eat an entire family-size bag in one sitting. Oh, hi Mom! These chips are baked, which means they’re good for you, right? Okay, maybe not “good for you”, but they’re actually way better for you than the typical deep-fried ones, plus they’re ready in 20 minutes and super crunchy and delicious. We housed these.

HOMEMADE BAKED POTATO CHIPS (makes about 40)
– 2 russet potatoes cleaned really well (skin still on)
– 2 tbsp. EVOO
– Kosher salt

1. Preheat the oven to 400.

2. On a mandoline (be VERY careful – I swear one day I’m going to get over my fear of using these), slice these to 1/8 an inch. If you don’t have a mandoline, just try to cut these and thinly and uniformly as you can.

3. Rinse the potato slices in cold water, then pat dry really well – this is key to getting them to cook evenly.

Continue reading “Homemade Baked Potato Chips”

Crispy Lemon Chicken

 There’s nothing better than produce from the Farmer’s Market. Everything is fresher, bigger, more flavorful. I love talking to the farmers and getting to know more about where what I’m eating is coming from. It’s also so much easier to make healthy decisions during the summer, and I usually end up stocking up on meats to try and make it through the winter, like a 21st century Pioneer (which Brendan, who would live off the land entirely if it was up to him, is going to love). Anyway, the only time I’ll get chicken thighs is from the Farmer’s Market – any other time I’ve bought them from a grocery store, they kind of skeeve me out. This was thrown together in 10 minutes, ready in 30, and while it was cooking I made cauliflower puree and Brendan whipped up this awesome garlic-y, lemon-y sauce with scallions and thyme for the chicken. It was a crispy, super flavorful, perfect Monday night dinner.

CRISPY LEMON CHICKEN (serves 2-3)
– 2 lbs. skin-on, boneless (if you can find them, if not, bone-in) chicken thighs 
– 2 lemons 
– 1 tsp. EVOO 
– Kosher Salt & pepper 
– Leftover chicken juices 
– 2 tbsp. flour (approc.) 
– 2 cloves garlic, chopped 
– Fresh thyme and the greens of 2 scallions 

1. Preheat the oven to 425. 

2. In a COLD cast iron skillet (I used Le Creuset), add the tsp. EVOO, circling it around the pan. 

3. Add well-seasoned chicken thighs, skin side down, then turn up the heat to medium. The chicken will start to cook in its own fat and develop a ton of flavor. 

4. Walk away for about 10 minutes. After that time, flip the chicken thighs over and cook for another 4 minutes or so. When you flip them, the skin should be brown and crispy looking – this is perfect. 

5. Drain most of the oil from the skillet, leaving a pretty decent coating. 

6. Thinly slice one of the lemons, then scatter them into the skillet with the chicken. Squeeze half of the other lemon all over everything. 

7. Bake in the oven for approx. 10 minutes, or until chicken is 160 and the juices run clear when cut. 

8. Remove chicken and lemons from the pan. 

9. Make the sauce. Pour what’s left in the pan through a fine sieve into a small sauce pot. Mash the lemons against the side of the sieve so the lemon-ness gets into the sauce. Add the garlic, lemon juice, thyme and scallions and whisk it all together. 


10. Over medium-low heat, whisk together this mix, adding a little bit of flour at a time until it starts to come together. Keep whisking it to get the lumps out. 


11. Serve chicken with the sauce, some of the lemon and the side of cauliflower puree. Oh and make sure you have the sauce on the table, since you’re going to want it all over everything.


Whole-Grain Blueberry Sour Cream Pancakes


There are some days that just need blueberry pancakes, and today is one of those days. I used to make pancakes with a mix, but honestly, this is so much tastier, and you can gauge what goes into it too. Sour cream pancakes + blueberries = perfect Sunday morning. 

WHOLE-GRAIN BLUEBERRY SOUR CREAM PANCAKES (makes about 12 pancakes)
– 4 oz. sour cream (1/2 cup)
– 1 container honey greek yogurt (a little more that 1/2 cup)
– 1 tsp. vanilla extract
– 2 tbsp. sugar
– 1 egg
– 3/4 C. whole grain, whole wheat flour
– 1 tsp. baking powder
– 1/2 tsp. baking soda
– 1 tsp. cinnamon
– pinch nutmeg

1. Whisk together the sour cream, honey greek yogurt, vanilla, sugar and egg. 

2. Gently fold in the blueberries.

3. In a separate bowl, combine the flour, baking powder, baking soda, cinnamon and nutmeg.

4. A little bit at a time, combine the dry ingredients into the wet ingredients. 

5. Over medium heat, melt a pat of butter. When melted, add the batter a little bit at a time into pancake shapes.

6. Flip when the edges start to look cooked, then cook on the other side until done.


7. Serve with maple syrup and butter and enjoy the rest of your weekend!


Blueberry Pie

 Brendan and I spent one of the most fun/delicious Saturdays I’ve ever had in NEPA at Paupack Blueberry Farm this past weekend. These blueberries were amazing – as big as my thumb, perfectly sweet, growing rampant in the middle of these gorgeous blueberry fields. I felt like I was in a dream. A dream, of course, in which I turned into Violet Beauregard from Willy Wonka & the Chocolate Factory, because we picked about 5 lbs. of blueberries, couldn’t stop eating them, and then I came home and made a blueberry pie, blueberry pancakes and blueberry frozen yogurt. But listen – blueberries are full of antioxidants, right? So really we were just eating healthily. Summer’s winding down – get some in-season berries and throw together this fantastic blueberry pie.  


BLUEBERRY PIE
Crust (makes 2 – 1 for the bottom and 1 for the top of the pie):
– 2 cups all-purpose flour
– 2 tsp. salt
– 1/2 tsp. baking powder
– 1/3 C. super cold butter (I throw this in the freezer for about 10 mins)
– 1/3 C. shortening
– 1/3 C. super cold water

Filling:
– 4 tbsp. cornstarch
– 1/2 C. sugar
– 1/2 tsp. cinnamon
– 1/3 C. cold water
– 5 C fresh blueberries
– 1/2 lemon, juiced
– 1 tbsp. butter
– evaporated milk (for crust)

1. Preheat oven to 400.

2. In a bowl, combine the flour, salt & baking powder. 

3. Add to a mixing bowl of a Cuisinart Food Processor. Cut up the super cold butter into little chunks, add the shortening, and pulse the mixture until it starts to come together and form little pellets of dough. 

4. Add the cold water a little at a time until the dough comes together. Remove from the mixing bowl and form into a ball of dough. Wrap in Saran Wrap and put in the freezer while you get the filling ready. 

5. Combine the cornstarch, sugar, and cinnamon. Add to a sauce pan, turn heat up to medium-low, then add the water. Stir this mixture constantly until it starts to thicken. Remove from heat and set aside.

6. Fold this mixture into the (washed, obvs) blueberries, gently stirring to coat. 

7. Cut dough into half, then, on a floured wax paper or aluminum foil surface and with a floured rolling pin, roll this out into the bottom crust. 


8. Gently flip the crust over into the bottom of an ungreased pie pan.

9. Add the blueberries and cornstarch/cinnamon/sugar mixtures into the pie pan. 


10. Shave a couple little curls of butter on top of the blueberries, then squeeze half a lemon over them.


11. Roll out the top crust, then flip that over the blueberries to form the top crust.


12. Crimp edges, then cut little “breathing” slits into the crust, in whatever pattern you like (be creative!).


13. Brush evaporated milk over the top of the crust, then bake at 400 on the second to lowest rack for 45 minutes.

14. Now, the most difficult part. This has to sit for at least 5 hours to gel together, otherwise you’ll have a watery, runny blueberry pie. It’s torture, I know. Just keep your eye on the prize and think about how awesome blueberry pie for breakfast will be!

15. After 5 hours (you can put it in the fridge to speed things up), cut yourself a slice and enjoy. Summer!!!


California Eggs Benedict

You guys, I think this might be my new favorite breakfast. Poaching eggs is apparently the easiest thing in the world and they look so impressive. Take some avocados, smoked salmon, and the The Best Dressing Ever for a little heat, put them on whole-wheat English Muffins, and you have an unbelievably delicious, healthy-ish, completely filling breakfast that – honestly – puts just about every weekend brunch you could pay for to shame. Brendan and I had these for breakfast this morning, and both of us were taking our sweet time finishing them because we didn’t want to get to that last bite. SO GOOD.

CALIFORNIA EGGS BENEDICT (serves 2)
– 4 fresh eggs
– 3/4 avocado, sliced
– 4 oz. smoke salmon
– 2 whole wheat English Muffins
– a little bit of butter
– a little bit of kosher salt (optional)
The Best Dressing Ever

1. In a smaller sauce pot, heat about 6 inches of water over medium high heat. The temperature here is key – you want it to be bubbling but not boiling. Add a little white wine vinegar and a little kosher salt.

2. Crack 1 egg into a concave ramekin. If the yolk breaks, toss it and start again. 


3. When the water is ready, swirl it with a spatula into a little tornado of water. Gently spill the egg from the ramekin into the “eye” of the tornado. 

4. Let the egg cook for approximately 3-4 minutes. You want the egg yolk to be a little bit set but mostly runny, not firm. When yolk is ready, remove with a slotted spoon and place on a paper towel. Repeat with the other 3 eggs, one at a time.


5. Meanwhile, slice the avocados and get out the smoked salmon.


6. When you add the last egg to the poaching pot, lightly toast the English Muffins. When toasted, add a little butter to melt. 


7. Remove the last egg from the water, turn off the stove, but leave the water on the stove.

8. Have your super talented boyfriend get out his bad-ass camera to take the following pictures.

9. Top English Muffins with smoked salmon and avocado slices.


10. To reheat the first few eggs, add them back to the poaching pot for a minute to reheat in the warm water. Remove and drain.

11. Top smoked salmon and avocado slices with poached eggs.


12. Get out the Best Dressing Ever, and drizzle over the eggs. 


13. Top with a sprinkle of Kosher salt (optional). 

14. Cut into the middle of the yolk so it spills over the English Muffins. Brace yourself for enjoying one of the best breakfasts you’ll ever have.