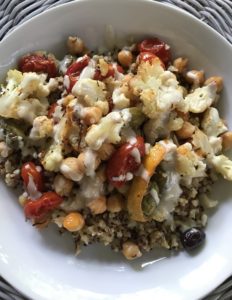
Roasted Cauliflower, Tomatoes, Chickpeas, Lemons and Olives with Quinoa and Lemon-Tahini Dressing

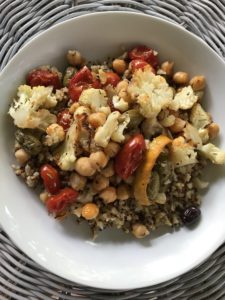
I’ve been trying recently to make salads that combine a bunch of produce and taste like they could be served in Paris (“Feed me like one of your French girls”).  This was a great combo of some cherry tomatoes that were a couple days away from their expiry date, roasted cauliflower (which is my all-time fav), chickpeas, mediterranean olives and lemons, topped with a lemon-tahini drizzle and served over a quinoa and bulgur mix. It seems way fancier than it is, takes about 10 minutes tops to throw together, minus cooking time, and makes a ton of a really healthy, super filling dish for lunch or dinner.

Roasted Cauliflower, Tomatoes, Chickpeas, Lemons and Olives with Quinoa and Lemon-Tahini Dressing

  • Two 15.5-oz. cans of chickpeas, rinsed and drained
  • One lemon, sliced into fairly thin rounds
  • Half a large head of cauliflower, cut into bite-size slices
  • 1/3 cup olives, pitted
  • 1.5 cups cherry tomatoes
  • One cup dry quinoa, or quinoa/bulgur mix, which is delicious and takes approx. 10 minutes from start to finish to cook
  • 1.5 tbsp. Herbs de Provence
  • 1/2 tsp. coarsely-ground salt
  • 2.5 tbsp. EVOO, or Lemon Olive Oil, if you have it
  • Lemon-Tahini Dressing
  1. Preheat oven to 400.
  2. Line a baking sheet with parchment paper, for easier cleanup.
  3. Spread chickpeas over the parchment paper, then top with sliced cauliflower, olives, cherry tomatoes and sliced lemons. 
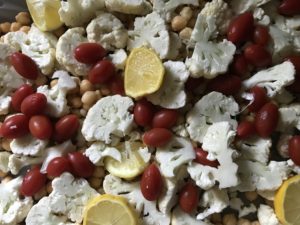
  4. Drizzle olive oil over everything, then add herbs de provence and salt. With your hands, mix everything until fully covered. 
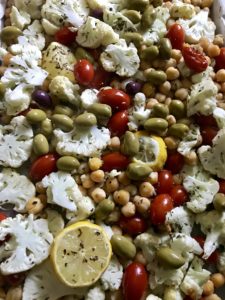
  5. Roast for 30 minutes, then remove from the oven and use a spatula to flip as much as you can. Roast for another 15 minutes or until tomatoes are blistered and cauliflower has browned edges. 
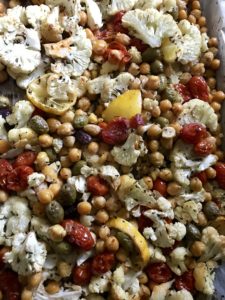
  6. While the dish is roasting, make the quinoa/bulgur mix according to package directions. When ready, fluff with a fork and remove from heat. 
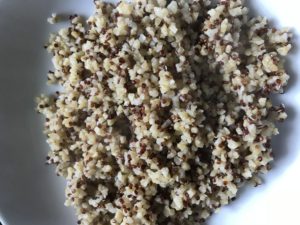
  7. Serve the veggies and chickpeas over the quinoa. Drizzle with some lemon-tahini dressing to taste. 


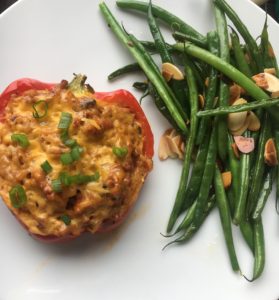
Stuffed Peppers

Ok, so I hated these growing up. Then one day about a year ago, I decided to try them again. And they’re AMAZING. Making them with ground turkey and adding a secret spice to them kind of makes them taste – warmer, I think. Brendan added these to the top of his “favorites” list and he gets soooo super psyched whenever I tell him I’m going to make these for dinner. This all comes together really quickly, especially if you use quickie rice, looks so pretty and makes perfect leftovers, too. Enjoy.
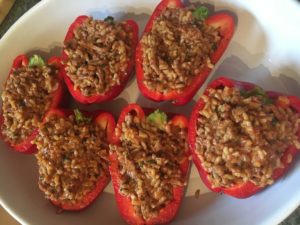
STUFFED PEPPERS (makes 6 halves)

  • 3 red and/or orange bell peppers
  • 1 lb. ground turkey
  • 2 cloves garlic, minced
  • 1 tsp. EVOO
  • 2 tbsp. fresh chopped cilantro
  • 1/3 vidalia onion, chopped
  • 1 large tsp Garam masala (don’t skip this, it gives it a unique flavor we love)
  • 1 large tsp garlic powder
  • 1 tsp kosher salt
  • 8 oz. tomato sauce
  • 1 C chicken broth
  • Grated cheddar cheese
  • 1 scallion, thinly sliced
  • Uncle Ben’s quick-cook rice (I use the whole grain brown chicken-flavored rice) that cooks in 90 seconds
  1. Preheat oven to 400.
  2. Heat EVOO over medium heat in a large skillet. Add chopped onion, garlic and cilantro, sautee for 2-3 minutes.
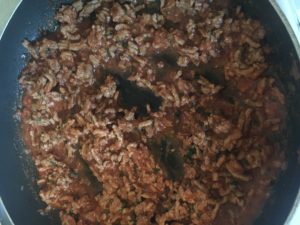
  3. Add ground turkey, garlic powder, garam masala and salt, stir to combine. Cook, stirring occasionally, until the turkey is browned.
  4. Add 1/2 C. chicken broth and all the tomato sauce, turn the heat to low and simmer for five minutes.
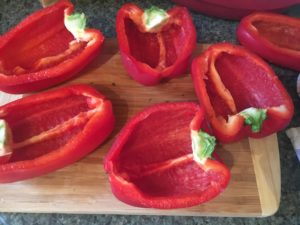
  5. Meanwhile, cut the peppers lengthwise (I think this also makes the dish look so much better), scrape out the seeds, but keep stems on if possible for decoration.
  6. Heat up the rice according to package directions, then add to the turkey mix. Stir to combine.
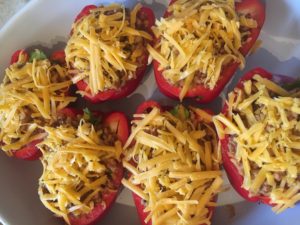
  7. Place peppers in a baking dish, then carefully stuff with the turkey and rice mixture. 
  8. Top with shredded cheddar cheese.
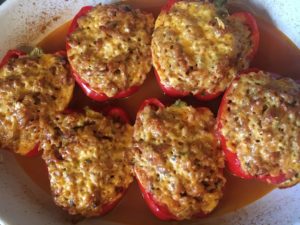
  9. Add another 1/2 C. of the chicken broth to the baking dish, creating a little pool of liquid around the peppers (don’t splash this IN the peppers).
  10. Cover and bake at 400 for 45 minutes.
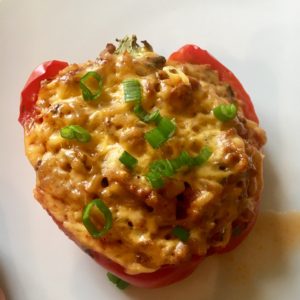
  11. Remove from oven, top with scallions and serve immediately.


French Green Beans with Toasted Almonds

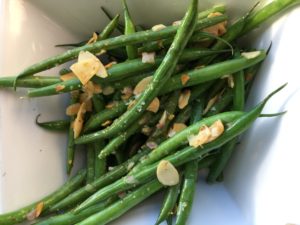
Ugh, I swear this is how French women stay skinny. I crave vegetables in France. There’s just something simple and indulgent about how they’re cooked and presented, and my very favorites are haricots verts, or French green beans. They’re basically American green beans, but super skinny (very French). This is a super simple, incredible tasty side that I could have with almost every meal I make. Enjoy.
FRENCH GREEN BEANS WITH TOASTED ALMONDS (serves 3-4 as a side)

  • 1 Lb. haricots verts (you can usually find these in grocery stores like Whole Foods, Wegman’s or Central Market, they’ll be labeled “French green beans.”)
  • 2 Tbsp. walnut oil
  • Heavy pinch fleur de sel
  • Fresh-cracke black pepper
  • 1/4 c. blanched and slivered almonds (you can find these in a bag in the grocery store, you don’t have to do this yourself).
  1. Heat walnut oil in a nonstick skillet over a little more than medium heat.
  2. Add green beans and a heavy pinch fleur de sel. Stir and cook for about three minutes.
  3. Cover most of the pan with a lid and cook for 6 more minutes, stirring every 2 minutes.
  4. Meanwhile, heat a small pan over medium, then add walnuts and toast, shaking the pan frequently and watching closely so the almonds don’t burn. This should take about 5 minutes. Remove from heat when golden brown.
  5. Add salt and pepper to haricots verts to taste, then top with toasted almonds. Serve and enjoy. J’adore les haricots verts!

Pitaya (Dragonfruit) Breakfast Bowl

FullSizeRender_1

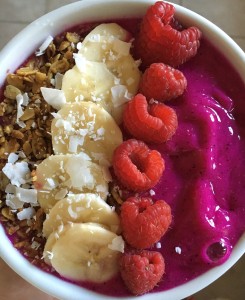
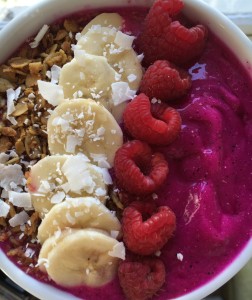
I’ve been sporadically buying these for a couple weeks down here in San Antonio, and realized lately I better learn how to make them myself, because $9 for a breakfast bowl is notttt happening. Dragonfruit (or Pitaya, if you want to be really fancy about it) is a crazy-looking fruit that’s packed with antioxidants and is a gorgeous bright pink color the stuff my eight year old birthday party dreams were made of. I combined a frozen smoothie pack of this with some coconut water and frozen cubes of fresh papaya and banana, plus about a tablespoon of chia seeds that I soaked overnight. Then, you blend it into “eat with a spoon,” not “drink with a straw” texture, top artfully with fruit and toppings of your choice and serve to your fiance, who will think this is so pretty he’ll instagram it (Hi Brendan!).

PITAYA (DRAGONFRUIT) BREAKFAST BOWL (makes 1)

  • 1 packet Pitaya Plus Smoothie Pack (NEPA friends – check Wegman’s)
  • 1/2 frozen banana (peeled and cut into slices)
  • small handful frozen papaya cubes
  • Coconut water, about 1/3 a cup
  • 1 tbsp. soaked chia seeds (optional)
  • Toppings (your choice): Sliced fresh banana, raspberries, blueberries, coconut flakes, granola, kiwi, etc.

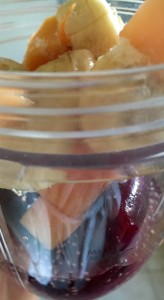
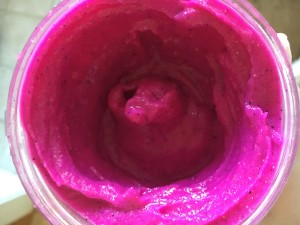
1. In a Nutribullet or a blender, combine the smoothie pack, frozen banana and papaya, chia seeds and coconut water. Blend until it’s an “eat with a spoon” consistency (add more frozen banana or even ice to thicken it, or more coconut water to thin it).

FullSizeRender IMG_0981

2. Pour carefully into a smallish bowl.

3. Top creatively with fruit, granola, coconut etc. There are so many options for this beautiful, insanely healthy way to start your day. Enjoy!

FullSizeRender_2


Cauli-rice


FullSizeRender (3)

I swear, cauliflower is one of my favorite sneaky little foods. It seems so boring and basic, but then all of a sudden, it’s cauliflower mashed “potatoes” that would easily pass for the real thing. Or it’s an insanely flavorful roasted little snack. Or it’s blended with potatoes and a hearty, comfort-food-style soup.  I kept reading about cauliflower “rice” and – amazingly – doubting its ability to be awesome. And then I tried it, and once again, cauliflower surprised me. This was so delicious (and healthy!), I don’t think I’ll ever go back to the real deal.

CAULI-RICE (serves 2)

  • Half a head of cauliflower
  • 1 tbsp. EVOO
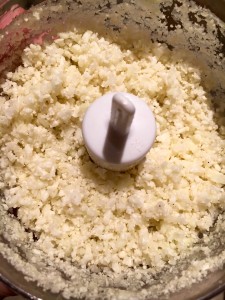
  1. Carefully cut away most of the stems of half a head of cauliflower. Working in batches, pulse in a food processor until the texture resembles rice.

FullSizeRender (1)

2. Heat EVOO in a large skillet over medium heat.

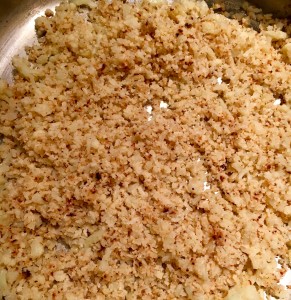
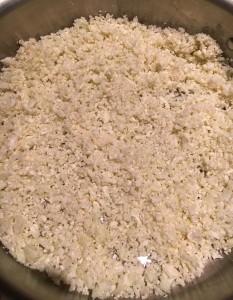
3. Add cauliflower to the skillet when oil is heated, then cover and let cook for about 10 minutes. You want to let this sit a bit to pick up some flavor from browning, so don’t stir it more than once or twice.

FullSizeRender (2)

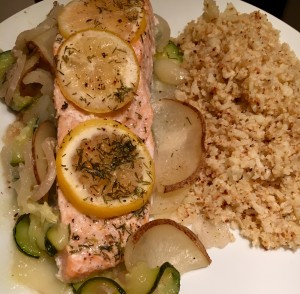
4. When cauliflower is ready, serve alongside just about anything. We had ours with salmon in parchment for a super-simple, heart-healthy Sunday dinner.

FullSizeRender (4)


Blood Orange Citrus Salad with Honey, Basil and Sea Salt


CS2

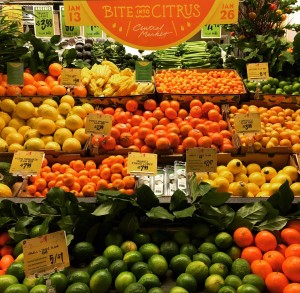
Winter in San Antonio has been…not terrible. While the poor East Coast is getting Snowzilla’ed, we’re outside enjoying the sunshine. And Central Market is currently having their Citrus Celebration, which features about 60 different kinds of grapefruit, oranges, lemons, etc. It’s beautiful and delicious and makes me happy every time I set foot in that store.

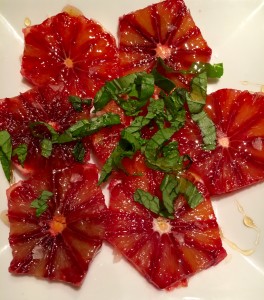
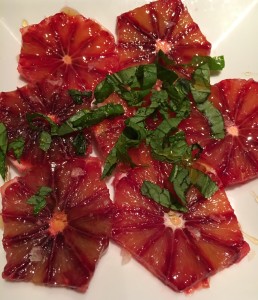
This salad is perfect as either an appetizer or a dessert. Blood oranges are seasonal, and sweeter than a typical orange, but the addition of a little drizzle of honey, some flaked citrus salt (if you have it, if not, regular salt will work too) and some julienned basil is the most amazing combination. So many flavors!!

BLOOD ORANGE CITRUS SALAD WITH HONEY, BASIL AND SEA SALT (Serves 2)

  • Two blood oranges
  • Local honey, approx. 1 tsp. per salad
  • 7-8 basil leaves
  • Pinch of flaked citrus salt or regular sea salt
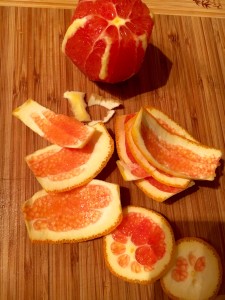
  1. Cut off the top and bottom of the orange, so it can stand on one end. Then, carefully remove the skin with a sharp knife, making sure you don’t cut away too much of the orange.

FullSizeRender

2. Cut orange into slices, width-wise, and arrange on a plate.

3. Drizzle with honey, sprinkle with sea salt and top with julienned basil. Serve immediately.

CS3

citrus
Look at all this citrus!!! Come on!!

Paleo Chicken Fingers (Gluten-free)


IMG_0561

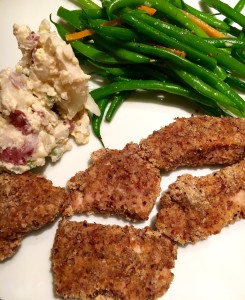
Ok, to preface this  – I am not “going gluten-free.” However, I’m half Sicilian, and I love pasta way too much. And I also have a wedding dress I need to fit into in seven months, so something’s got to be done. So for the past few weeks, I’ve been experimenting with gluten-free recipes during the week, and “cheating” during the weekends. It keeps me in check with what I’m consuming, especially down here in Texas, and the portion control piece of all of this is also working out better than I expected. After three months of indulging in our new city, it’s time to reign it back in. And it’s a testament to these recipes that Brendan had NO CLUE I’d decided to start eating, and cooking, gluten-free. These were seriously delicious.

PALEO CHICKEN TENDERS (serves 4)

  • 1 lb. chicken breast or chicken tenders
  • 1.5 C almond meal (Bob’s Red Mill makes a great combo of the meal/flour)
  • 1/2 tsp. garlic powder
  • 1/2 tsp. freshly cracked black pepper
  • 1/2 tsp. kosher salt
  • 2 eggs, lightly beaten
  1. Preheat oven to 375.
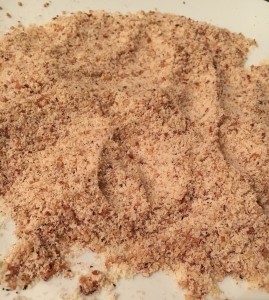
  2. Prep your setup: in one bowl, have the eggs. In another, larger bowl, combine the almond meal with the spices. IMG_0559
  3. Using a fork (this will keep your hands from getting all breaded, themselves) dip the pieces of chicken first in the eggs, then on both sides in the almond meal, lightly pressing to make sure the almond meal forms a good coating on the chicken.
  4. Spray a cooking sheet with cooking spray or rub some olive oil on it.
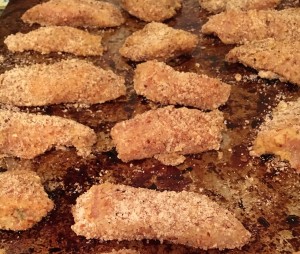
  5. Place the “breaded” chicken on the baking sheet, then bake for 20-25 minutes, flipping once, until golden and chicken is cooked through.
  6. Serve with a side of honey mustard – I made this by just combining dijon mustard with a little honey and a little mayo – and some green beans.  So good.

IMG_0560

Homemade Chicken Stock

IMG_6669

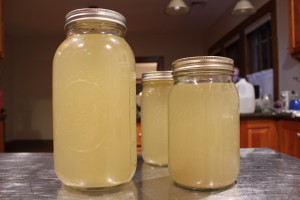
This is so easy to make that it actually makes you feel guilty about buying chicken stock from the store. You basically have to force yourself to be lazy enough not to make this, especially when you make roasted chickens as much as we do. It’s basically a collection of what’s left in your fridge, some simmering, then freezing for fresh chicken stock all day, all the time.

HOMEMADE CHICKEN STOCK (makes about 3 quarts)

  • 1 chicken carcass (from a roasted chicken – I use this after we’ve used the bulk of it for recipes)
  • 2 carrots, chopped
  • handful parsley
  • 1 onion, cut into quarters
  • Kosher salt & pepper, approx. 1 tsp of each

1. Get a big stockpot, the biggest you have.

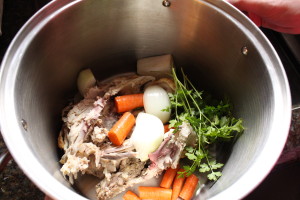
2. Throw in the chicken carcass, parsley, carrots, onion, salt & pepper.

IMG_6276

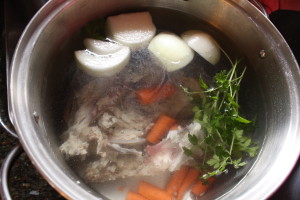
3. Fill to the top with water – for me, this was about 12 cups.

IMG_6285

4. Bring to a boil, then turn down to a simmer. Simmer for about 3 hours over very low heat, stirring every once in a while.

5. Taste, season, then remove all the chicken, veggies & parsley.

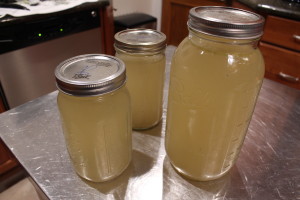
6. Store stock in large mason jars in the freezer (I stuck them in the fridge for a couple hours so they didn’t break while going from boiling to freezing) and thaw to use when needed. Enjoy.

IMG_6667


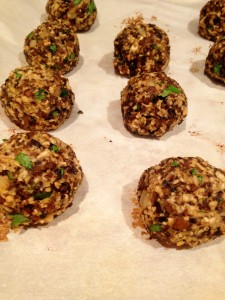
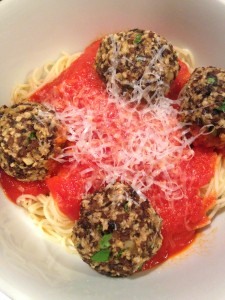
Mushroom “Meatballs”


IMG_6848IMG_6851

These were the first thing Brendan ever made me, and they’re one of my very favorites. Meatballs are one of the best foods ever, but these are vegetarian, and they honestly stand up to the real thing. Plus, anytime I get Bren in the kitchen is a done deal. He’s an awesome cook.

MUSHROOM “MEATBALLS” (makes about 20 – recipe via allrecipes.com)

  • 1 lb. white mushrooms, finely chopped
  • pinch salt
  • 1 tbsp. butter
  • 1/2 c. yellow onion, chopped
  • 4 cloves garlic, minced
  • 1/2 C. quick-cook oats
  • freshly grated parmesan cheese
  • 1/2 C. bread crumbs
  • 1/4 C. chopped flat-leaf parsley
  • 2 eggs, divided
  • 1 tsp. salt
  • 1/2 tsp. black pepper
  • pinch cayenne pepper
  • pinch dried oregano
  • 1 tbsp. EVOO

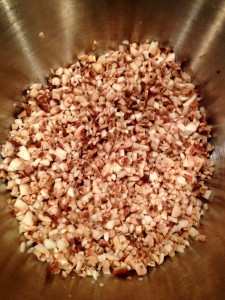
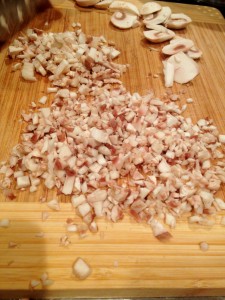
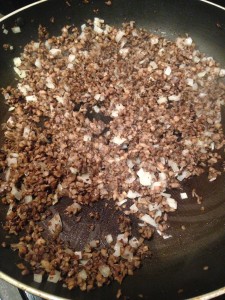
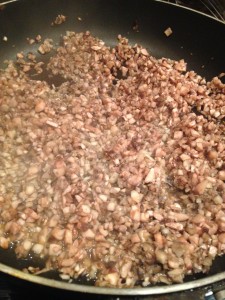
1. Finely chop mushrooms, then heat the 1 tbsp. EVOO in a large skillet over medium. Add mushrooms and a pinch of salt, cook and stir until the liquid has evaporated.

IMG_6820 IMG_6817

2. Add butter to the mushrooms, cook until golden brown.

IMG_6827 IMG_6829

3. Add onion to the mushroom mixture and cook until it’s translucent, approx. 5 minutes. IMG_6834

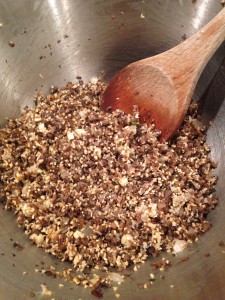
4. Remove from heat, add garlic and stir approx. 90 seconds. Add mixture to a mixing bowl.

IMG_6835

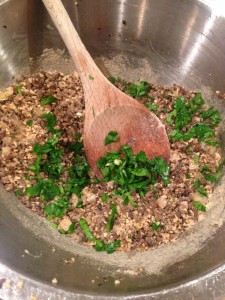
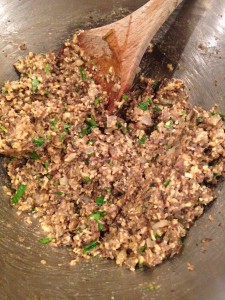
5. Mix in the oats, approx. 1/3 C. parmesan, bread crumbs, parsley and, when the mixture is cool, 1 egg. Add the salt pepper, cayenne pepper and oregano, then mix until combined. Stir in the other egg.

IMG_6839 IMG_6840

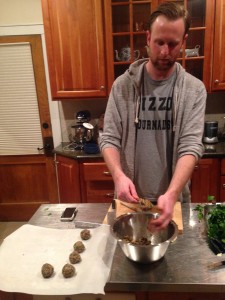
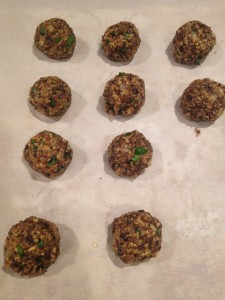
6. Heat oven to 450. Line a baking sheet with parchment paper, then roll the mixture into little meatballs.

IMG_6842 IMG_6845

7. Bake for approx. 15 minutes or until mushrooms are golden brown. Eat alone or over pasta – these are the bomb.

Continue reading “Mushroom “Meatballs””

Colorado Christmas

IMG_6664

Brendan and I just got back from 9 days in Colorado – one of the best weeks of 2014, by far. We flew into Denver, spent the night and the next morning in Boulder with my college roommate Meri, her husband Tim and their three kids (my favorites), then picked up Brendan’s brother Kyle and drove out to their hometown, Grand Junction, on the western slope. Then, we drove down to Pagosa Springs for skiing, hot spring-ing and relaxing, then up to Telluride for Christmas, then finally back to Brendan’s hometown for a night out with his friends before flying out of DIA the next day. WHAT A WEEK.  Colorado is my favorite state in the country, and it was so great to be back there, getting to see where Bren grew up, spending time with his family and just being able to kick back for a while. The pace of life out there is so much more manageable; people are healthy, fun and active; the culture is smart and progressive; and don’t even get me started about how unbelievably gorgeous every single part of that state is.
Continue reading “Colorado Christmas”