


When I was a kid, I detested meatloaf. It just seemed like such a weird, gross thing to me, and I would sit and sulk at the dinner table while I picked miserably at it. That ship has sailed. My mom’s meatloaf is one of the comfort foods I’d crave most of all when I lived outside of NEPA, and I’ve put together tons of different versions based on her recipe.
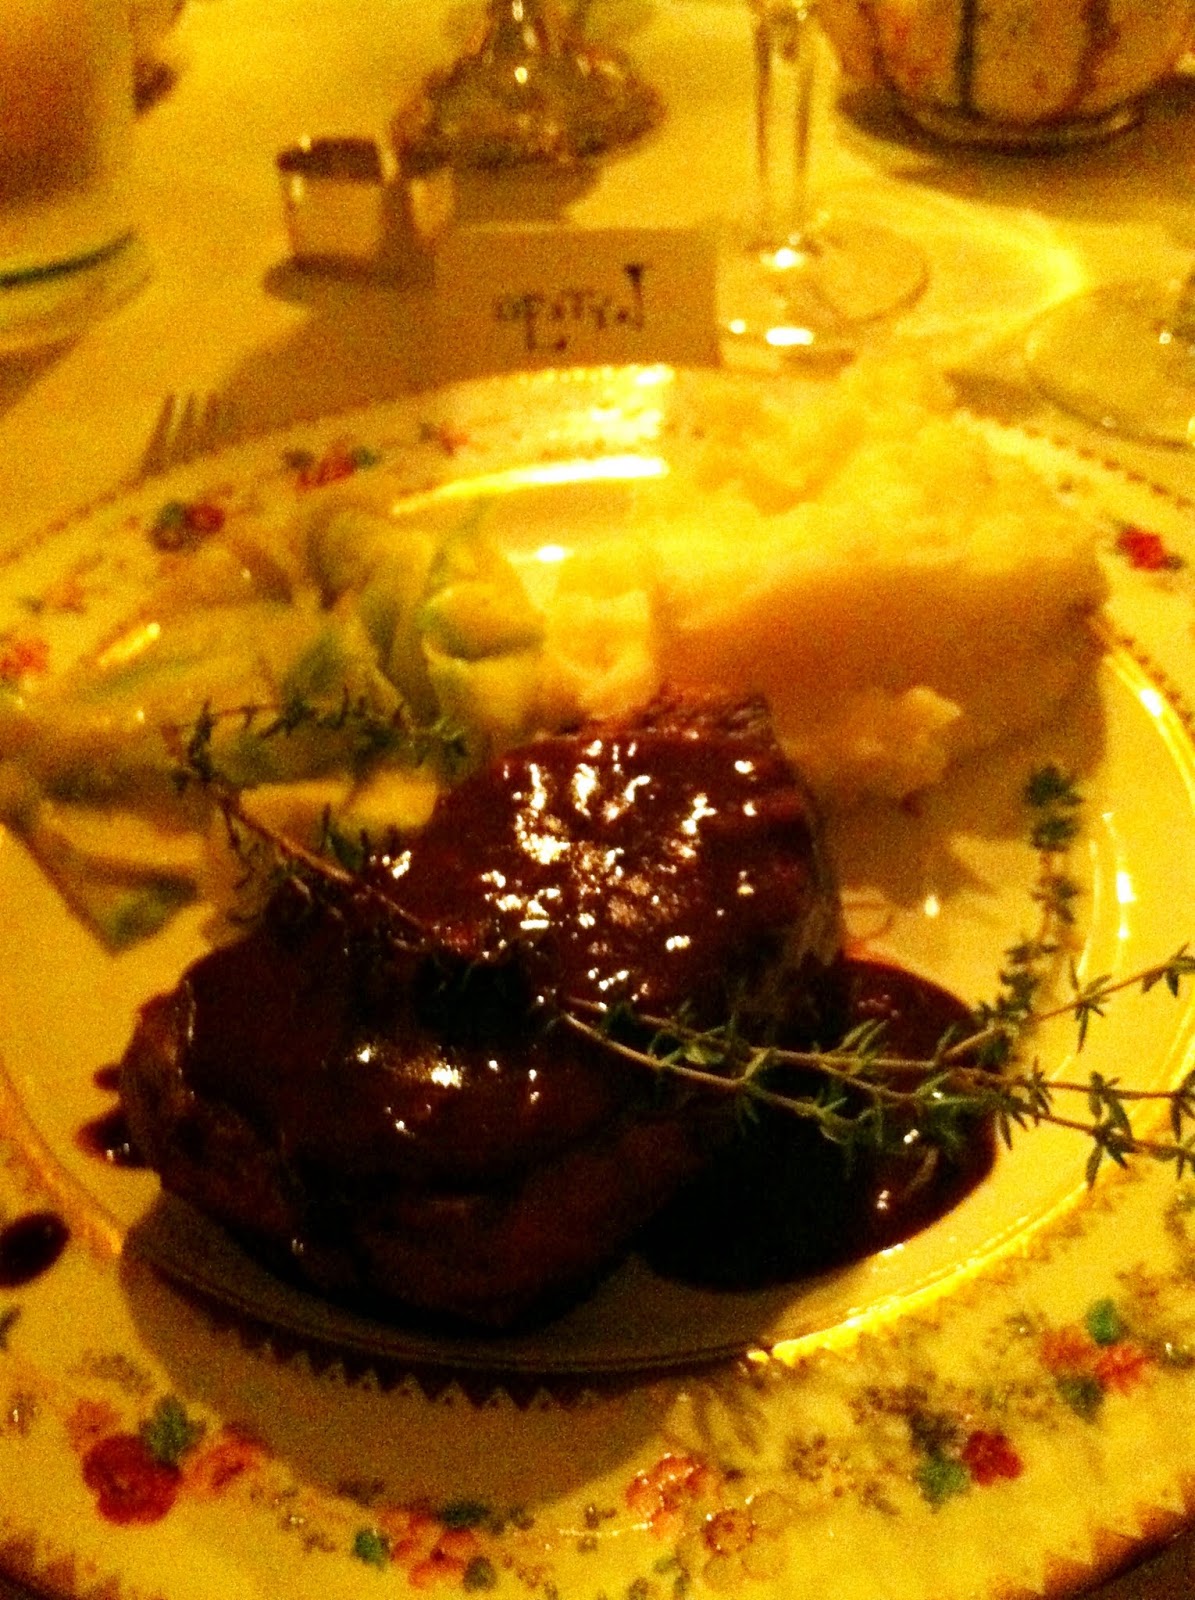
This turkey meatloaf, however, is Inga’s. The sauce is (almost) Alton’s. It was incredibly tasty, juicy (for turkey meatloaves, this can be hard to accomplish), had a note of sweetness, and was spiked with cumin – which is apparently packed with health benefits. That mix might sound a little “off”, but the flavors all came together in a totally delicious way. There was enough left over for 2 meatloaf sandwiches the next day, and that was about it!
TURKEY MEATLOAF WITH A CUMIN-KETCHUP-HONEY & BROWN SUGAR GLAZE (serves 4)
– 2 lbs. ground turkey
– 3/4 tsp. tomato paste
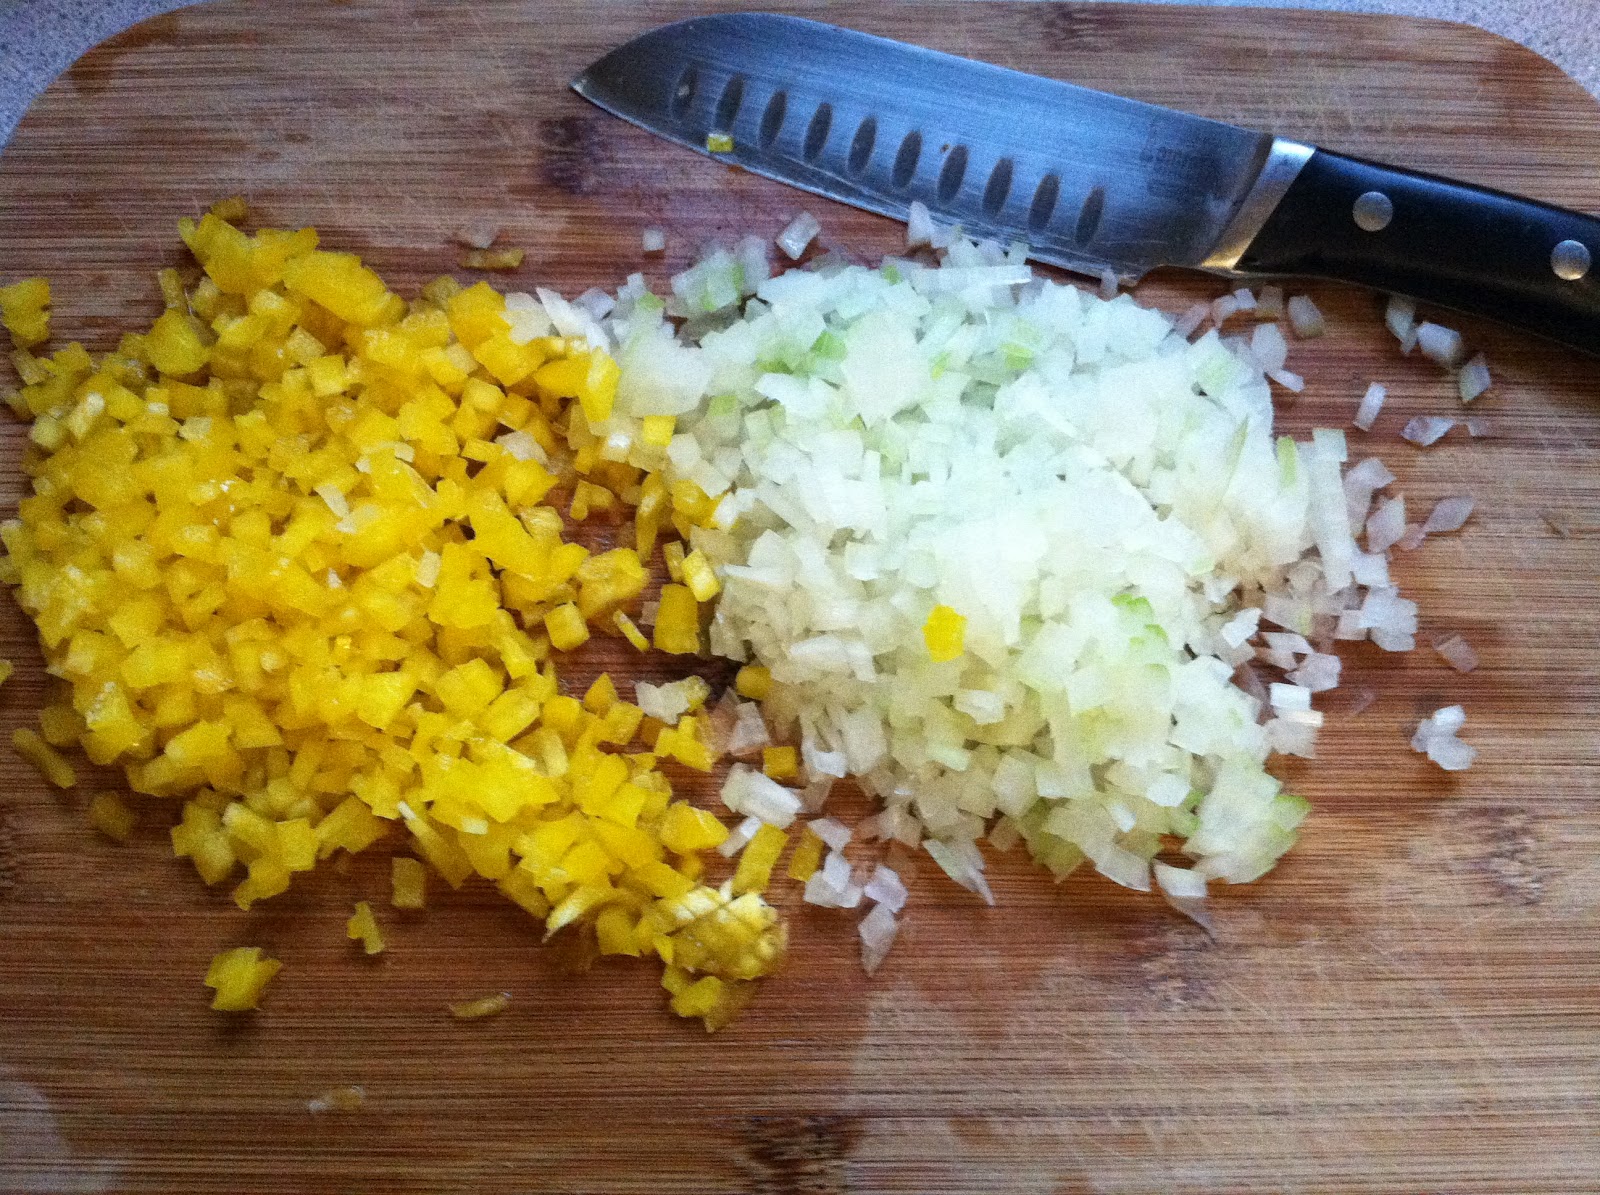
– 1.5 vidalia onions, chopped
– 1/2 c. chicken stock
– 1.4 c. Worcestershire sauce
– 3/4 c. breadcrumbs (plain or seasoned)
– 1.5 large eggs, beaten
– 1/4 tsp. thyme or Herbes de Provence
– EVOO
– 1 tsp. kosher salt, 1/2 tsp. ground pepper
Glaze:
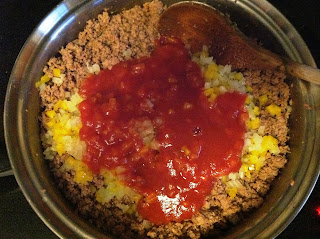
– 1/2 c. ketchup
– 1 tsp. cumin
– Dash Worcestershire sauce
– 1 tablespoon honey
– 1 tsp. brown sugar
– 1 tsp. yellow mustard
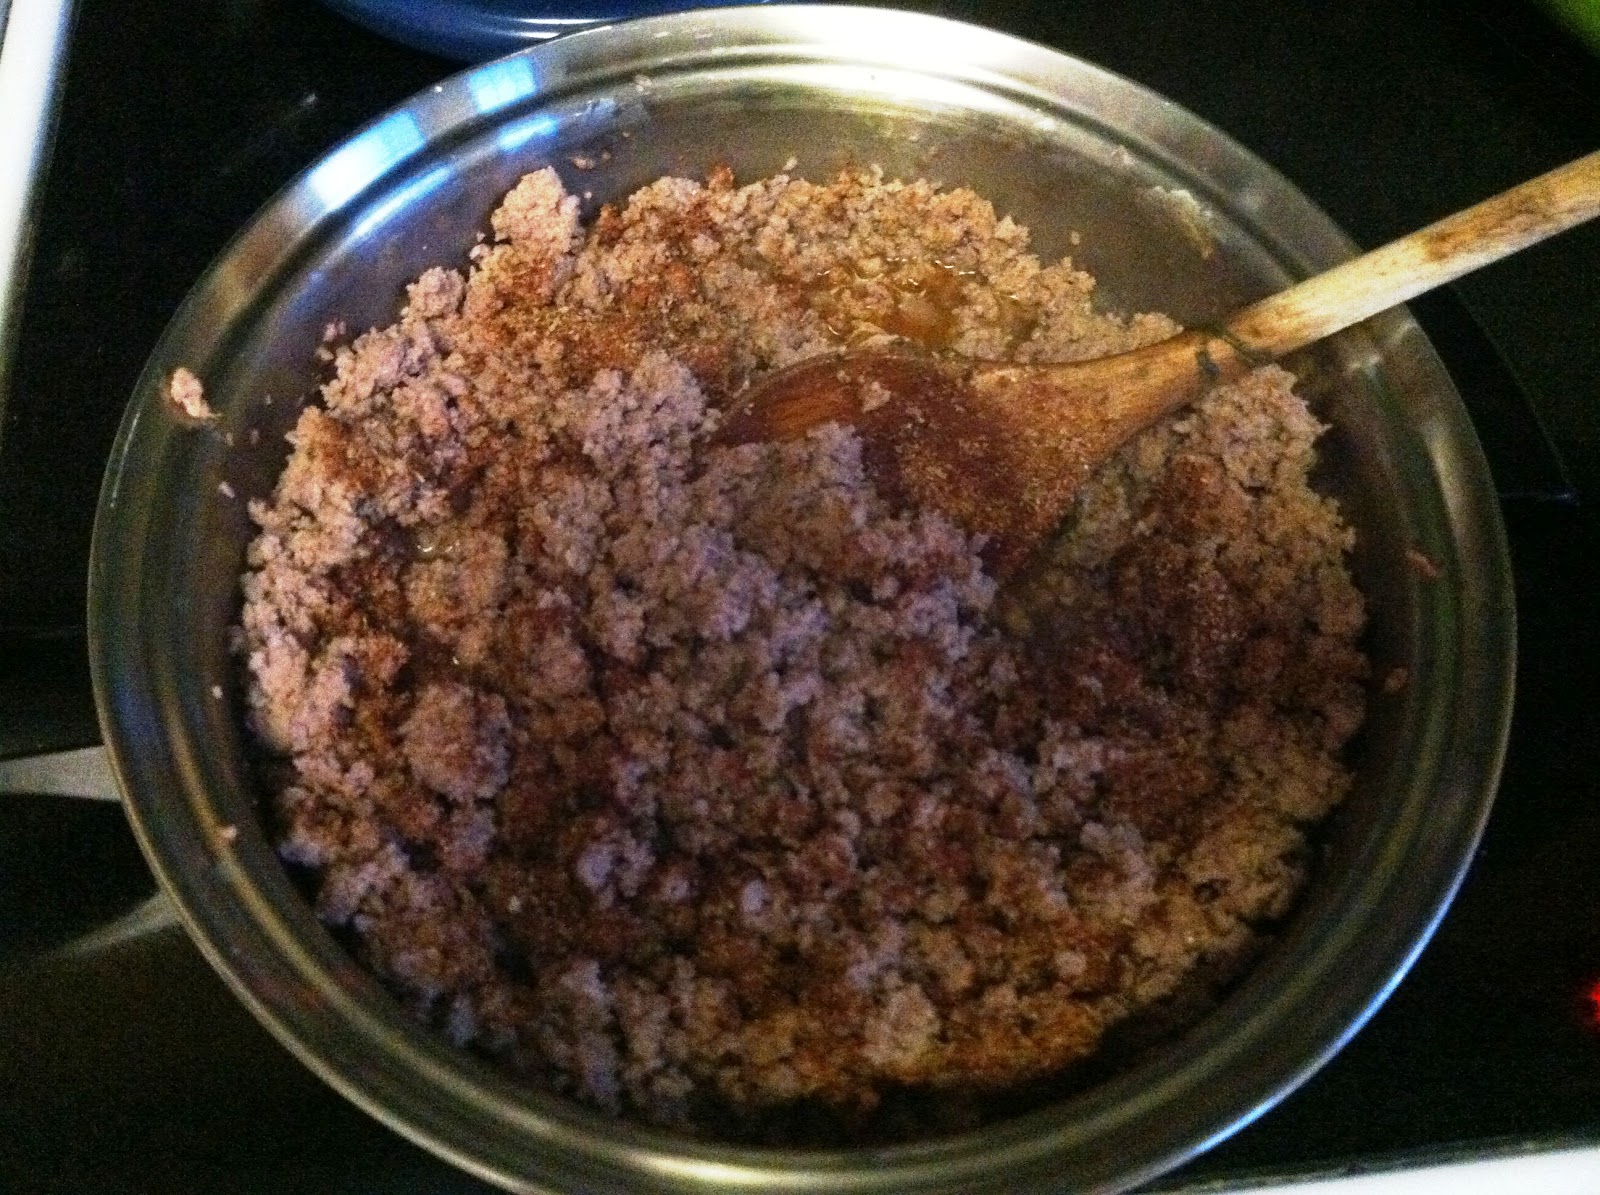
1. Preheat oven to 350.
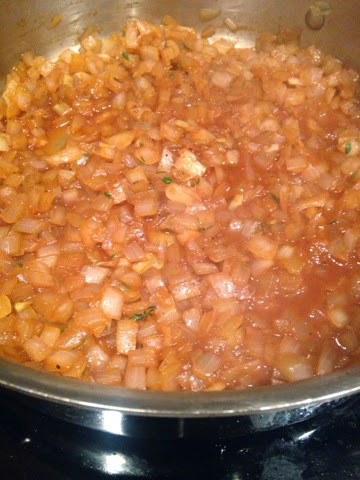
2. In a saute pan, “sweat” the onions in 1 T olive oil until translucent.

3. Add salt, pepper, thyme, Worcestershire sauce, chicken stock and tomato paste, mix well. This smelled like a variation on French Onion soup. It was all I could do to keep going with the Turkey Meatloaf recipe). Remove from heat, cool to room temperature.
 |
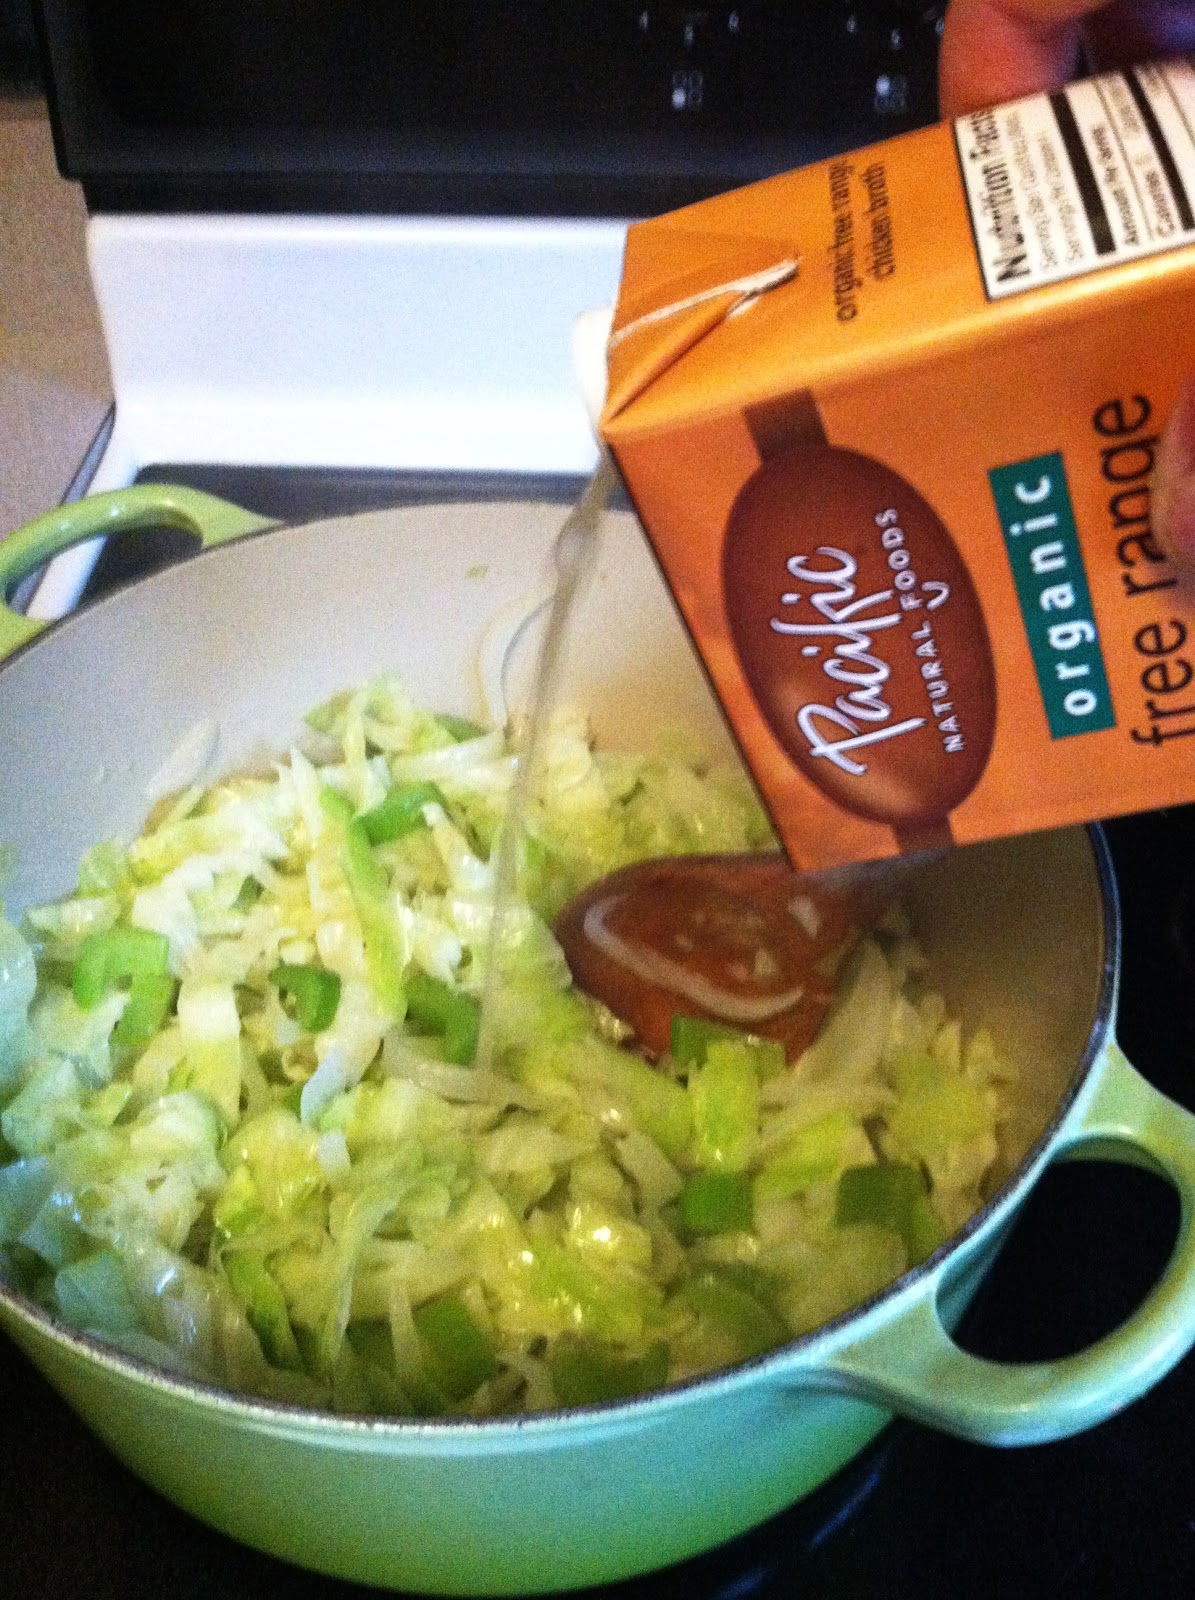
| Pacific makes a great organic chicken broth, in a 4-pack of 1 cup containers that are perfect for cooking. |
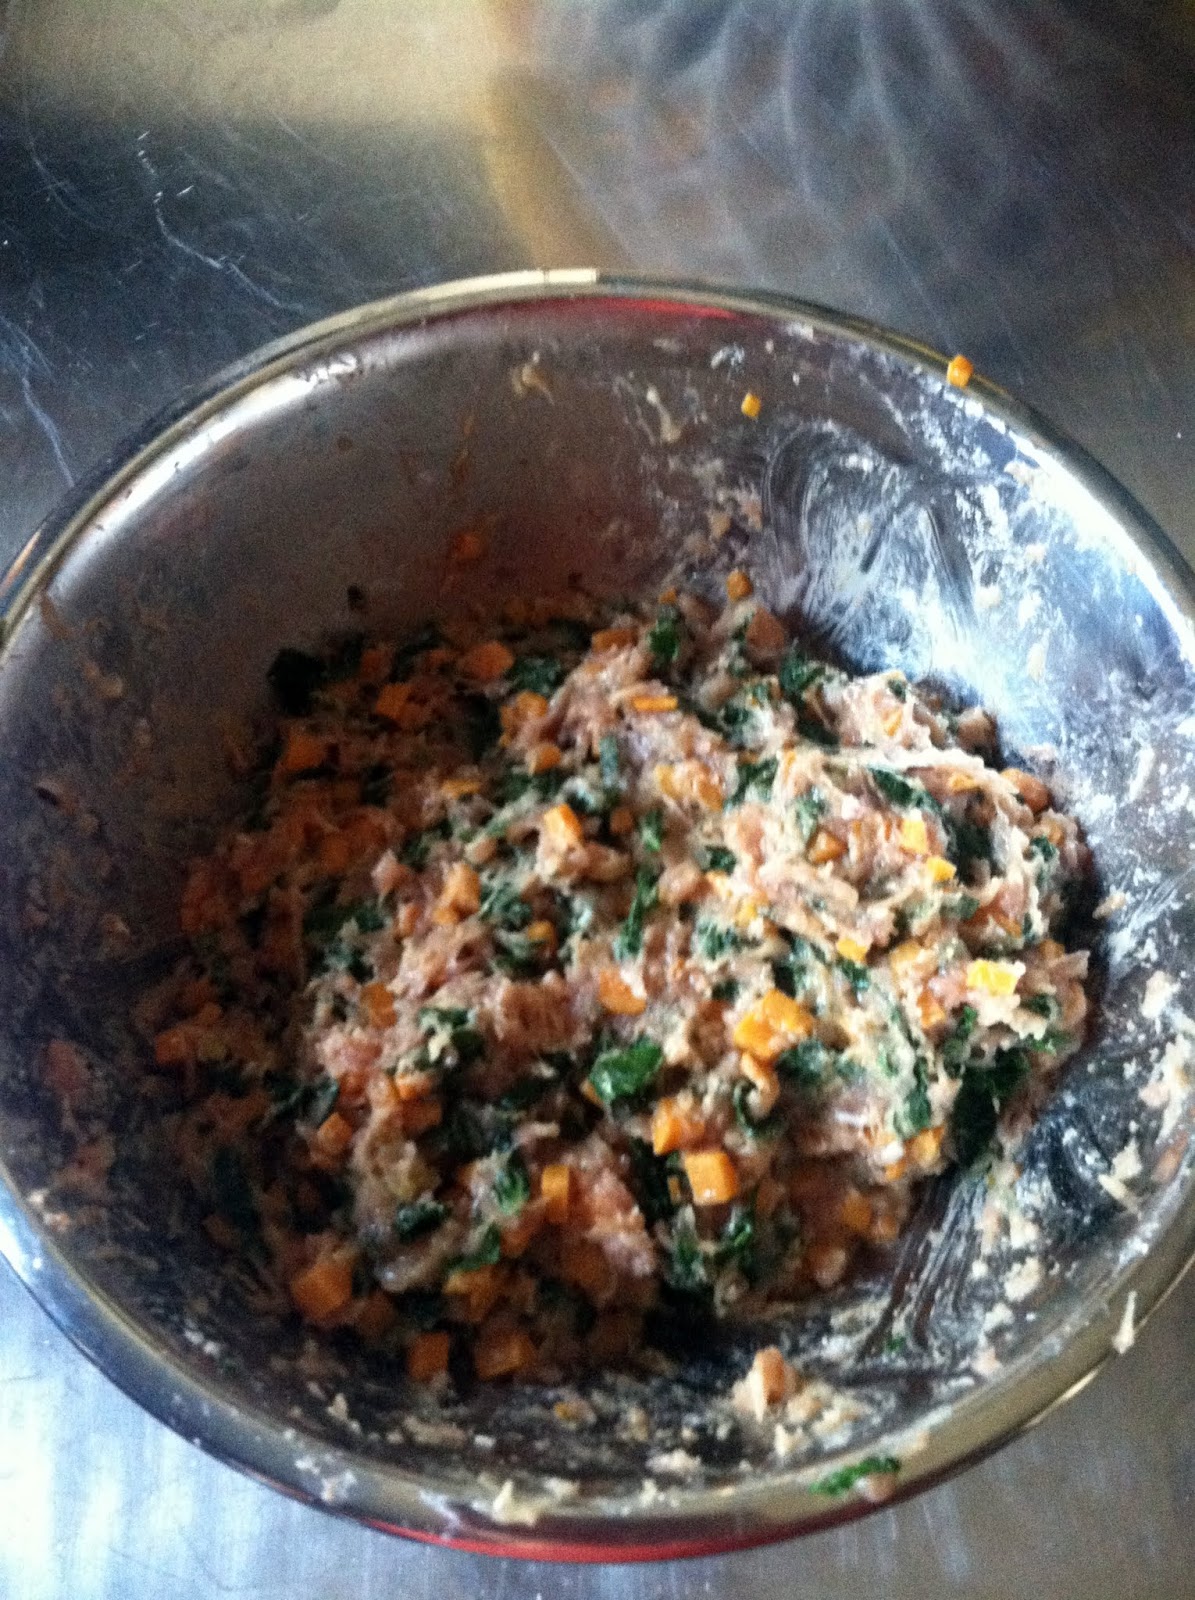
4. In a large mixing bowl, combine ground turkey, bread crumbs, egg, and onion mixture; mix well.

5. With your hands, shape the turkey mixture into a rectangular loaf. Place on an ungreased sheet pan.

6. Combine glaze ingredients; spread evenly over the meatloaf with a silicone basting or pastry brush.

— For those of you who are opting out of the glaze, add a little oven-proof bowl of water to the oven while cooking the meatloaf – this will apparently help prevent the meatloaf from cracking, and it’s all I can do not to make a joke about that.


