Fish En Papillote (“Fish in Parchment Paper”)


This has got to be one of the simplest, healthiest, most delicious things I make. It’s pretty. It has a great presentation. There is next to zero cleanup, and it’s about as “clean” as you can get as far as recipes are concerned. Basically, you pick your veggies and fish, pick your herbs & other flavorings, pack it all up in a cute little parchment paper pouch, and then throw them in the oven. The fish and flavorings will steam and cook all together, blending flavors and creating an incredibly tasty dinner. Best of all – this can be ready start to finish in 30 minutes, which makes it a perfect weeknight meal, but it looks so nice that it could be served at dinner parties. 

FISH EN PAPILOTTE (serves as many people as you need it to) 
– 6 oz. of fish per person (any kind – I used cod here, but flounder, tilapia, monkfish, sea bass, salmon, etc. would work. You get the picture.) 
– Veggies. I would julienne squash, carrots, peppers. You can half cherry tomatoes. Cut onions or shallots into thin strips, cut baby potatoes into thin rounds. I used baby bok choy this time, and just put a couple of leaves into each packet, which was also really nice. 
– Herbs. Thyme is fantastic, savory is a bit stronger but also nice. Fresh is best, but if you add dried, add about half of what you would with fresh herbs. 
– Flavors. Thin rounds of lemon to top, a splash of white wine, super thin shavings of butter, etc. 
– Kosher salt and pepper to taste

1. Heat oven to 375. 

2. Prep whatever veggies you’ve decided to use.

lemon sliced into thin rounds, baby bok choy, halved cherry tomatoes, julienned zucchini, shallot cut into thin rounds

3. Cut a heart (like you did in grade school – half a heart on folded paper, then unfold) in parchment paper. Spritz one side with olive oil.


4. Add veggies to the side of the parchment paper with olive oil. Top with the fish, then lemons/butter/”flavors”. Top with salt & pepper.


5. Fold the other half of the “heart” over the fish & veggie combo. Working from the top, crimp the paper over itself into little pleats so it forms a little pouch. Make sure it’s a bit loose in the middle, so steam can circulate and cook the fish and veggies inside.


6. Put pouches on a baking sheet to catch any juices that spill, then bake for 20 minutes or so, or until fish is flaky and cooked through.  The parchment paper will puff a bit, and get golden brown in spots.


7. Serve pouches on individual plates. You can either cut into the top part of the pouch to eat directly from there, or you can open the entire pouch to empty the contents on the plate. The juices (and flavors) will stay concentrated a little more if you do it the first way, but either way, it’s a delicious dinner that I hope you enjoy as much as we do!

Roasted Carrot Soup With Thyme and Ginger (aka, “Finally Went to the Farmers Market”)

I finally got out today to go grocery shopping, so we can stop the whole “eating every meal as take-out” thing we’ve been doing. And we’re starting small. This roasted carrot soup is one of the simplest, most surprisingly delicious things I make. The roasted carrots get sweeter, and give the soup this depth of flavor that’s incredible. Since there are only 6 ingredients in this, make sure you get the best quality available – locally grown carrots, a good organic vegetable stock (I use either Pacific or Imagine broths, which are both amazing), etc. This soup tastes so flavorful and rich, you won’t believe so little went into it.

ROASTED CARROT SOUP WITH THYME AND GINGER (recipe source: Food52)
– 8 carrots
– 1/2 vidalia onion, chopped
– 6 cups vegetable stock (8 oz. = 1 cup, so 48oz.)
– 1 piece ginger, peeled, approx. 1 inch long
– Couple sprigs of thyme
– 2 garlic cloves, chopped
– Kosher Salt & freshly ground black pepper to taste
– EVOO

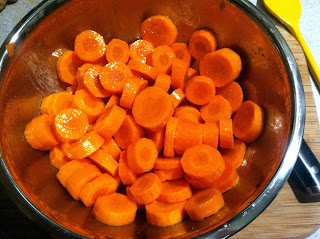
1. Wash carrots, then peel and cut into 1/4 inch rounds. Even though you’re peeling the skins, these still grew in the ground and are dirty. Peeling the skin is going to drag any debris from the carrot skin into the carrot itself unless you wash them beforehand.

2. Toss carrots with a glug of olive oil and sprinkle generously with kosher salt.  
3. Arrange in a single layer on a baking sheet, then broil on high until the brown and soften, flipping every five minutes or so. If the carrots get blackened edges a little, don’t worry – this actually adds a nice dimension to the soup.

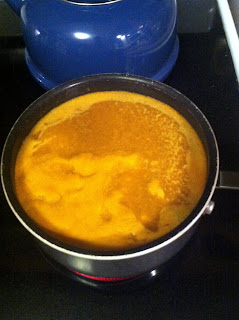
2. In a smaller saucepan, bring vegetable stock to a boil, then add peeled ginger and thyme spring. Simmer 15 minutes (while the carrots are roasting).

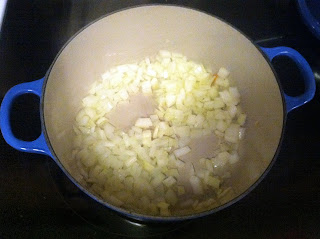
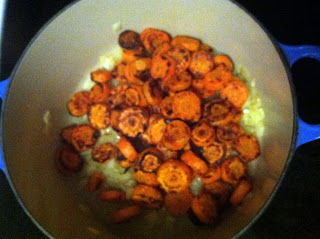
3. Meanwhile, in the pot you’re going to use for your soup (I use a Le Creuset Dutch Oven for this, and just about everything else – it’s borderline impossible to mess up cooking in these), “sweat” the onion in 1 T. olive oil and a pinch of kosher salt over medium-high heat until soft and translucent.  Add garlic and stir until fragrant (90 seconds or so), then add carrots.

4. Remove the ginger and thyme from the vegetable stock and discard.  Add stock to the pot with the onion and carrot mixture. Bring to a boil and then simmer 5-10 minutes until the carrots are soft.
5. Using an immersion blender (this one looks fantastic) or a regular blender, puree the soup. If you use a regular blender, make sure your soup has cooled – if it’s hot, it could explode in the blender.

6. When soup is pureed, salt and pepper to taste. Garnish with thyme sprigs to make it look pretty. We had this soup, a roast chicken, and a salad with local greens for the first meal I cooked in over a week. So good.

Roasted Chicken

Brad and I had our friend Bobby over for dinner last night for two reasons – 1. so I could teach Bobby how to make balloon animals, and 2. so Brad and I could ask Bobby to be the officiant at our wedding next September.  Brad and I met because of Bobby, who had organized the fundraiser at which Brad and I met for the first time. Bobby’s married a few couples already as an “ordained minister”, and Brad and I couldn’t think of anyone more perfect to marry us. He’s one of our favorite people, and we’re so grateful to have him be such a key part of our wedding.

For appetizers, we snacked on a whole round of Boursin and rice crackers, because that might be our favorite combination ever, and roasted grapes with thyme, which is one of the easiest/more interesting appetizers you could make. We had roasted butternut squash soup and a simple roast chicken for dinner, with a cold lemon souffle for dessert. Oh, and wine. Lots of wine.  Lots to celebrate!
Bobby left our house like this after dinner, and went to a local bar for a nightcap, where he  told me this look “went over like gangbusters” – obviously.

ROAST CHICKEN (serves 4)


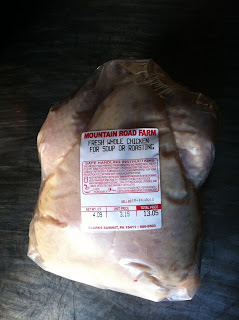
– 1 4-lb. chicken, giblets removed.

– Kosher salt & pepper

– Sage and Thyme leaves


1. Preheat oven to 450. 


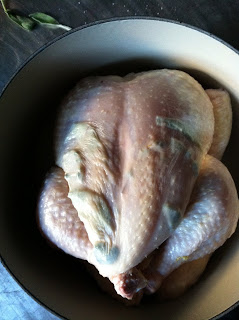
2. Remove the chicken’s giblets, then rinse off the chicken and thoroughly pat dry inside and out. The drier the chicken, the less steam, which means more dry heat and a crispier chicken. 


3. Truss the chicken. There are a number of ways to do this, probably the simplest being to just tie the legs together against the breast. This helps keep the chicken juicy, and also helps it roast evenly. It also makes me want to be a vegetarian, EVERY TIME, because handling a whole chicken just icks me out. I kind of have to hustle through these couple of steps.


4. Loosen the skin away from the breast meat with your fingers. Arrange thyme sprigs and sage leaves underneath the skin layer for a little extra flavor. This is optional, but I really like it.


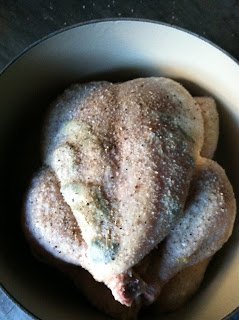
5. Place the chicken in a dutch oven (Le Creuset is perfect), salt and pepper the bird. Kosher salt should be rained over the chicken liberally – maybe 1/2 a tablespoon, and the same for pepper. 
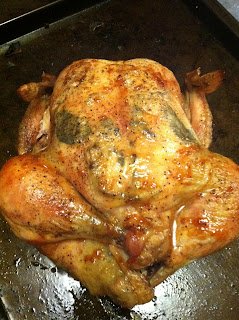
6. Roast the chicken for approx. 1 hour – no basting, just roasting. The skin should get crispy and golden. Before removing from the pan, baste with the juices, the transfer to a cutting board. Tent with foil, and let sit for 15 minutes before carving and serving.


Turkey Meatloaf – Ina Meets Alton

When I was a kid, I detested meatloaf. It just seemed like such a weird, gross thing to me, and I would sit and sulk at the dinner table while I picked miserably at it. That ship has sailed. My mom’s meatloaf is one of the comfort foods I’d crave most of all when I lived outside of NEPA, and I’ve put together tons of different versions based on her recipe. 

This turkey meatloaf, however, is Inga’s.  The sauce is (almost) Alton’s. It was incredibly tasty, juicy (for turkey meatloaves, this can be hard to accomplish), had a note of sweetness, and was spiked with cumin – which is apparently packed with health benefits.  That mix might sound a little “off”, but the flavors all came together in a totally delicious way. There was enough left over for 2 meatloaf sandwiches the next day, and that was about it! 

TURKEY MEATLOAF WITH A CUMIN-KETCHUP-HONEY & BROWN SUGAR GLAZE (serves 4)

– 2 lbs. ground turkey
– 3/4 tsp. tomato paste
– 1.5 vidalia onions, chopped
– 1/2 c. chicken stock
– 1.4 c. Worcestershire sauce
– 3/4 c. breadcrumbs (plain or seasoned)
– 1.5 large eggs, beaten
– 1/4 tsp. thyme or Herbes de Provence
– EVOO
– 1 tsp. kosher salt, 1/2 tsp. ground pepper

Glaze:
– 1/2 c. ketchup
– 1 tsp. cumin
– Dash Worcestershire sauce
– 1 tablespoon honey
– 1 tsp. brown sugar
– 1 tsp. yellow mustard

1. Preheat oven to 350.

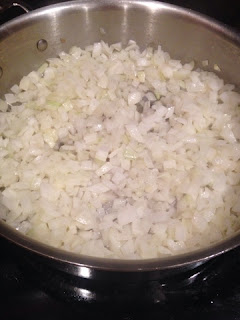
2. In a saute pan, “sweat” the onions in 1 T olive oil until translucent.

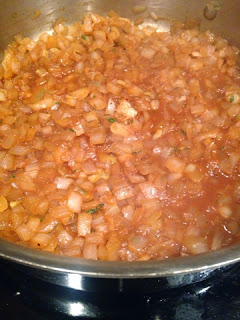
3. Add salt, pepper, thyme, Worcestershire sauce, chicken stock and tomato paste, mix well. This smelled like a variation on French Onion soup. It was all I could do to keep going with the Turkey Meatloaf recipe). Remove from heat, cool to room temperature.


Pacific makes a great organic chicken broth, in  a 4-pack of 1 cup containers that are perfect for cooking.


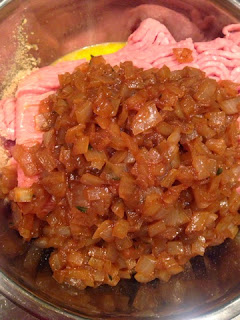
4. In a large mixing bowl, combine ground turkey, bread crumbs, egg, and onion mixture; mix well.


5. With your hands, shape the turkey mixture into a rectangular loaf. Place on an ungreased sheet pan.


6. Combine glaze ingredients; spread evenly over the meatloaf with a silicone basting or pastry brush. 


7. Cook the meatloaf approx. 1 hour, or until the internal temperature is 160 (check with a meat thermometer after 45 minutes).


— For those of you who are opting out of the glaze, add a little oven-proof bowl of water to the oven while cooking the meatloaf – this will apparently help prevent the meatloaf from cracking, and it’s all I can do not to make a joke about that.

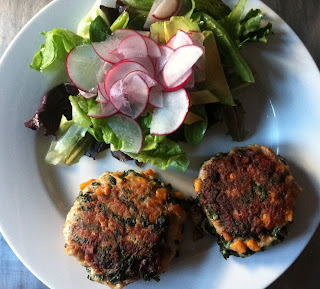
Ground Chicken, Kale, and Sweet Potato Patties

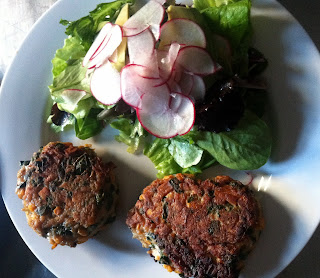
Brad came home for lunch the other day as I was making these, and couldn’t believe how good the house smelled. I couldn’t believe that something with kale, almost zero flour, and sweet potatoes could be so delicious, and filling, too. I guess these were meant to be served as a burger, but I upped the kale and sweet potatoes, and made the patties a little bigger, so 2 plus a side salad were more than enough for a lunch (or, for that matter, a dinner).

CHICKEN, KALE, & SWEET POTATO PATTIES (makes 8-10 patties)

– 1.5lbs ground chicken (I got this at the farmers’ market, but apparently you can just grind up chicken breast in a Food Processor – which should then be cleaned really well, because, ew.)
– 2 shallots, chopped
– 2 green onions, chopped
– 1 sweet potato, cut into tiny cubes
– 3 cups kale, de-stemmed and chopped roughly
– 4 tablespoons whole wheat flour
– 1 egg
– 1 tsp. paprika
– 1 tsp. garlic powder
– 2 tbspns dijon mustard
– kosher salt & freshly ground pepper
– EVOO

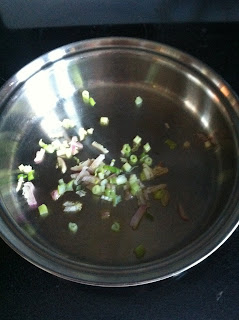
1. In a saucepan, heat EVOO over medium-high heat. Add shallots and green onions, heat until wilted. 


2. Add tiny cubes of sweet potatoes, saute until soft. These can take a little while, so just let them cook while you arrange the mixing ingredients for the chicken.


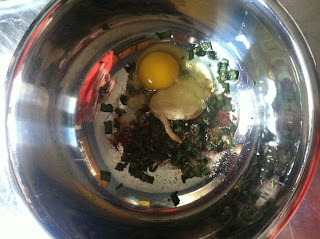
3. In a medium mixing bowl, combine egg, paprika, mustard, garlic powder, salt and pepper.

You can see me in this picture! My red shirt was a giveaway.

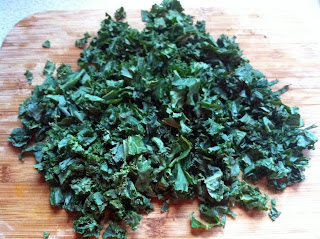
4. When sweet potato is fairly soft, chop up the kale, add to the sweet potato/shallot/green onion mixture, turn heat down to medium low, and combine until wilted. Remove from heat and set aside.

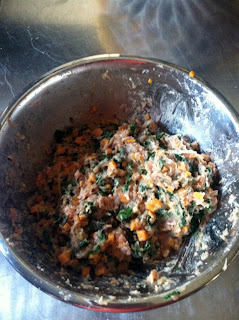
5. Add ground chicken to the mixing bowl with the egg/paprika/mustard/garlic powder/salt/pepper. Combine with your hands, then add kale/sweet potato/shallot/onion mixture. Add flour one tablespoon at a time. This will be kind of sticky, but should start to pull together after a bit.


6. In a large skillet, heat approx. 1/4 inch olive oil over medium-high heat.

7. Form mixture into patties.

8. One at a time, add patties to heated olive oil, and cook through, approx. 5 minutes on each side. 


9. Check to make sure patties are cooked all the way through, then drain on paper towels and serve with a side salad.


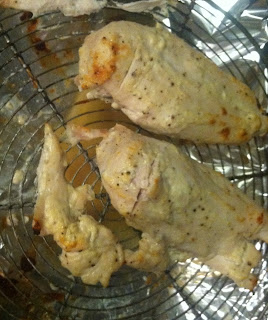
Greek Yogurt Chicken


Greek yogurt is everywhere nowadays. I’ve started using it in baking, cooking, even in dressings. But a Greek yogurt coating? On chicken?? When I first read about this on Pinterest, I thought it sounded totally gross, but I was too curious to find out how it would be. Turns out, it’s healthy, flavorful, and creates a little tangy coating that keeps the chicken juicy. This recipe can be ready from start to finish in an hour, tops, which gives you enough time to make a nice side salad, or steam some veggies, and have yourself a nice glass of wine. We’ve used this recipe dozens of times, and it’s just one of the easiest, most delicious ways we make chicken.

GREEK YOGURT CHICKEN

– Chicken breasts
– 1 container greek yogurt (I like Chobani)
– Freshly grated parmesan cheese, approx. 1/3 cup
– 1/2 tsp. garlic powder 
– 1 tbsp. kosher salt
– 1/2 tsp. pepper


1. Preheat oven to 375.

2. In a “breading” bowl, combine the yogurt, cheese, and seasonings, stir to combine.

3. Place a cooling rack over a deeper roasting pan lined in foil. This creates a “convection” type of cooking for those of us with basic ovens (someday, Viking convection oven. I’m coming for you!).

4. Coat the chicken with the mixture. You really don’t need a lot of it – it’s a ton of flavor in even a thinner coating. 

5. Bake for 45 – 55 minutes, depending on your oven. It seems like some folks have had a lot of luck with this coating turning golden, almost “fried” looking, but whatever color it ends up being, just make sure you make a small slice to check that it’s cooked all the way through.

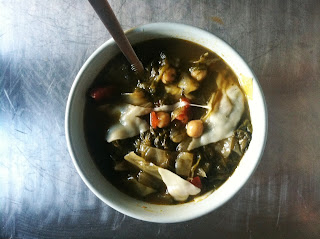
My Mom’s Minestrone Soup

I love soup. It’s hearty, healthy, and comforting. With the Farmers’ Markets packed with produce, this is a great way to use up some veggies and kind of ease your way into fall. My mom’s minestrone is at the top of my list of favorite things. It’s delicious the day of, for days afterwards, and even pureed. We’ve always added some thinly sliced provolone cheese to the soup to give it a little more richness, but that’s up to you.  This minestrone just makes me feel better every time I have it.

MINESTRONE SOUP (makes an enormous pot of soup which you can freeze – if there’s any left after a couple of days)
– 1 cabbage, sliced into long strips. I usually take out the “ribs” of the cabbage and just use the majority of the leaves.
– 4 stalks celery, cut
– 1 large vidalia onion, sliced into long strips
– 2 32 oz. containers of chicken stock (or vegetable, if you want to make this completely vegetarian)
– 2 cans chick peas, rinsed and drained
– 1 large can plum tomatoes, roughly cut (don’t get diced tomatoes – the plum ones work so much better)
– 1 16. oz can chopped spinach leaves
– 3 tablespoons butter


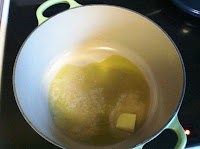
1. In a large stockpot, melt 3 tablespoons butter over medium high heat. 
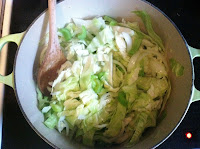
2. Get your veggies ready, and then add them to the pot with the melted butter. Cook down until wilted.

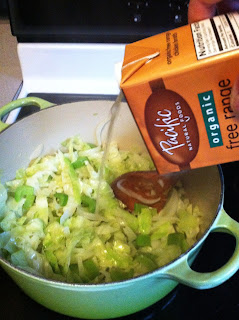
3. When the veggies are soft, add the chicken or veggie stock, and stir.  
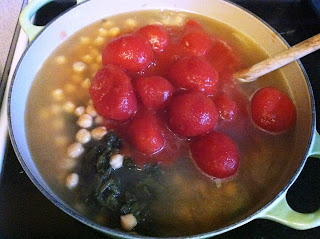
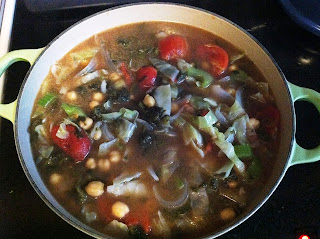
4. Add tomatoes and juice from the can, spinach, and chick peas.  Stir, cover, and turn heat down to low. Simmer for 1 hour or up to 4. Add kosher salt/pepper to taste, but be careful not to overseason – the flavors will continue to come together overnight.

5. When soup has simmered enough (I usually can’t wait the 4 hours), pour yourself a bowl, shred some provolone cheese into it, and dig in. This is good today, but it will be great tomorrow. 

Mom’s minestrone soup = love


Turkey Taco Lettuce Wraps

These turkey taco lettuce wraps, from the very first time I made them, got added to the rotation immediately. They are incredibly healthy: you make your own taco seasoning, so you avoid all the preservatives and bad things in the grocery store seasonings, the lettuce wrap completely eliminates the corn taco you would otherwise use, and if you use the guacamole recipe from a couple days ago, you get the added bonus of the avocado health benefits.

Also, this is fun to eat! It’s a little messy but so worth it. If you’re having trouble with the lettuce wraps, you can always shred the lettuce and put the turkey and toppings over it like a turkey taco salad.

TURKEY TACO LETTUCE WRAPS (adapted from Skinny Taste)
Ingredients (serves 4-6)
– 2 lbs. ground turkey
– 1/2 vidalia onion, minced
– 1/2 yellow, orange, or red bell pepper, minced
– 8 oz. tomato sauce
– 1/4 c. water
– Any kind of lettuce for the wraps – boston bibb works well, as does iceberg or romaine (seen here)

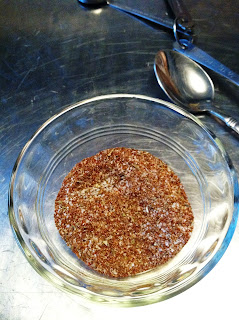
Taco Seasoning:
– 2 tsp. garlic powder
– 2 tsp. cumin
– 2 tsp. salt
– 2 tsp. paprika
– 1 tsp. chili powder
– 1 tsp. oregano

1. Mix ingredients for taco seasoning, adjusting to your preference (if you like it a little hotter, double the chili powder), and set aside.

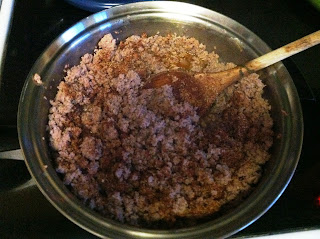
2. Over medium high heat, brown the turkey. 

3. When turkey is brown, add taco seasoning and stir to combine.

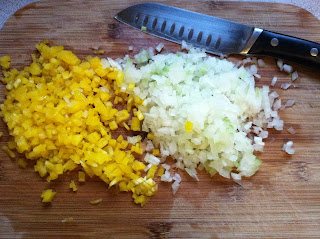
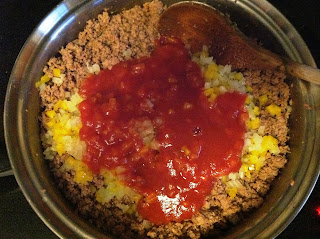
4. Mince that bell pepper and the onion, add to the ground turkey, along with the tomato sauce. Add 1/4 c. of water and stir to combine well. Cover and simmer on low for approx. 25 minutes. 

5. Arrange your toppings, assemble, and bring a lot of napkins to the table – this is a messy one!