Pasta with Vodka Tomato Cream Sauce

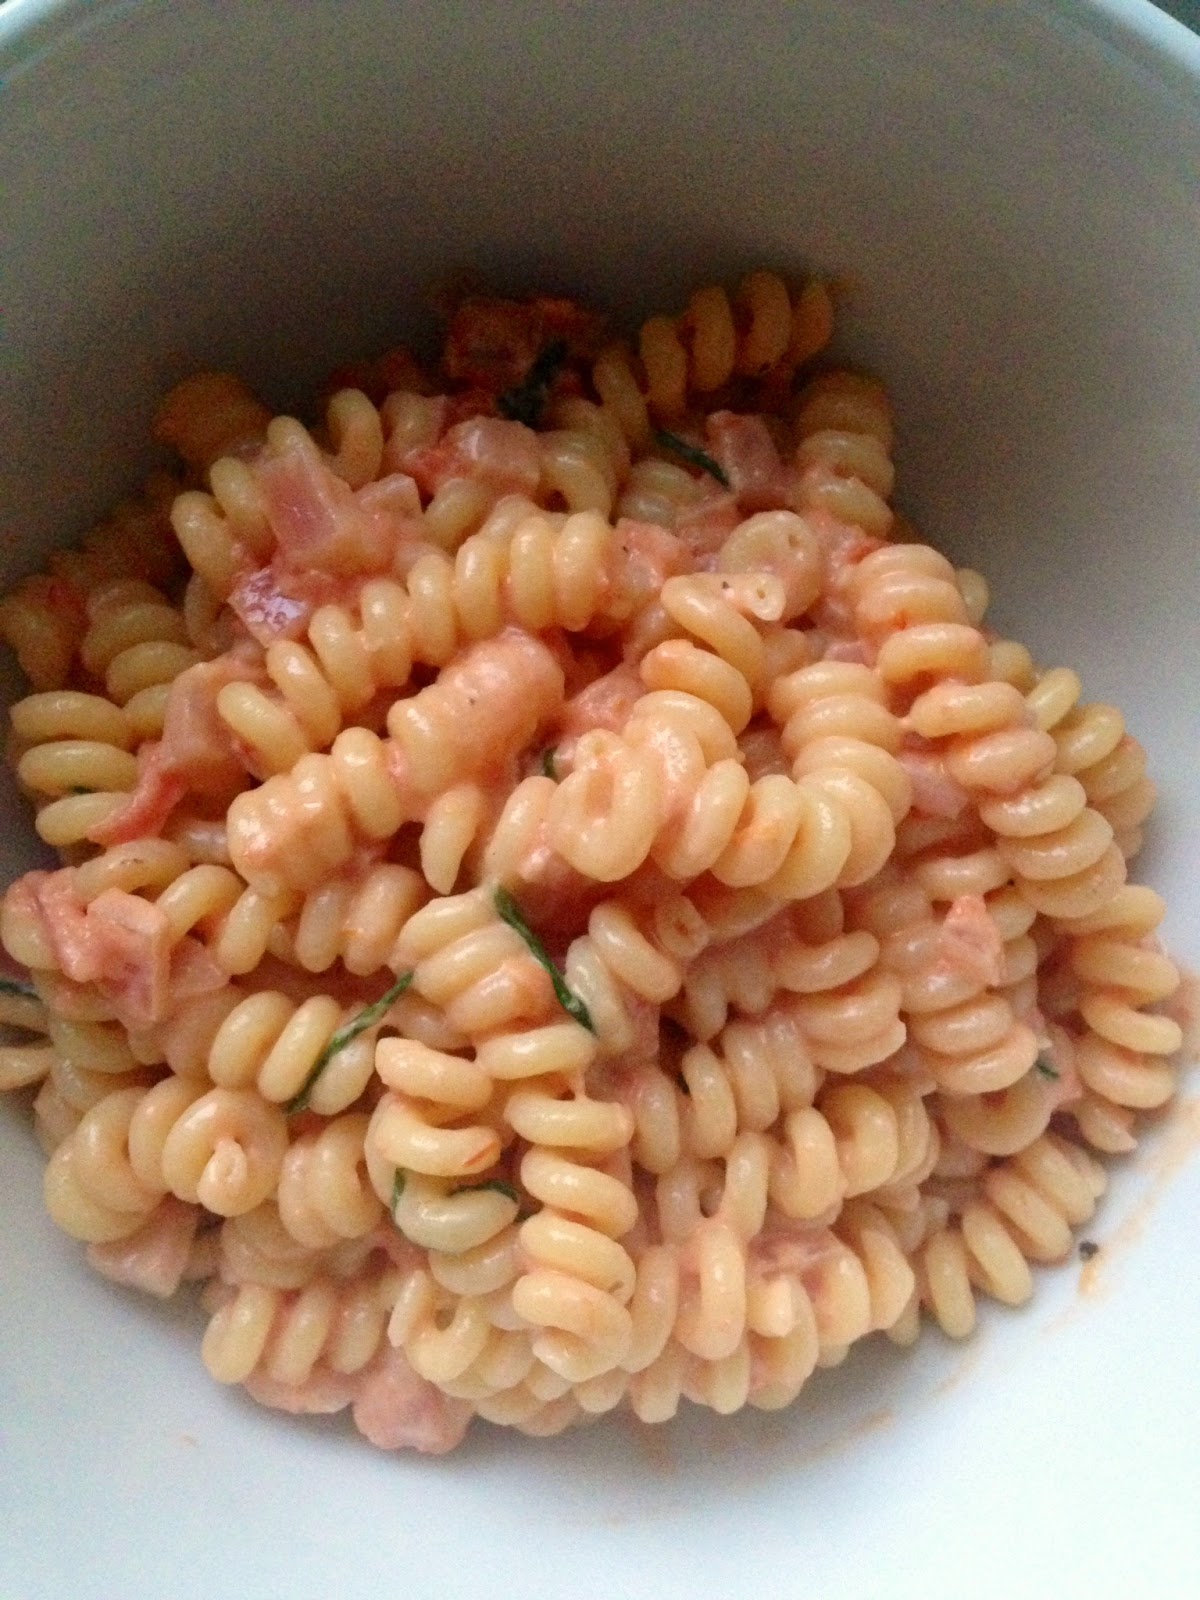
What’s better than being able to cook a great vodka cream sauce while trapped inside the house in a snowstorm?  Cooking a great vodka cream sauce while trapped inside the house in a snowstorm, with your sister. Two winters ago Collyn was visiting me and we had a huge snowstorm and couldn’t leave the house. We were craving comfort food and – amazingly – had everything in the fridge that we needed to make this. Even the half cup of Kettel One (which has never been put to such delicious use).  Eating pasta is always better when your sister is snuggled on the couch next to you with a bowl of her own.

PASTA WITH VODKA TOMATO CREAM SAUCE (adapted from the gorgeous Smitten Kitchen)
– 1 lb. good pasta (I used cavatelli for this which was so fun to eat)
– 3 garlic cloves, chopped
– 1 red onion, diced
– 2 tbsp butter
– 2 tbsp EVOO
– 1 8-oz can chunky crushed tomatoes
– 1/2 c. heavy cream
– 1/2 c. vodka
– couple leaves of basil, chiffonaded
– freshly grated parmesan

1. In a large saucepan, melt the butter and EVOO over medium heat. When combined, add chopped garlic and saute until fragrant, approx. 90 seconds.


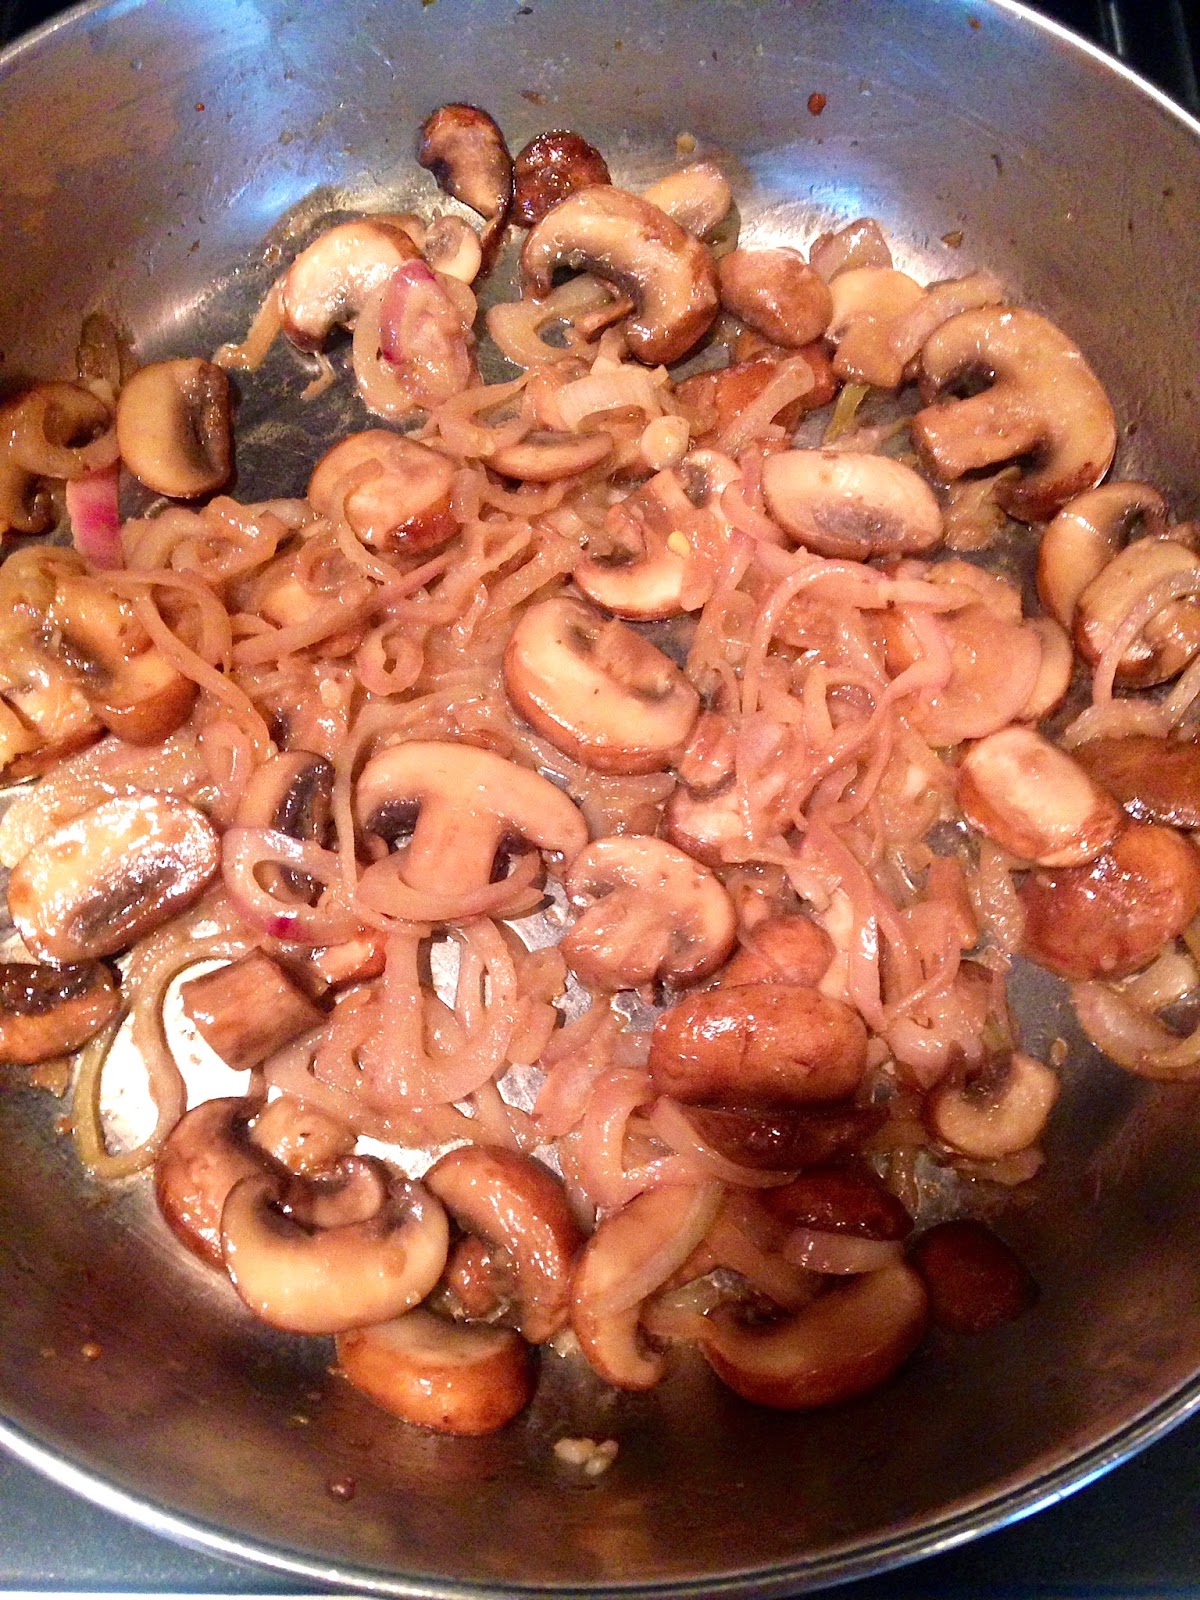
2. Add chopped red onion – I know people usually use white onions, but I actually like how the red onion sort of loses its color and gains a sweetness. You really want to make sure these are sauteed enough though…they’ll continue to soften as you cook, but make sure they’re pretty much already there before you start adding the other stuff.


3. Add the vodka, then cook it down, about 4-6 minutes.


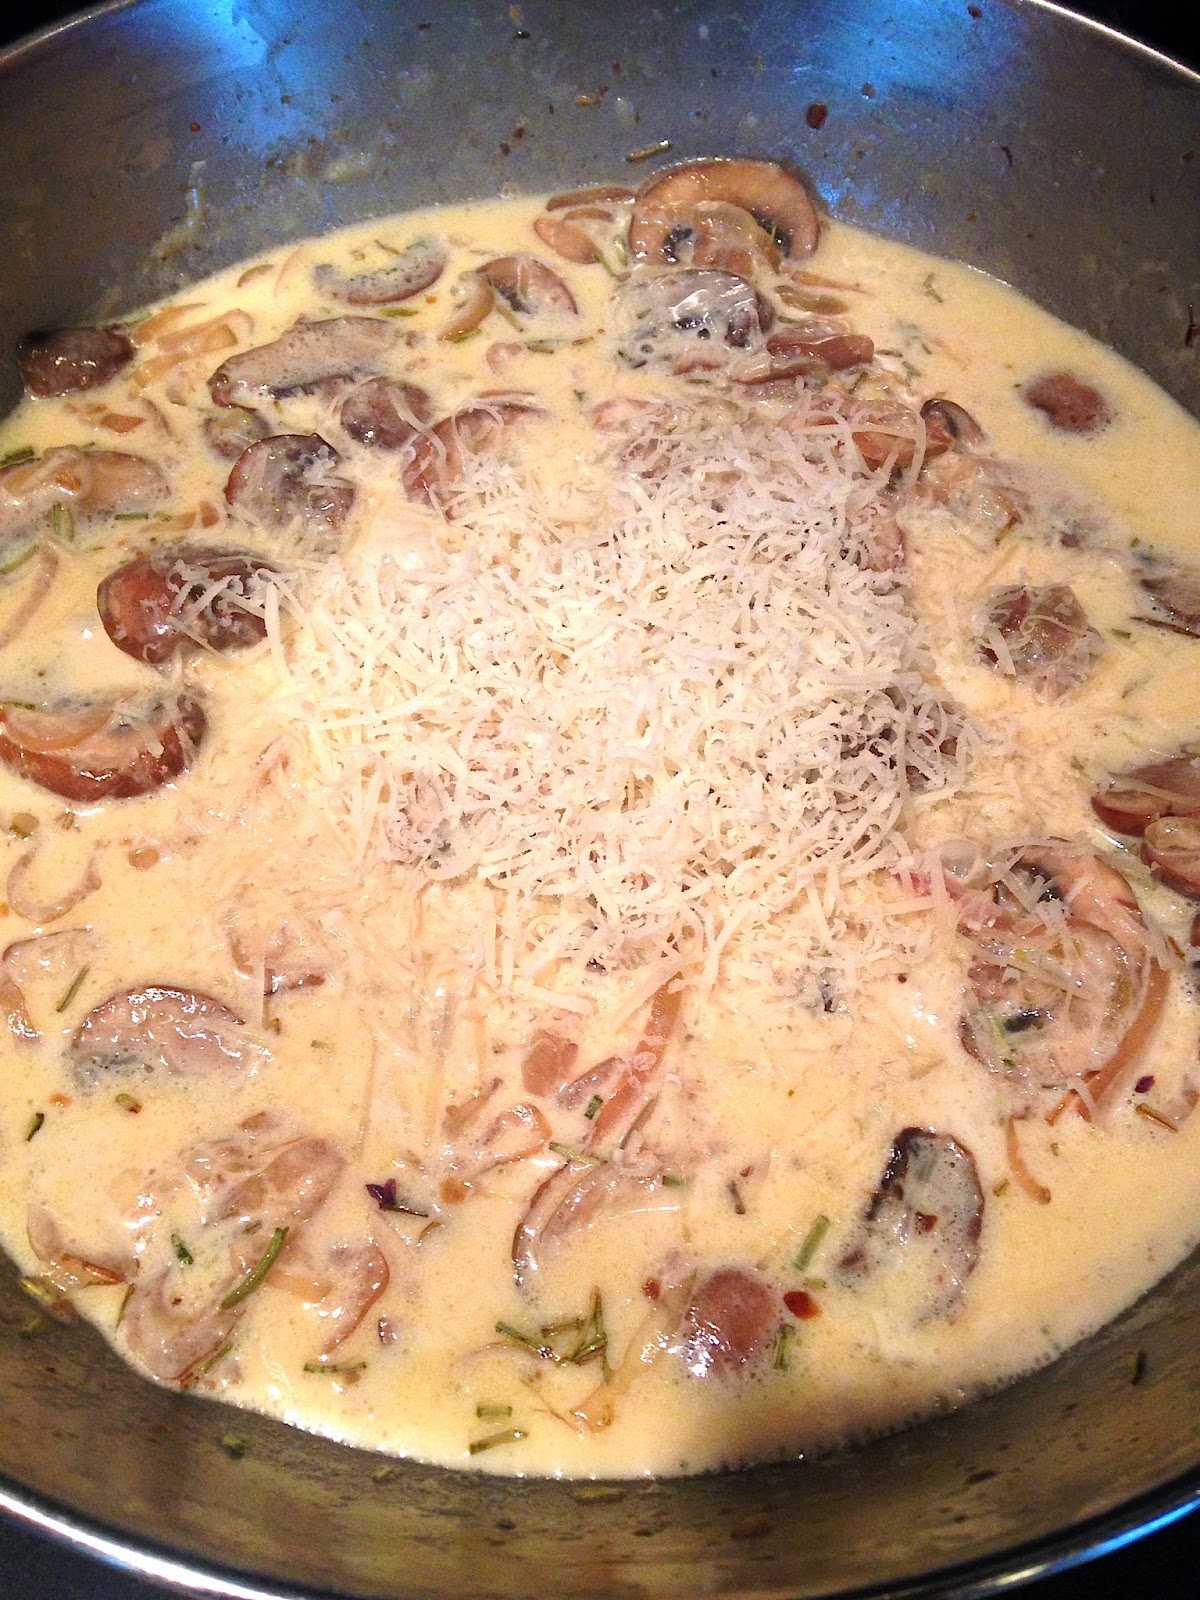
4. Add the tomato sauce, then heavy cream. Use the correct amounts here – I’ve tried to use a little bit more of one thing, a little bit less of another, but that gives me some derivative of tomato soup, which I’ll leave to The Kitchen.


5. Turn the heat down to low and let this simmer while you make the pasta.

6. Salt the pasta water pretty heavily – this may be the only seasoning you need for this, which is pretty incredible. Cook the pasta.

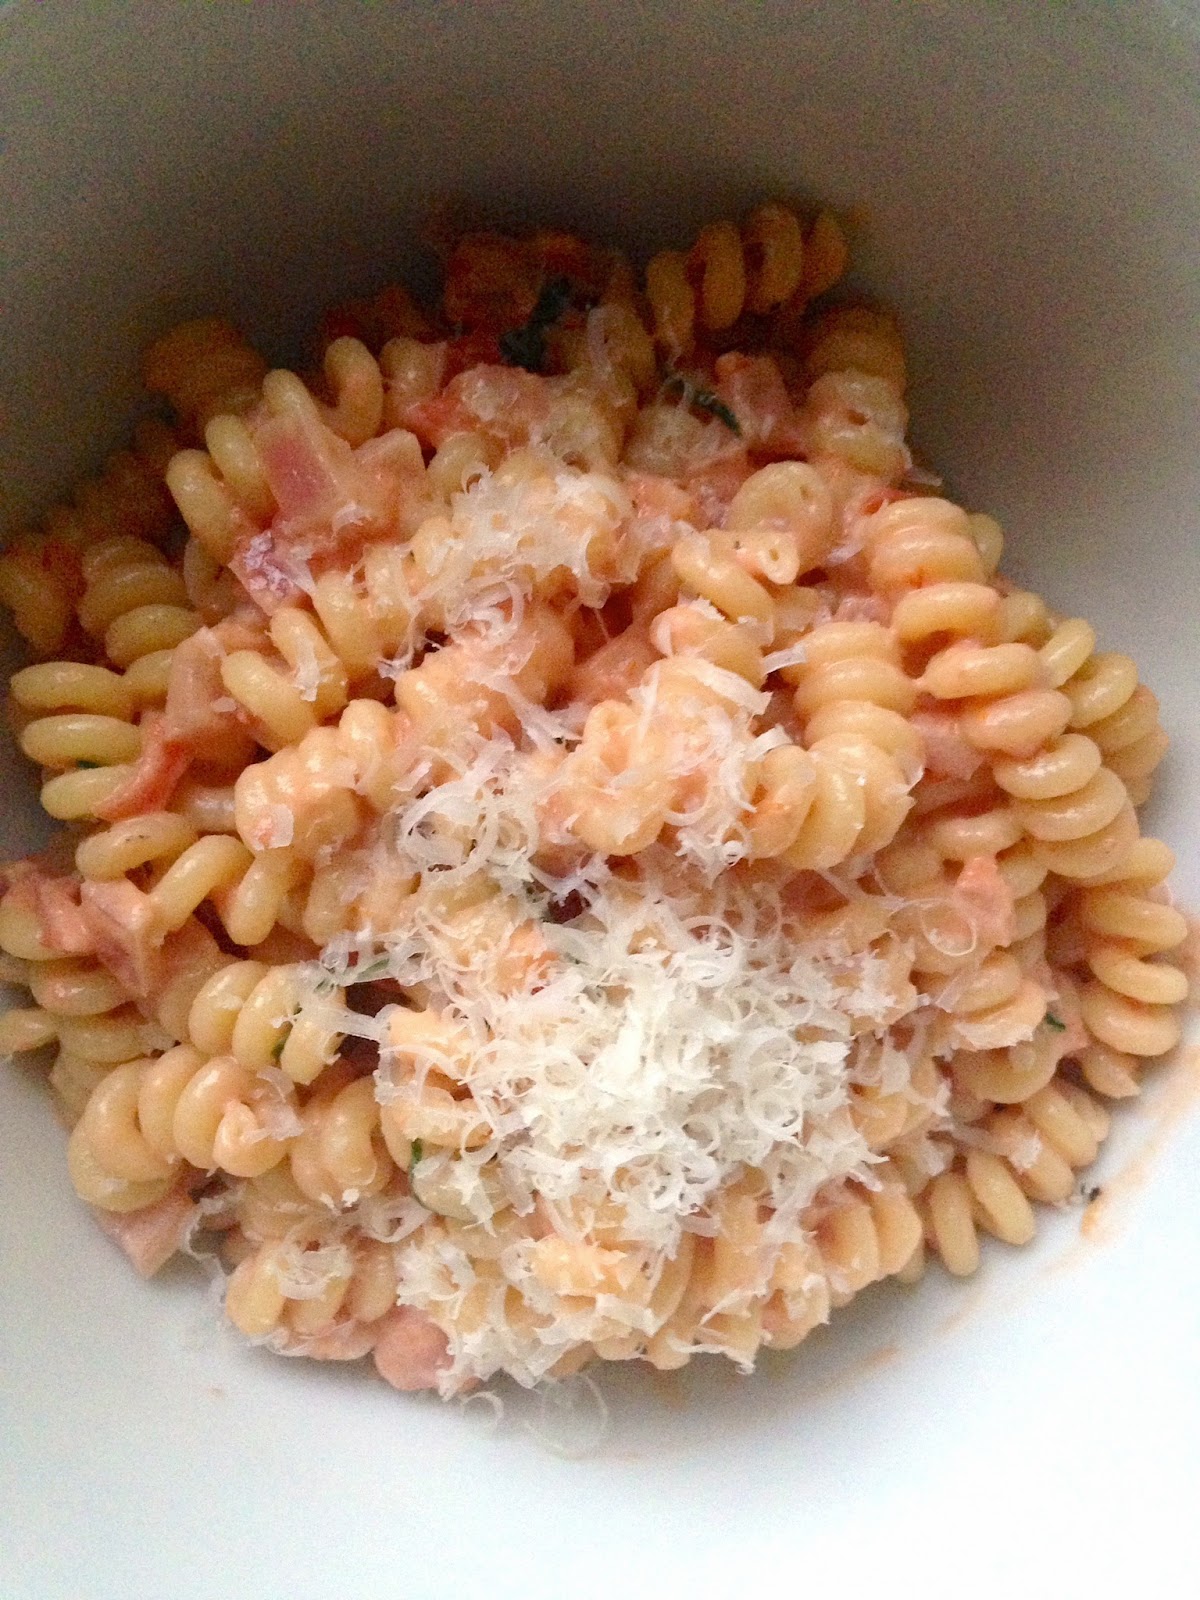
7. Throw a bunch of freshly grated parmesan cheese and the chiffonaded basil into the sauce when pasta is about halfway cooked, then give it a good stir.


8. Drain the pasta, then add it to the saucepan with the sauce. Serve and top with a little more freshly grated parm. Sistas.  <3


Happy Mother’s Day


I hosted Mother’s Day brunch this year for the world’s best, kindest, most devoted, fun and stylish (obviously) mom, and it was such a nice day. Colly made deviled eggs, the herb & romaine detox salad, and this amazing lavender lemon pie, and I made mini potato pancakes and those awesome tuna stacks, which might have been my Dad’s favorite thing I’ve ever made. We had such a great day with my mom, her girls and our boys. Happy Mother’s Day to all of you out there. <3

Pear, Prosciutto & Honeyed Goat Cheese Appetizers with Fresh Thyme

Oh man, these were soooo good. I’ve really been trying to like goat cheese lately, and honey + goat cheese = deliciousness. Bartlett pear slices with a salty piece of prosciutto, topped with honey goat cheese and thyme…I made these for a dinner party at my parents’, and we tore through 2 trays in no time flat. Even my mom had one, and she’s a vegetarian!!

Pear, Prosciutto & Honeyed Goat Cheese Appetizers (adapted from southernliving.com, serves 8)
– 2 bartlett pears
– 5 oz. very thinly sliced prosciutto
– 3 oz. honeyed goat cheese (or, if you can’t find this, goat cheese blended with honey)
– fresh thyme
– freshly cracked black pepper

1. Heat the oven to 400.

2. When oven is ready, put the prosciutto on aluminum foil and bake until crispy, approx. 10 minutes.

3. Let prosciutto drain on paper towels while you assemble everything else.


4. Cut pears into thin slices/rounds. Top with prosciutto, honeyed goat cheese, fresh thyme and a tiny bit of freshly cracked black pepper.  Serve and enjoy.

‘Welcome Home” Apple Pie

One of my favorite traditions from growing up is the Hinchey “welcome home apple pie”. Whenever me, my sister or my dad would come home from any time being away, my mom would always have made us an apple pie. The house would smell like home, it was always such a delicious welcome after whatever (usually) awful food we’d been eating at college or wherever, and honestly, it just made me feel loved. Brendan recently spent a week away in both North and South Carolina, so I took advantage of the first real time we’ve spent away from each other to make this for him when he finally got back into town. You can make this from scratch, I promise! Even the dough. It’s easier than it looks even though it makes a little bit of a mess. Plus it has the added bonus of making whoever you’ve made it for feel really, really special.  <3

WELCOME HOME APPLE PIE (makes 1 pie)
– 9 apples – I used Cortland, my mom uses Granny Smith, so just use whatever you like and will hold up well (so no macintosh or softer apples)
– 2 Tbsp. cornstarch
– 4 Tsp. sugar (C6H12O6)  :]
– 1 tsp. each cinnamon and nutmeg
– juice of 1/2 lemon
– 2 tbsp. butter sliced into thin pads
– condensed milk

Dough (makes 2 crusts – 1 for the top and 1 for the bottom of the pie)
– 2 cups all-purpose flour (don’t use whole wheat. This is an apple pie. Splurge.)
– 1 tsp. salt
– 1/2 tsp. baking powder
– 1/3 c. super cold butter (I throw this in the freezer)
– 1/3 c. shortening
– 1/3 super cold water

1. Preheat the oven to 425.

2. Make the dough. The easiest way to make this whole pie is to have an awesome Cuisinart food processor, which is my most-favorite and least-used kitchen appliance. If not, you can use a Kitchen Aid mixer, or just kick it old school and do everything by hand.

3. Combine 2 C. flour, the salt & the baking powder.

pre-combined

4. Chop up the super cold butter into little pieces, add to the flour mixture. Here’s why you need the butter to be as cold as possible, and work as quickly as possible to make the dough itself.  The cold little pieces of butter kind of burrow their way into the dough, and then when you bake this, they warm up and create these little pockets of explosions of deliciousness in the crust, which is amazing (obvs).

5. Pulse the butter into the flour mixture until it starts to form little pellets of dough. At that point, add the cold water (same reasoning for this as the cold butter) a little bit at a time, mixing until it starts to come together. My mom’s note is to not overmix this, “so don’t make this when you’re annoyed!”

6. Form a ball out of the dough, wrap in saranwrap and refrigerate while you get the apples ready.

7. Peel, core and slice the apples into 1/4 inch slices. 


8. Combine the sugar, cornstarch, cinnamon & nutmeg. Toss with the apple slices to coat.


9. Flour the surface of a piece of wax paper,  dust a rolling pin with flour, then roll out half the dough into a circle. 


10. Carefully flip the dough into the bottom of a pie dish, letting any dough overlap. Remove the wax paper and gently press the dough into the dish.

11. Layer the apples into the pie dish, saving about 1/2 cup. 


12. Squeeze the half lemon over the apples, then add the slivers of butter in a circle. Top with remaining apples.

13. Roll out the other half of the dough in the same way you made the bottom crust. Cover the apples as carefully as you can.

14. Crimp up the edges of the dough to make the top of the crust and seal the pie. 

15. Now comes the fun part!  Pies need to breathe as they bake, so they need some air holes in the top crust. You can be traditional and just put a few slices into the top crust, or you can make cuts into designs and decorate it however you want. Or, you can be in love and put your initial and the initial of your boyfriend in a heart (ahem). I know, I know. Sometimes I’m like a 12 year old girl at heart.


16. Brush condensed milk over the top of the pie, then sprinkle white sugar lightly over the top of the pie.

17. Bake at 425 for 15 minutes, then reduce heat to 375 and bake for another 45 minutes.


18. Serve with vanilla ice cream and also, as my mom instructs, “with lots of love.”  Welcome home.  


Chicken stuffed with Zucchini and Mozzarella

Bren and I got some amazing organic chicken breasts from Hillside, so I used them to make one of my favorite chicken recipes of all time. This is a classic Skinny Taste recipe from way back – I’ve made this a ton, and every time I’m reminded of how much I love it. Instead of a traditional egg wash to adhere the breadcrumbs, a mix of lemon juice and EVOO is used, and honestly, it makes such an amazing difference in flavor. Working with raw chicken always skeeves me out, but I just steel myself, because the end result of this recipe is totally worth it. 

CHICKEN STUFFED WITH ZUCCHINI AND MOZZARELLA (serves 4, recipe adapted from Skinny Taste)
– 1.5 lbs chicken breasts, thinly sliced 
– 2 zucchini, grated (leave skin on, but wash these well before you do!) 
– 1/3 C. shredded mozzarella
– 1/3 C. shredded fresh parmesan
– 3/4 C. seasoned Italian breadcrumbs
– 1 tbsp Herbed Butter
– 4 cloves chopped garlic
– juice of 1 lemon
– 1 tbsp EVOO
– Kosher salt & black pepper to taste
– Olive oil non-stick cooking spray

1. Preheat oven to 450.

2. Rinse chicken, then arrange everything so you don’t find yourself with chicken-y hands and needing to grab something out of a cupboard.


3. Heat butter over medium. Add garlic and saute until fragrant, approx. 90 seconds.


4. Add shredded zucchini, 1/4 C. shredded fresh parm, and stir to combine. Add a little salt & pepper to taste, then cook for approx 3-4 minutes. Set aside to cool. When cool, add the mozzarella and mix to combine.


5. Add a thin layer of the zucchini/parm/mozz mixture to coat one side of each chicken cutlet (season chicken cutlets first), then roll each cutlet.

6. Dip each rolled chicken cutlet in the lemon/EVOO mix, then in the breadcrumbs/parm mix. Place seam-side down in a baking dish lightly coated with EVOO. When all of these are rolled, lightly spray them each with the olive oil cooking spray (this will make them a little more golden).

7. Bake 25-30 minutes, then enjoy. We had this with my new favorite salad, zucchini ribbons with lemon, basil and toasted almonds.


Cilantro-Lemon Quinoa Salad with Avocados, Tomatoes and Chickpeas

Quinoa all day, every day. I love it. It’s like pasta without the guilt, it’s packed with protein, and goes with just about everything. This salad mixes avocado cubes, cherry tomatoes and chick peas with a cilantro-arugula dressing…it was terrific and would be great for a summer salad (just add the dressing right before serving).


CILANTRO-LEMON QUINOA SALAD WITH AVOCADOS, TOMATOES AND CHICKPEAS
– 1/2 C quinoa, cooked (this makes a surprising amount)– 1 15-oz can chickpeas, drained and rinsed
– 2 C arugula
– 1/4 cup vidalia onion, chopped
– 1 garlic clove
– 1 avocado, diced
– 1.5 C cherry tomatoes, cut in half

Cilantro-Lemon Dressing
– Juice from 1.5 lemons & zest
– 3/4 cup fresh Cilantro
– 1/2 tsp sugar (or to taste)
– 1 tsp Dijon mustard
– 3 tbsp EVOO
– 1/2 tsp ground cumin
– 1/2 tsp kosher salt + ground pepper

1. Make the quinoa – you want to rinse this really, really well so it gets all the bitter tasting dust off. Just when I think I’m finished rinsing, I always give it one more swish, because that dust is yuck. Boil the water and add the quinoa, cook according to package directions.


2. While the quinoa is cooking, put the arugula, the chopped onion and the garlic clove into a food processor and pulse until combined and chopped.


3. In a bigger bowl, add the chickpeas, tomatoes, avocados and cooked quinoa.

4. Combine the lemons, sugar, dijon, cumin, kosher salt & pepper, mix to combine. Add the EVOO & shake it up again.

5. Pour the dressing and the arugula/onion blend on top of the quinoa chickpea mixture and stir well, then add salt and pepper to taste. Let stand for about 10 minutes to let everything combine.


Salmon Baked in Parchment with Spinach and Feta

 This is the easiest way to make fish ever. Ever. It’s pretty, packed with flavor, and healthy for you too. The fish basically steams itself in its own juices and whatever else you add to it, and the end result is incredible. Plus, cleanup is minimal, since you can just eat it right out of the parchment if you want. If you’re not a fan of feta, you can skip it, but why not just try it, because spinach and feta is awesome.

SALMON BAKED IN PARCHMENT WITH SPINACH AND FETA (serves 2)
– 2 salmon filets
– 2 cups spinach, divided
– 4 slices lemon
– curls of basil butter
– 1 shallot, sliced
– 2 cloves garlic, thinly sliced
– 1 tbsp EVOO, divided
– Couple crumbles of feta
– Kosher salt & freshly cracked black pepper

1. Preheat the oven to 400.

2. Tear off a decent size of parchment paper. Fold it in half so you know which side you’re going to be working on.

3. Rub 1/2 a tbsp of EVOO on the right side of the parchment paper.


4. On top of that, add 1/2 a cup of the spinach, 1/2 a shallot, sliced, then 1 filet of salmon.


5. Cut a couple shallow slices into the salmon, then season it with Kosher salt & black pepper. Top with 2 of the slices of lemon, 1 clove garlic, sliced, & some curls of the basil butter.

6. Crimp up the ends of the parchment paper so it makes a little pouch. Follow steps 2-6 with the other piece of salmon.


7. Put the parchment packets on a baking tray on the lowest rack of the oven, cook for approx. 20-25 minutes or until cooked through.


8. Open up the salmon packets (don’t toss the juices in the bottom, because they’re the best), carefully arrange the salmon & the veggies on top of some fresh spinach, then add some feta crumbles.  We had this with tuna tartare for one of the prettiest dinners I’ve made in a long time.

Linguini with Baby Portabellos, Spinach & Shallots in a Rosemary Cream Sauce

One of the things I love most about visiting my parents’ house is that you can always find great stuff in the fridge to throw together to make something delicious. Oh, are you starving? Ok, let’s find baby portabellos, shallots, spinach, fresh rosemary, a little heavy cream and good pasta too. That’ll work! This was so easy to throw together and completely allowed me to overlook the heavy cream I added because there was spinach in it, which everybody knows cancels out any fat content in any recipe, ever.

LINGUINI WITH BABY PORTABELLOS, SPINACH & SHALLOTS IN A ROSEMARY CREAM SAUCE 
– 2 cups baby portabellos, washed and sliced 
– 2 cups spinach 
– 2 shallots, sliced 
– 1/3 C. heavy cream 
– 2 tbsp. chopped fresh rosemary (if you don’t have fresh, skip it. Don’t use dried in this recipe) 
– Fresh parmesan, approx. ¼ cup plus more for topping 
– 1 lb. pasta 
– 1 tbsp. butter 
– 1 tbsp. EVOO 
– 2 cloves garlic, chopped 
– Kosher salt & pepper to taste 

1.  Cook your pasta – linguini should cook for about the same time as it takes to make everything else. 

2. In a saucepan, melt the butter and EVOO over medium heat. Add the garlic and cook until fragrant, approx. 60 seconds. 


3. Add the sliced baby portabellos and cook until they’re fairly soft, approx. 5 minutes. These will continue to cook as you add everything else, so don’t overdo it. 


4. Add the shallots, cook until wilted. 


5. Stir in the cream, rosemary and parmesan over medium-low heat. This will look pretty thin, but don’t worry – it’ll cook down a bunch and it coats the pasta really well. I usually stop when it still looks pretty thin before I overdo it and end up with a barely-there cream sauce. If you do that, though, just add a little pasta water to it. 


6. Remove from heat, add spinach and stir well to wilt. 


7. Add the cooked pasta to the spinach – the heat from the noodles will continue to wilt the spinach.

8. Stir everything well, top with a little fresh parm, and give your parents a kiss for being so wonderful.


Tuna Tartare with Guacamole & Mango Salsa

This looks way fancier than it actually is – the key is to have a circle mold, or just to use a measuring cup in a pinch. You can have this for an app or make them bigger and have it for a full meal. It’s completely delicious and really healthy for you, too. Serve this over some micro-greens and watch people freak out at how pretty it is.

TUNA TARTARE WITH GUACAMOLE AND MANGO SALSA
– Ahi Tuna, diced
– 1 tbsp. sesame seeds
– 1 scallion, very thinly sliced
– micro-greens
– Simple Mango Salsa
– Guacamole

1. Assemble the simple mango salsa and the guacamole in 2 separate bowls.


2. Dice the tuna – if you throw it in the freezer for 15 minutes or so it’ll be easier to cut.

3. Combine tuna with scallions and sesame seeds in a third small bowl.


4. Put some micro-greens on a little plate.


5. In either a circular mold or a measuring cup, add a layer of tuna, then salsa, then guacamole. Flip it upside down carefully but quickly on a plate.


6. Remove the mold and top with a couple little micro-greens. Enjoy!

Simple Mango Salsa

   
We’re halfway through April, so it’s almost summertime, right? This winter has been endless. Mangoes make me feel like I’m in the tropics, and they’re also apparently amazing for you – they have health benefits for everything from clearing up your skin to lowering cholesterol. Throw together this mango salsa and then freeze whatever leftovers you have to make smoothies. Mang-oes! Mang-oes! Mang-oes!


SIMPLE MANGO SALSA (makes approx. 2 cups)
– 1 mango, peeled and diced
– 1/4 c. finely chopped red onion
– juice and zest of half a lime
– handful chopped cilantro
– pinch of kosher salt
– 1 tsp. EVOO

1. Peel a mango with a vegetable peeler, then dice it. Add to a bowl.


2. Dice the red onion, chop the cilantro and add to the mango. 


3. Add lime juice & zest, then salt. Mix everything together.

4. Add the EVOO, taste & adjust seasonings, serve either by itself, with chips or as a side – this is great with fish dishes.