Scrambled Eggs with Smoked Salmon, Creme Fraiche, & Chives

Ah, breakfast for dinner.  This is indulgent enough for suppertime, served with some good sourdough, or a real treat for breakfast.  If you can’t find creme fraiche, just substitute cream cheese, which is also awesome (so awesome, in fact, that I used to eat it by itself as a snack when I was a kid. I know).

SCRAMBLED EGGS WITH SMOKED SALMON, CREME FRAICHE, & CHIVES (serves 2)
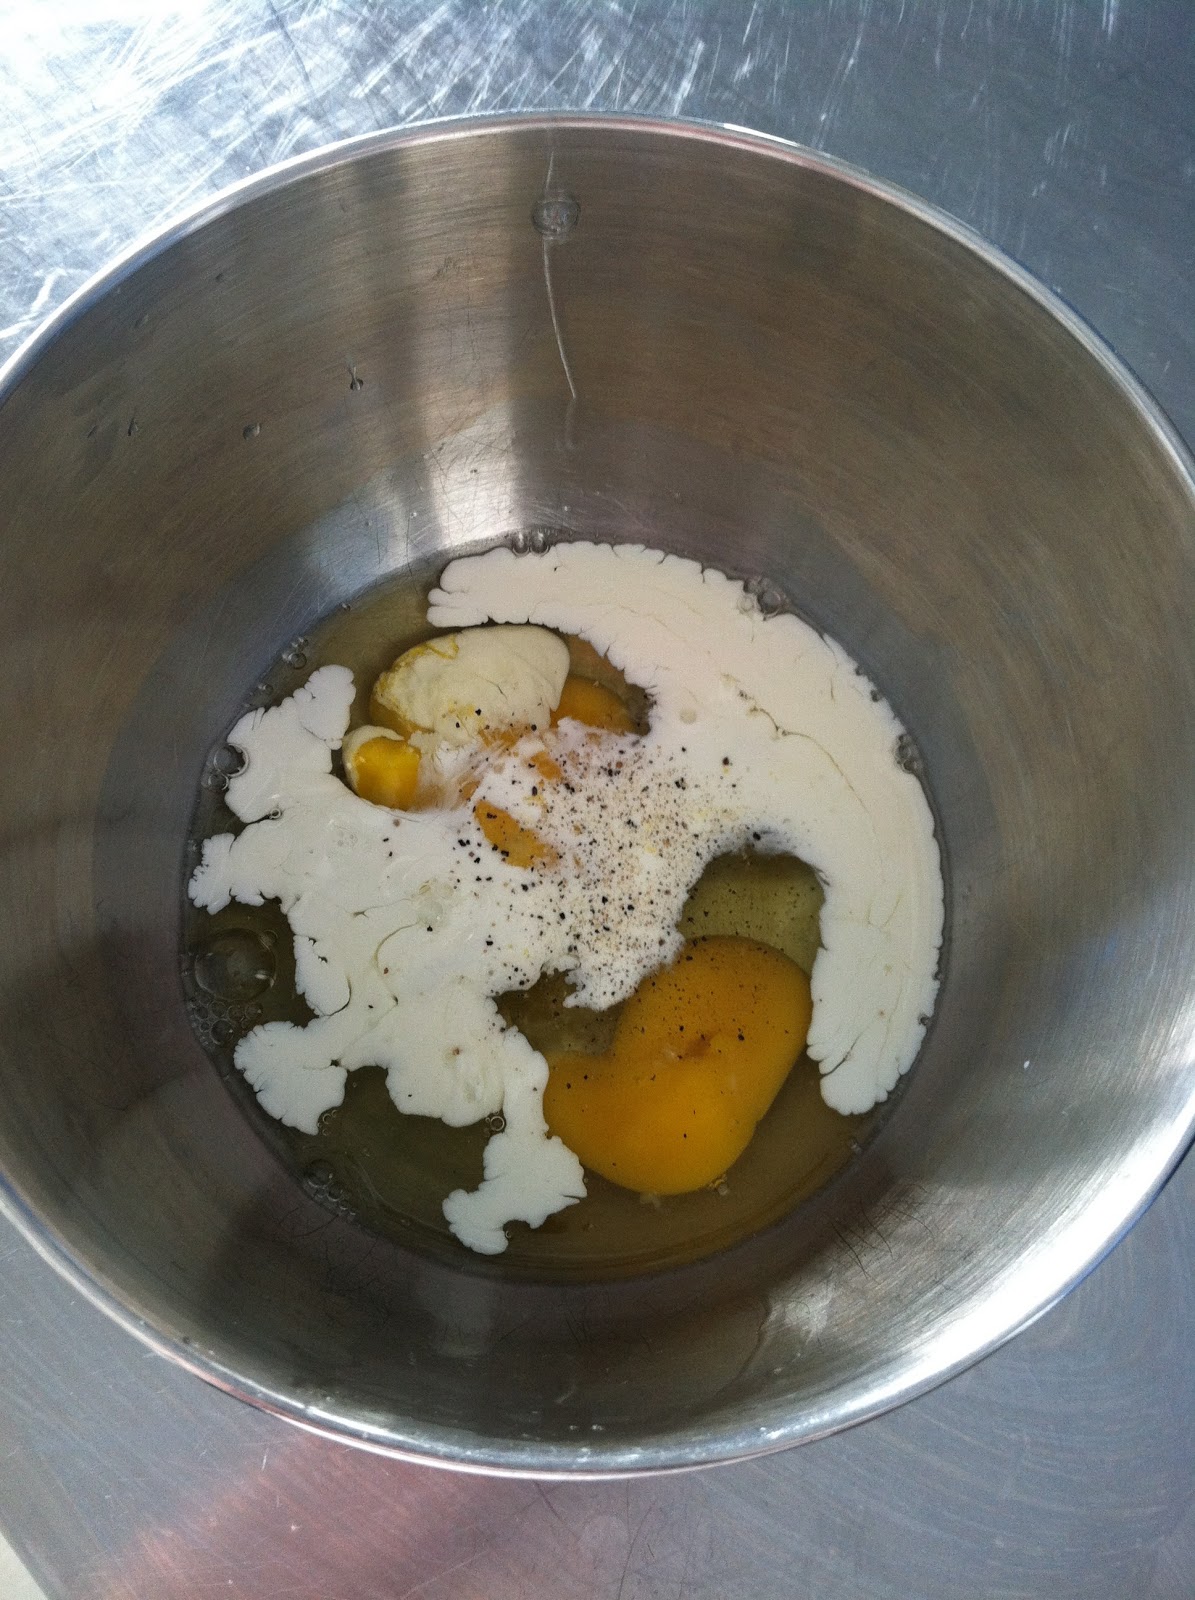
– 6 eggs (3 yolks, 6 whites)
– 1/4 C. roughly chopped smoked salmon (approx. 2 oz.)
– 2 tbsp. creme cheese or creme fraiche
– 2 tbsp. half & half or heavy cream
– 1 tbsp. butter
– really good quality sourdough (or whatever kind you’d like)
– chopped chives
– kosher salt & freshly cracked black pepper

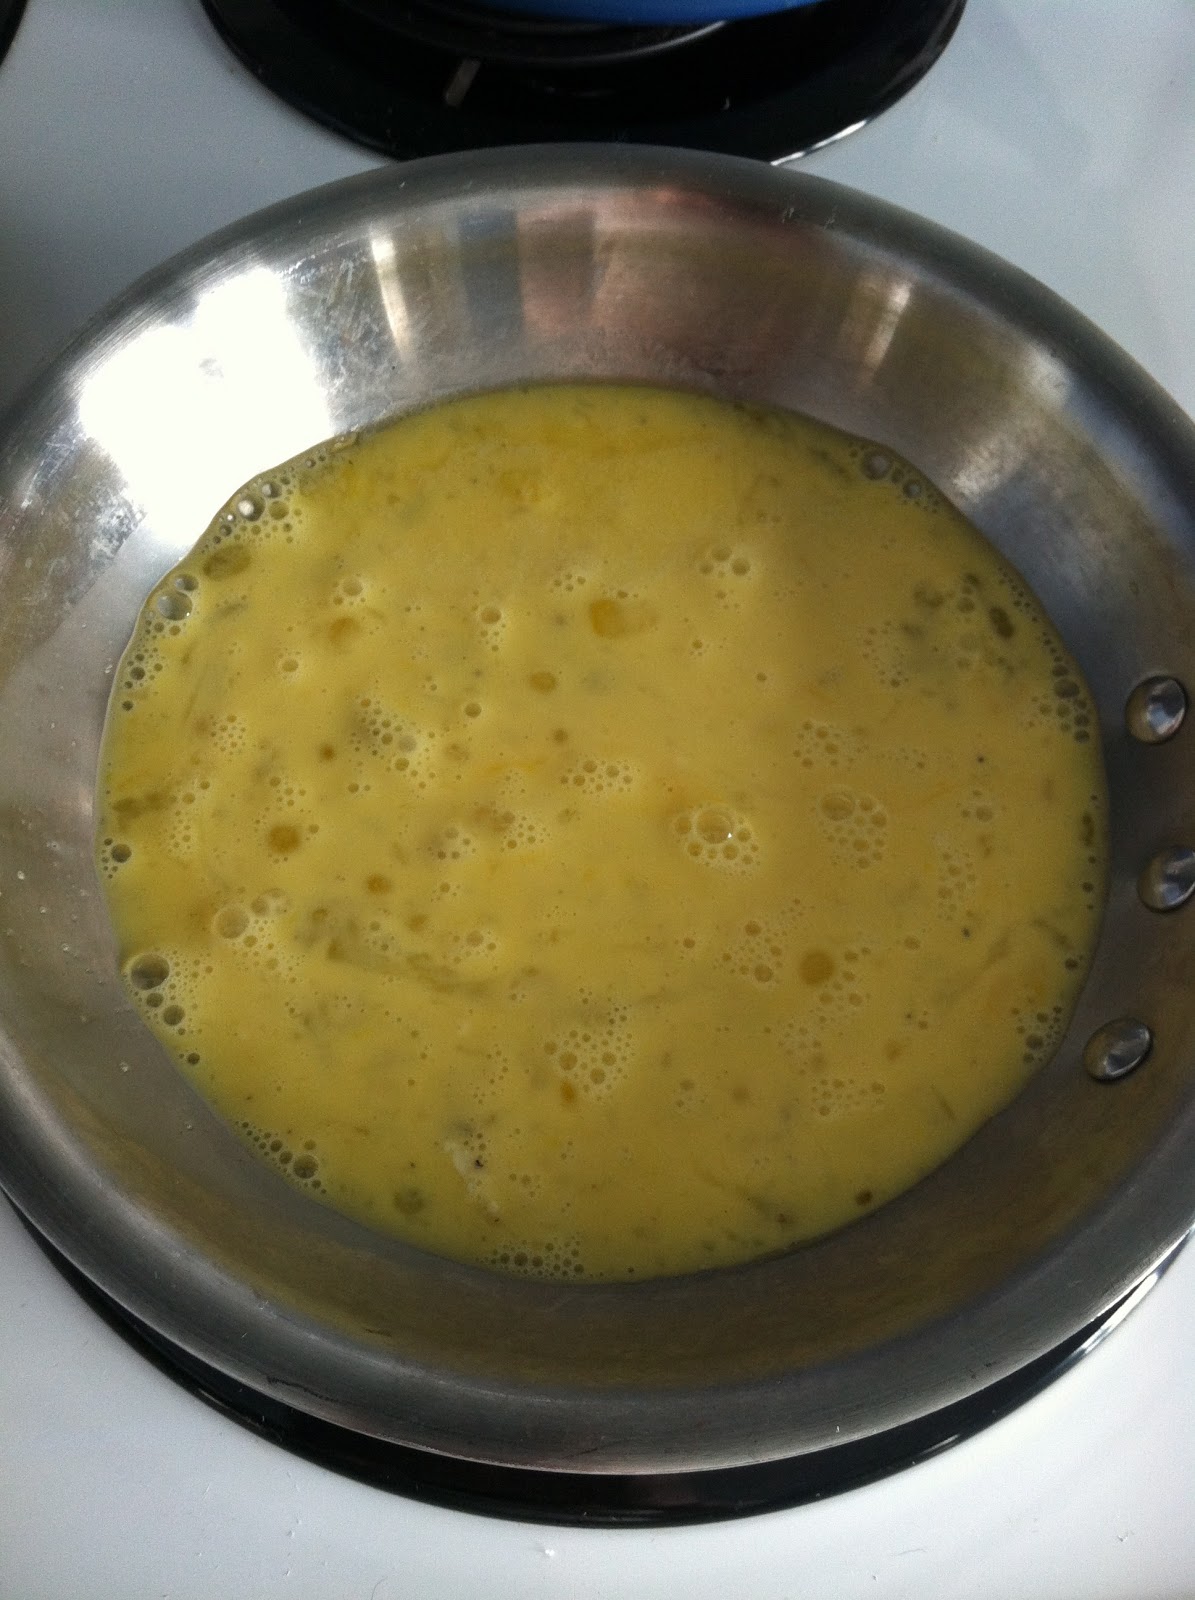
1. In a smaller saucepan, melt the butter over medium low heat.

2. Whisk the eggs lightly together with the half & half (or cream), salt, & pepper.
3. When butter is melted, pour the eggs into the saucepan. The key to cooking them is to use a wooden spoon, and kind of push the uncooked parts around the pan so they can get some heat, not letting the cooked parts stay on the heat too much. Keep a pretty close eye on these until they’re finished (approx. 5-7 minutes). You want them to be soft & creamy, not overdone.

4. When eggs are almost finished, add salmon & stir to heat.

5. Remove eggs from heat, add the cream cheese or creme fraiche in little dollops, and stir to combine all of it.  The heat from the eggs will melt the cream cheese a bit, which is perfect.

6. Top with torn chives. Serve with toasted buttered sourdough.


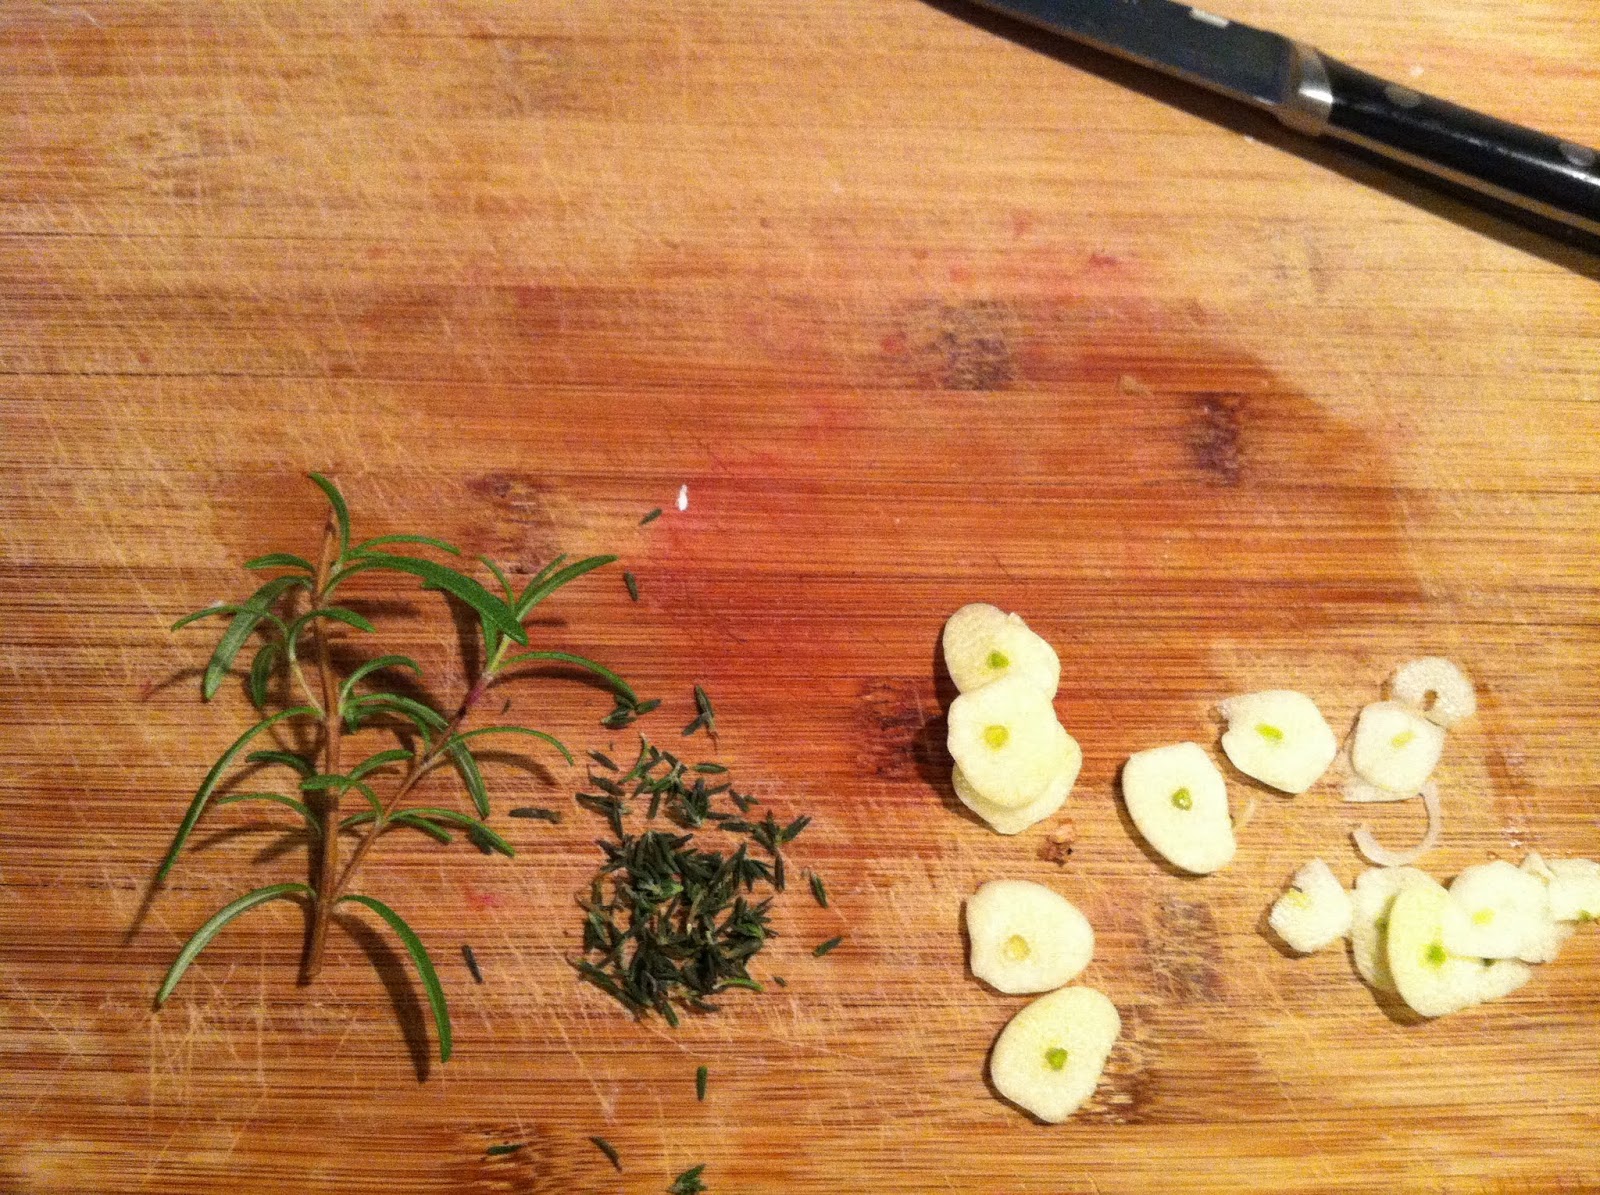
— My new little indoor herb garden!!!  I love springtime. This has been a really transitional 6 weeks or so, but the gorgeous new apartment and the new experiences – and cooking in the new kitchen! – are all helping, a lot.  It’s a watershed moment in my life, and I’m really looking forward to everything that’s yet to come.


Mediterranean Shrimp & Feta Bake

Not only is most Mediterranean cuisine amazing for you & your health, it’s also awesome. There’s an emphasis on fresh cooking, olive oil instead of butter, foods with flavors of their own so you don’t need a bunch of add-ons, and then flavors like dill, lemon, olives, feta, etc. The “Mediterranean diet” practices eating habits that the U.S. recommends for us, and just think of how much better off we all would be if we lived like this all the time! Plus, I’m a fan of any eating plan that encourages drinking red wine.  So pour yourself a glass and get this Shrimp & Feta bake started.  It’ll be ready in 30 minutes, tops.

MEDITERRANEAN SHRIMP & FETA BAKE (SERVES 4-6)
– 1 lb. frozen, uncooked shrimp
– 1 vidalia onion, diced
– 3 cloves garlic, chopped
– 1 tbsp. EVOO
– 1 28-oz. can chunky crushed tomatoes
– 1 tbsp. chopped dill
– 1/4 c. fresh chopped flat-leaf parsley
– juice of 1 lemon
– 1/3 c. crumbled feta
– Kosher salt & fresh-cracked pepper to taste
– Orzo, or pasta, or rice, to top with the Shrimp & Feta bake

1. Quickly defrost your shrimp.  Fill a bowl with cold water, add the shrimp, and change the water twice over the next 20 minutes.  You’ll be able to throw the rest of this together by the time they’re de-thawed.


2. Preheat the oven to 425.  

3. In a saucepan (or better, to make this a one-pot meal, a Le Creuset Dutch Oven), heat 1 tbsp. EVOO over medium-high heat.  Add the onions and cook until softened, approx. 5 minutes.


4. Add the chopped garlic and stir until fragrant, approx. 60 seconds.


5. Add the tomatoes, stir to combine, and let heat until it starts to shimmer (approx. 2 minutes).  Then, lower the heat to a simmer, and simmer for 5-10 minutes, or until the juices start to thicken.

6. Remove from the heat. and stir in the dill & parsley, juice of 1 lemon, feta, shrimp, and salt & pepper.


7. Place pan on the middle rack in the oven and bake, uncovered, until shrimp are cooked through, approx. 10-12 minutes.


8. Serve over cooked orzo, pasta, rice, etc.  – or eat it on its own for a fully gluten-free meal.

Fish Tacos spiked with Cilantro and Lime

When I first heard of fish tacos, I thought they sounded totally gross.  Fish tacos??  How would that work? Weren’t tacos just meat, salsa, lettuce and shredded cheese? Little did I know.  A couple of years later, these are one of my favorite things to make – they’re healthy, full of flavor, and are really adaptable to different ingredients.  This one infuses tilapia with cilantro and lime flavors, and is topped with avocado slices and a tomatillo salsa for a fresh, quick dinner.  A fresh, light creamy avocado dressing would also be really nice with this, too.

FISH TACOS SPIKED WITH CILANTRO AND LIME (serves 2 for dinner – approx. 4 tacos)
– 1 lb. tilapia
– handful cilantro, chopped
– small whole-wheat tortillas
– 1 lime, zested and juiced
– 1/2 tsp. cumin
– dash paprika
– 1/2 tsp. kosher salt
– 2 tbsp. EVOO
– couple grinds of fresh black pepper
– sour cream, for topping
– tomatillo salsa, for topping
– avocado, for topping


1. Zest the lime (just the green, not the white – the “pith” is really bitter), then juice it.  This was the first time I got to use our new Rosle Citrus Reamer, and holy moly.  Game-changer.


2. Combine the lime juice with the lime zest, cumin, paprika, salt & pepper, stir to allow the spices to mix with the lime juice.  Add the olive oil & chopped cilantro, stir to combine.  


3. Add the fish to a ziplock bag, then pour the marinade over it. Ziplock the bag, shake it all up so that the marinade covers the fish, and let sit for approx. 20 minutes (I used this time to make a tomatillo salsa).


 4. If you have a Le Creuset Grill Pan (Le Creuset continues to be awesome), get it super hot (medium-high heat, no oil), then add the fish.  Cook until it’s flaky and cooked through, approx. 7 minutes on each side, depending on the thickness of the tilapia.


5. Warm the tortillas in a microwave – 4 at a time, in a paper towel, for approx. 45 seconds – then top with the fish.  Add avocado slices, tomatillo salsa, sour cream.  These are light and delicious, and a little different than our typical mexican fare, the turkey taco lettuce wraps.  Hope you like them as much as we do!

Greek Turkey Meatloaf “Roll-Up”

I love making Spanakopita, even though all those delicate layers of pastry dough are my nemesis (nemeses??).  That said, all those Greek flavors – spinach, feta, a little lemon, and dill – are some of my very favorites.  Could we take those and incorporate them into a turkey meatloaf?  Yes.  Yes we could.  This was delicious, and I didn’t tell B what I had added, but he noticed the light lemon and dill flavor after a couple of bites.  They definitely add a different dimension to your typical turkey meatloaf, but in an awesome way. Rolling this up makes it so pretty, too!
 
GREEK TURKEY MEATLOAF “ROLL-UP” (serves 4-6)
Ingredients:
– 2 lbs ground turkey
– 1 Vidalia onion, diced
– 5-6 packed cups fresh baby spinach (approx. a 10-oz. bag), wilted, drained, and chopped
– 1/2 cup feta cheese, crumbled
– 1 egg & 1 egg white, slightly beaten
– 1 cup panko bread crumbs
– 2 tbspns olive oil (or 1 tbspn olive oil and 1 tbspn butter)
– salt and pepper
– dried dill (1.5 tbsps)
– juice of 3/4 of a lemon  (approx. 1.5 tbsp)
 
1. Preheat the oven to 400. 
 
2. Heat 2 tbspns olive oil (or 1 tablespoon olive oil and 1 tablespoon butter) in a large saute pan over medium heat.
 
3. Dice the vidalia onion like this:
Half an onion, slice off the top part (but keep the “root” part intact) and then make slits along the ridges of the onion, almost down to the root. You can kind of follow the natural lines of the onion.  Then flip it on its side, and slice it horizontally. The onion will “dice” itself naturally.
 
4. Saute the onion in the oil or oil/butter combo until soft, add salt/pepper to taste.
 
5. Meanwhile, in a mixing bowl, combine turkey, dill, breadcrumbs, the lemon juice, the egg, 1/2 a teaspoon salt, and 1/2 a teaspoon pepper.
 
6. When onion is soft, remove from the pan and put on a plate to cool slightly.
 
7. Put pan that previously contained onions back on the heat, and add spinach to it.  Lower heat and stir until just wilted, then remove spinach and drain by either pressing spinach against the sides of a sieve, using a cheesecloth to wring it out in bunches, or squeezing most of the liquid out with your hands (but let it cool first, obviously). When the spinach is drained, roughly chop. Set aside.
 
8. Add cooled onions to the turkey mixture, stir everything to combine. You can really get your hands in there to mix it up, which is probably easiest. Form turkey mixture into a ball, and then press into an oblong shape on a piece of wax paper, and flatten minimally.
 
9. Top turkey mixture with chopped spinach, and then top with the crumbled feta:
10. Using the wax paper to help get things moving, roll the turkey meatloaf, beginning at either short end of the roll. It should look like this when you’re finished:
12. Put the meatloaf in a foil-lined baking pan, and bake in the oven at 400 for approx. an hour, or when the internal temperature reaches 160 Degrees 160 degrees.  About 45 minutes into this, I took it out of the oven and drained off the fat/liquid that had pooled in the foil. You don’t have to, but it probably helps.
 
This is really pretty, so tasty, and is even better for lunch the next day, hot or cold.

Linguini with White Clam Sauce

This recipe has been my simplest go-to meal to cook for company since I got my first apartment. It’s comfort food that seems fancier than it really is, it takes almost no time at all to throw together (minus the simmering), and if you make it with fresh pasta (please do) it’ll be immediately added to the rotation.  I have never known anyone who didn’t completely love this recipe.  Thanks Mom!


LINGUINI WITH WHITE CLAM SAUCE (serves 3-4)

– 3 cans whole baby clams (& juice of 2 of those cans)
– 1 vidalia onion, sliced into thick half moons
– 2 garlic cloves, minced
– handful fresh parsley, chopped
– 3/4 cup good white wine (optional, but lends a nice dimension of flavor)
– 1 tbsp. butter
– 1 tbsp. EVOO
– 1/4 c. grated parmesan cheese, plus more for topping
– pasta, approx. 1/4 lb., or 3-4oz. for each guest 

1. In a large pan, melt the butter and EVOO over medium heat until combined. Add the garlic and stir until fragrant, approx. 60 seconds.  Add the onions and saute until soft, approx. 5-7 minutes.

2. Add the wine and let the alcohol burn off, approx. 3-5 minutes. 

3. Add juice of 1 can and all the baby clams.  Take 1 can of juice and discard. In the remaining can with the juice, add 1/4 c. grated parm, combine, and add to the pan.

3. Stir to combine, then turn heat down to low.  Cover and simmer for about an hour, stirring every now and then.


4. At the very end, throw in the chopped parsley and stir to combine.  Cook the pasta, then top with the white clam sauce.  There will be quite a bit of juice, which is delicious, so keep the pasta separate so it doesn’t soak it up (if you’re going to have leftovers).

5. Serve, per my Mom’s instructions: “with a salad & of course a good bottle of white wine.  Invite a friend over for a real treat!”

That’s a well-used recipe card from my Mom, right there!

In other news, I am super psyched for a weekend yoga workshop with the amazing Pradeep at Balance Yoga  despite this snowstorm that’s meant to be bombarding the Northeast this weekend.  Also, snowstorm “Nemo”?  Seriously??

Chicken, Black Bean, Kale, Roasted Butternut Squash, & Avocado Enchiladas


Say you have friends over on Monday, and you make an enormous roasted chicken. Then let’s say you have a ton of leftovers, since apparently an 8 lb. roast chicken is way too much for 4 people. And let’s also say that you would like Mexican food, but not turkey tacos, since although they are delicious, you make them all the time.  

Enchiladas??  Okay.

These were so tasty, and so filling, and I was able to convince myself that the kale, squash, and avocado made them healthy (enough). I thought the roasted butternut squash might add too much sweetness, but it ended up acting as sort of a binder for the filling, and lending just a little bit of flavor. This recipe uses a  tomatillo sauce that I found in the store, so if anyone has a tomatillo recipe they love, I’m all ears. These keep, and reheat, really well. I think they might actually even be good cold.

CHICKEN, BLACK BEAN, KALE, ROASTED BUTTERNUT SQUASH & AVOCADO ENCHILADAS (makes 7 enormous enchiladas)

– 1 lb. shredded chicken
– 2 cups kale, “ribs” removed and roughly chopped
– 1 15.5 oz. can black beans, rinsed and drained
– 1/2 roasted butternut squash
– 1 small avocado, diced
– Mexican cheese – I was able to find a small wheel of “quesadilla cheese” in the grocery store which was perfect
– 2 cups tomatillo sauce
– Smaller-size flour tortillas
– 1 small onion, diced
– 2 tbsp. EVOO
– kosher salt or Herbamare
– Fresh-squeezed lime juice
– Sour cream, for topping

1. Roast your butternut squash. This is really easy but takes a little time. First, heat the oven to 400. The just take the whole squash, with a couple of holes poked into it, into the oven for about 15 minutes.  The squash will soften, and make cutting it a slightly less terrifying experience.
2. After 15 minutes, cut off the bottom of the squash, then cut it down the middle and scoop out all of the seeds.


3. Rub a little olive oil on the cut side of each half of the squash, then place cut-side down on an ungreased baking sheet.

4. Cook at 400 for approx. 30 – 45 minutes (depending on the size of the squash). Remove from the oven and let cool a bit.  The skin of the squash will peel right off, and you can then cut the squash into chunks for this recipe, or salads, or soup, or whatever.

5. While the squash is roasting, dice an onion.  The easiest way to do this is to cut the onion in half, then make vertical cuts along the onion’s natural lines.  When you then cut the onion, it will dice itself naturally.


6. Heat a large skillet over medium high heat, add 2 tsbp EVOO, and when hot, cook the onion until soft. 

7. Add the rinsed and drained black beans, chopped kale, and chicken. Stir to combine.
8. Add about 1/2 C. of the tomatillo sauce to the bean/kale/chicken/onion mixture for some flavor. Taste and adjust seasoning.

9. When the mixture is cooked, add the roasted squash and the avocado. Stir gently to combine.

10 Lower oven heat to 375.  In a microwave, heat the tortillas (4 at a time) in paper towels, for approx. 45 seconds.

11. Spread approx. 1/2 C. of the tomatillo sauce over the bottom of a large baking pan.


12. Assemble your enchiladas – spoon filling into the middle of a warm enchilada, grate some mexican cheese over the filling, and squeeze a little lime juice over it as well.  Roll up the enchilada and place in the baking pan seam-side down.

13. Step and repeat.

14. When all the enchiladas are in the baking pan, pour the remaining cup of tomatillo sauce over the top of them, then top with approx. 1/2 C. of shredded Mexican cheese.

15. Bake, covered with aluminum foil, for approx. 20 minutes, or until the cheese is melted and bubbly.

16. Serve with lime wedges, sour cream, salsa, etc. Ole.

Perfect Chicken

Cooking chicken in a pan was always kind of tough for me – I used to worry about undercoooking it, then overcooking it, then practically burning it until it was either way too tough or dry – until I discovered this technique.  It’s so hands-off it’s ridiculous, gives the chicken a perfect coat of flavor and “kick”, and leaves it juicy and tender, every time. 

PERFECT CHICKEN (adapted from The Kitchn) (serves 2-4)
– 1.5 lbs chicken breasts, cut into strips, or chicken strips
– 1/4 C. Flour
– 1 egg, lightly beaten
– Chopped fresh herbs (thyme, tarragon, rosemary, sage, etc.)
– 1 tsp. dijon mustard (optional)
– 1 tbsp. EVOO
– 1/2 tbsp. butter
– Kosher salt and freshly ground black pepper

1. Pound the chicken breasts to an even thickness, then season with salt and pepper.

2. In a small bowl, lightly beat 1 egg, then combine herbs and mustard, if using, into mixture.

3. Using a pastry brush, lightly coat the chicken with the egg/herb/mustard mixture, then lightly dredge in the flour.

4. Meanwhile, in a large saute pan, heat olive oil and butter over medium high heat. When hot, add the chicken and cook for approx. 1 minute to sear and brown them on one side.

5. Flip the chicken breast strips over, then turn the heat to low.  Put the lid on the pan, set the timer for 10 minutes, and walk away.

6. After those 10 minute have passed, turn the heat off (don’t take the lid off the pan throughout this process – it’s tempting, but you just have to have faith in the end result…and there’s a life metaphor somewhere in there) and leave the chicken breasts covered in the pan for another 10 minutes.


7. When those 20 total minutes are up, remove the lid and check to make sure the chicken is cooked throughout (it will be). The chicken should be seared and golden, tasty, moist, and flavorful. For all of you who’ve struggled with cooking chicken in a pan like I did, this is a game-changer. Enjoy.

Perfect chicken with Kale, Carrot, and White Bean Blend


Portabello Mushroom “Pizzas”

aka, “Brad’s first time cooking in 8 weeks”.  It was SO NICE to have him back in the kitchen!  We had to do a lot of maneuvering for him to get semi-comfortable, and he had to take a break halfway through, but overall he made one of the best versions yet of portabello mushroom “pizzas”.  These are mainly carb-free, super tasty, and pretty simple, too.  Portabello mushroom caps make a great alternative base for recipes in which you’d otherwise use something with carbs, like a crust.

PORTABELLO MUSHROOM “PIZZAS” – serves 2-5

– 5 portabello mushroom caps, rinsed and dried
– 1/4 c. EVOO
– 1/4 tsp. garlic powder
– 1/4 tsp. kosher salt
– 1/4 tsp. freshly ground black pepper
– 1 1/4 c. your favorite pasta sauce
– 2 c. shredded mozzarella cheese
– toppings: cooked sausage, cooked turkey pepperoni, etc.

1. Preheat oven to 400.

2. Wash the mushroom caps and pat dry. The best way to clean them is to wet a paper towel and clean each mushroom cap individually.  That way, the mushrooms won’t retain the water they would if you cleaned them under a faucet.

3. Place the washed mushroom caps on a baking sheet lined with foil, for easier cleanup. Combine the EVOO, garlic powder, salt and pepper in a small bowl, and brush the mixture all over the mushroom caps.

4. Bake the mushroom caps at 400 for approx. 5 minutes.

5. Remove from the oven, and add approx. 1/4 c. spaghetti sauce to each mushroom cap.  Top with cooked toppings – we used both cooked sausage and turkey pepperoni, and approx. 1/3 c. shredded cheese.


6. Bake at 400 for another 15 minutes or so, until cheese is melted and golden.

7. Serve on their own, or with a side like the Best Broccoli Ever.


French Onion Chicken


I’ve had an aversion to cooking with chicken thighs since a recipe gone wrong a couple of years ago. When I read about this recipe, though – chicken thighs spiked with dijon mustard, mixed with deeply caramelized onions and topped with a bubbling gruyere – I figured it was time to put them back into the mix. This recipe ended up being one of the tastiest, most deliciously reheated dinners (and lunches) we’ve had in a while.

FRENCH ONION CHICKEN (serves approx. 4)

– 2 large vidalia onions, sliced into thin half-rounds
– 2 lbs. boneless skinless chicken thighs
– 1/2 c. grated Gruyere
– 1 tbsp. butter
– 1 tbsp. EVOO
– 2 garlic cloves, sliced
– 1 tbsp. chopped fresh rosemary
– 1 & 1/2 c. beef broth
– 1/2 tbsp. balsamic vinegar
– 1 tbsp. dijon mustard
– Kosher salt and pepper to taste

1. Caramelize your onions. This, if done properly, will take upwards of 45 minutes. Slate had a cute article about browning your onions a couple of months ago: Why Recipe Writers Lie About How Long It Takes To Caramelize Onions, and you can cut down the time on these if you’re in a hurry, but if you can, try to take the full 45 minutes to caramelize the onions.  You can even do this a day or 2 ahead, and then reheat them.


2. Melt the butter and olive oil in a dutch oven over medium heat, then add the onions and a sprinkling of salt and pepper. Stir, stirring occasionally, for up to 45 minutes.

3. When onions are a rich golden brown color, add the sliced garlic and chopped rosemary, then stir to combine.


4. Add 1 C. beef broth slowly, stirring the pan to scrape up any bits that are stuck to the bottom. Turn heat down to a simmer and let stand for 5 minutes, or until slightly reduced.  Take onions off the heat and set aside.

5. While the onions are caramelizing, heat another pan over medium-high heat. Pat chicken thighs dry and season with kosher salt and pepper. Add chicken to the pan and sear to brown the chicken, approx. 3 minutes on each side. When browned, remove from pan and set aside.

6. Add the remaining 1/2 C. beef broth the pan that just held the chicken.  Scrape up any browned bits on the bottom, then whisk in the balsamic vinegar and dijon mustard. Simmer for approx. 5 minutes or until reduced.
6. Heat oven to 325.

7. Put the browned chicken thighs over the onions in the dutch oven. Pour the beef broth/vinegar/dijon mixture over this, then place a lid on the dutch oven and bake at 325 for 30 minutes.


8. After 30 minutes, remove chicken from the oven, and turn the oven to broil.  Sprinkle gruyere cheese over the dish, then return to the oven and broil for a few minutes, until the cheese is melted and bubbly.
Chicken topped with gruyere, before melting it.
We thought this was fantastic – it was all I could do not to drink the leftover sauce. Completely delicious and definitely added to the rotation!  I hope you enjoy it as much as we did.


Zucchini, Shallot, & Chicken Sausage “Pie” – No Crust


Sometimes I wish zucchini season would last all year long. There are so many things you can use it as a base for – it’s one of my most-used ingredients.

This zucchini “pie” has a base of shredded and drained zucchini, shallots – which soften and release a lovely little flavor during cooking – and cooked chicken sausage. I added some wilted spinach and a combo of mozzarella and feta to this, then topped it with a really thin whole wheat mixture to bind it a little bit. It cooks well, keeps well, and is incredibly filling. You can opt out of the chicken sausage if you want to keep this completely vegetarian – it’s just as good.

ZUCCHINI, SHALLOT, & CHICKEN SAUSAGE “PIE” (adapted from Skinny Taste)
– 2 medium zucchini, washed and shredded. Save the ends and slice about 20 very thin rounds to use as a base layer.
– 2/3 c. shallots, sliced thinly
– 1 c. chicken sausage, uncooked
– 1 c. baby spinach leaves
– 1/2 c. shredded mozzarella
– 1/4 c. crumbled feta
– 2/3 c. whole wheat pastry flour
– 1 tsp. baking powder
– 2/3 c. milk
– 1 tsp. olive oil
– 2 large eggs – 1 white & yolk, 1 white
– 1/2 tsp. kosher salt

1. Preheat oven to 400.

2. Shred the zucchini, and drain it really well. I’ve found the best way to do this is to really wring it out in cheesecloth, which can be found everywhere from grocery stores to Bed, Bath, & Beyond.  Make sure you get as much water out as possible, so the zucchini pie won’t be a zucchini mess. Add drained zucchini to a bowl. 


3. Put the zucchini rounds on a baking sheet over a paper towel. Sprinkle with kosher salt, let sit for ten minutes, and then flip the rounds, sprinkle with salt again, and let sit for another 10 minutes. This will extract the water from the zucchini. After salting both sides, rinse zucchini rounds and dry well.


4. Meanwhile, brown sausage in a pan. When cooked, add spinach, remove from heat, and combine until spinach is wilted. Let cool a bit.

5. Chop the shallots, shred the mozzarella, and add to the shredded zucchini.  Add feta, then add sausage/spinach mixture. Mix well to combine.


6. Whisk together flour and baking powder in a separate bowl. Add milk, olive oil, salt, & eggs to this mixture, and combine. It will be pretty thin – this is good.

7. Spray a pie pan with cooking spray or olive oil.  Make a layer of the zucchini rounds, overlapping each other, for your zucchini pie base.


8. Add the zucchini/shallot/sausage/cheese mixture and spread evenly into the pan.


9. Pour the “batter” mixture evenly over the zucchini mixture.  You can sort of bang the edges or bottom of the pie pan to get the batter into the crevices of the pie, so it will bind it more.

topped with the batter & dusting of parm, right before going into the oven

10. Top with a dusting of freshly grated parmesan cheese, and bake for approx. 30 – 35 minutes, or until a knife can be inserted and removed cleanly from the center of the pie.  Let stand for 15 minutes, then slice and serve.